Forest Healer and his backpack / Holozing Fanart Eng-Esp
Hey, I like your backpack

English
Hello friends! I hope you are very well!
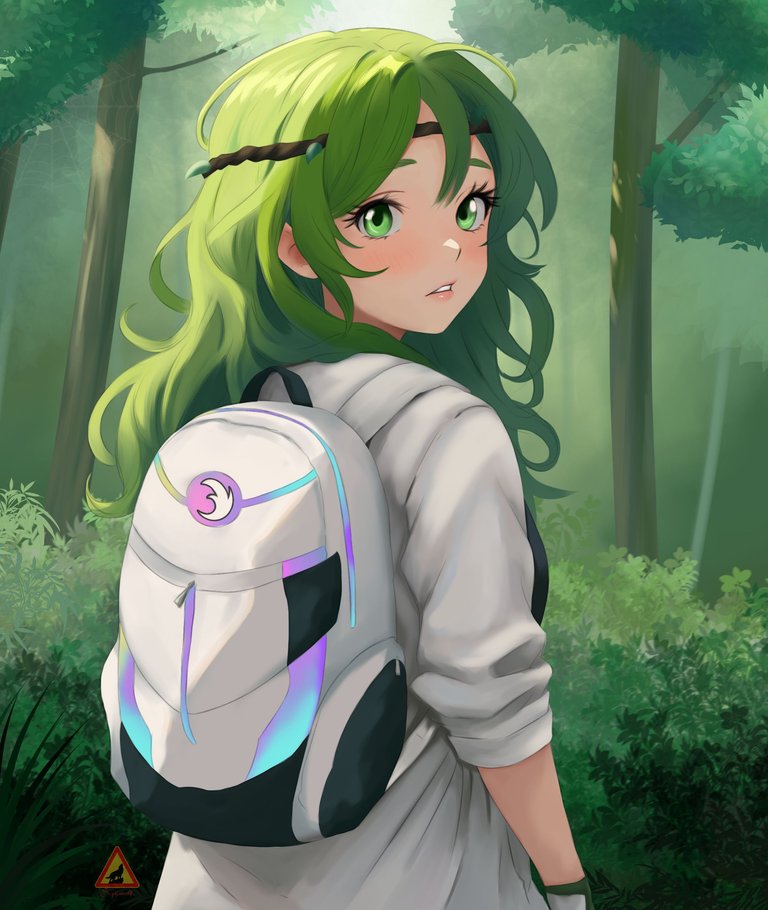
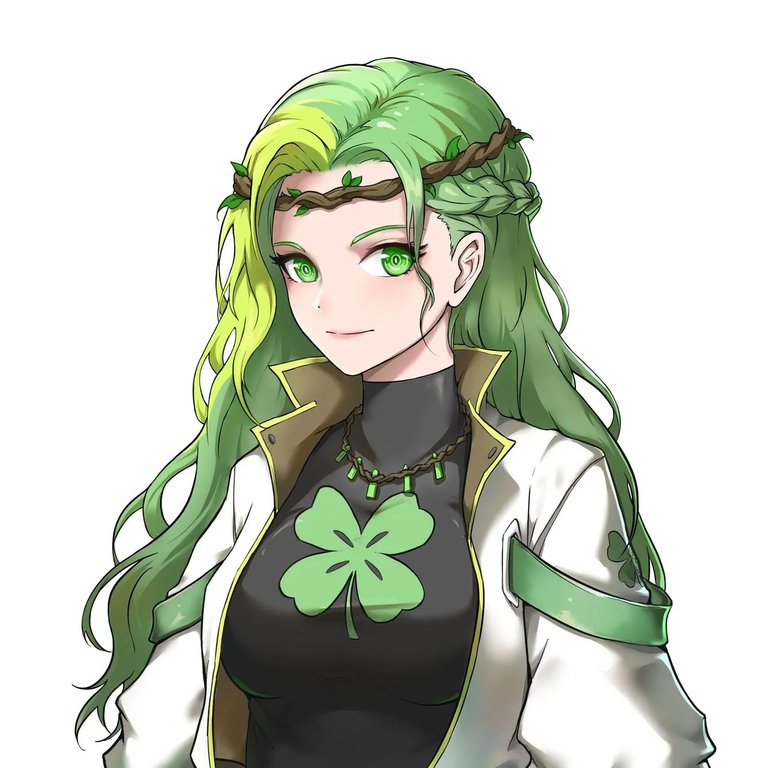
some time ago came out the holozing objects caps, backpacks, bicycle, etc ... and I always wanted to integrate them into my illustrations, this time I developed an illustration of Forest Healer with his backpack exploring in the forest, if the background is familiar is because I was inspired by the last drawing I did of her for the collection of cards, we could say that it is the same forest hehe.
In the backpack I tried to make it as similar as possible to the one in the reference but I think I missed some details, but as bob ross would say "just happy accidents".
There are also a couple of hidden details in the background so I recommend to look at it in detail hehe.
Español
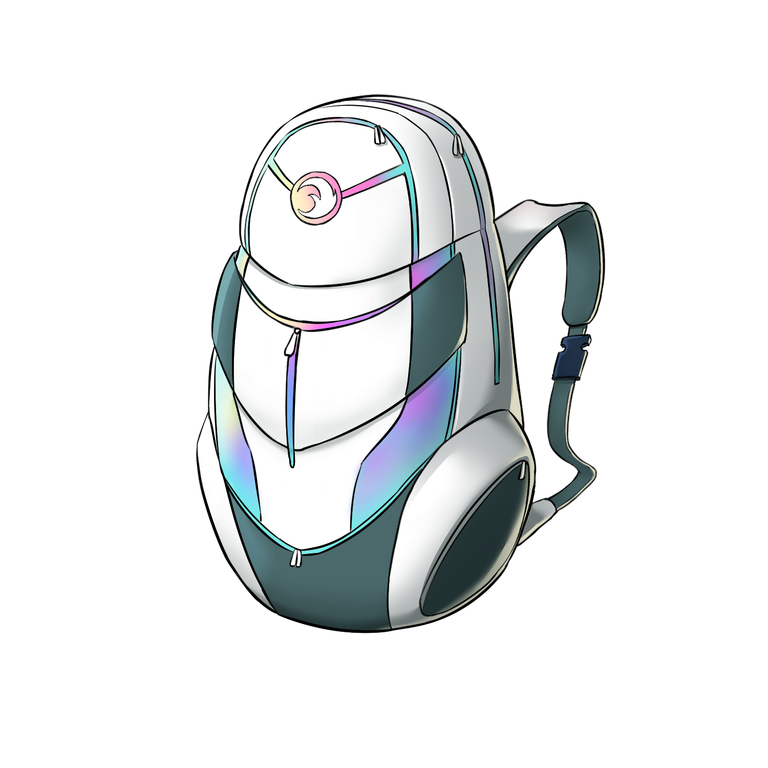
Reference
Process/Proceso
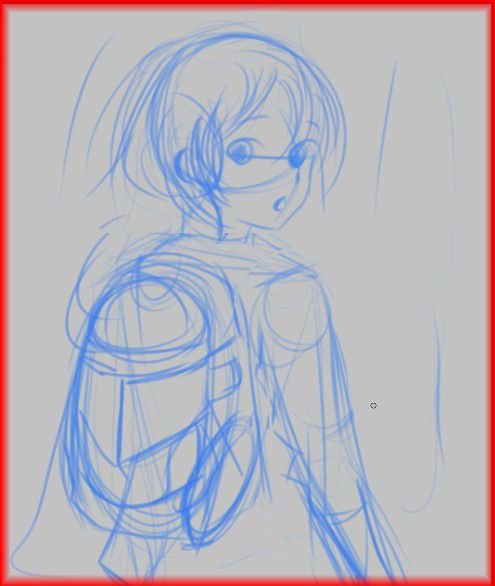
I was creating a basic shape of the character until I had a very clear idea of what I was going to develop.
not having a reference of this pose I modified several times until I got something like you see here.
Another idea that I discarded was the expression on her face I wanted to make her surprised originally but I went for another more attractive or cute design so to speak.
the bag is not complicated in itself but the details that it takes requires time or it will happen to you as it happened to me that it was not completely identical hehe.
Estuve creando una forma básica del personaje hasta tener la idea muy clara de lo que iba a desarrollar.
al no tener una referencia de esta pose modifiqué varias veces hasta conseguir algo como lo ven aqui.
Otra idea que descarte fue la expresión en su rostro quería hacerla sorprendida originalmente pero me me fui por otro diseño mas atractivo o lindo por asi decirlo.
el bolso no es complicado en si mas los detalles que lleva requiere su tiempo o te pasara como me paso a mi que no quedo completamente idéntico jeje
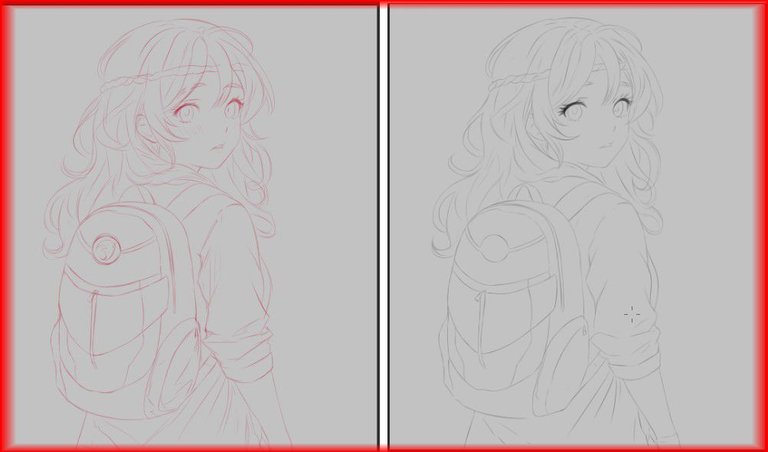
Here I finished the sketch in red, and you may wonder why the lineart just a clean version of the sketch.
I was so distracted that I used the same brush only in a different color, I didn't realize this detail until I was finishing the illustration...
normally, I use a brush size 7 or 6. I recently changed the sketch brush size to 7 so I didn't notice this "mistake". I don't think it looks bad but it's not what I usually do, the brush I normally use has a different texture.
Aquí terminé el boceto en color rojo, y ustedes se preguntarán porque el lineart solo una versión limpia del boceto.
Estaba tan distraído que use el mismo pincel solo que en diferente color, de este detallo no me di cuenta hasta ya cuando estaba terminando la ilustración...
normalmente, uso un tamaño de pincel 7 o 6. hace poco cambie el tamaño del pincel de boceto a 7 por lo que no me percate de este "error". no creo que quede mal pero no es lo que suelo hacer, el pincel que normalmente uso tiene una textura diferente.
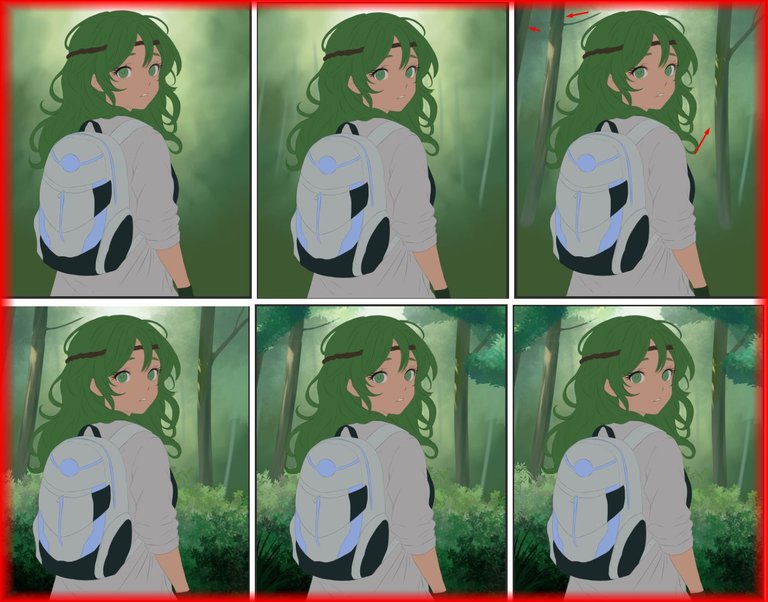
We apply the base color starting from the background, this type of backgrounds are very easy for me because I always put them in practice, so we already know or have an idea of where to add the lighter colors and where the darker ones.
use a light in the center to give more prominence to the character.
the rest of the character we add basic colors layer by layer, an easy step but time consuming.
Aplicamos el color base empezando desde el fondo, este tipo de fondos se me hacen muy fáciles pues siempre los pongo en práctica, por lo que ya sabemos o tenemos una idea de donde agregar los colores mas claros y donde los mas oscuros.
use una luz en el centro para darle mas protagonismo al personaje.
el resto del personaje agregamos colores básicos capa por capa, un paso fácil pero que requiere tiempo.

Most of the time it was in the background but I wanted to do something nice to give depth.
We started to blur and in new layers we added trees from far away to the closest ones that have details and visible leaves.
Let's keep in mind that the farther away the lighter and the closer it is, the darker and more saturated the tone.
Buena parte del tiempo fue en el fondo pero quería hacer algo bonito que diera profundidad.
Empezamos a difuminar y en nuevas capas agregamos árboles lejanos hasta los más cercanos que si tienen detalles y hojas visibles.
Tengamos en cuenta que mientras mas lejano mas claro y al estar mas cerca tiene un tono mas oscuro y saturado.
It's time to give details to the character and we start with the skin, there is almost no visible skin so it would be relatively fast or else we can focus on making very well the few parts of skin that are visible.
I added several warm tones before blurring, sometimes when I don't adjust the blending brush well the colors end up very mixed, so at the end it is always good to highlight again the color with a more solid brush. Especially in the strong highlights and shadows.
Es momento de darle detalles al personaje y empezamos por la piel, casi no hay piel visible por lo que sería relativamente rápido o en su defecto podemos centrarnos en hacer muy bien las pocas partes de piel que se ven.
Agregue varios tonos cálidos antes de difuminar, a veces cuando no ajusto bien el pincel de difuminado terminan muy mezclados los colores, por lo que al final es siempre bueno remarcar nuevamente el color con un pincel más sólido. Sobre todo en las luces fuertes y sombras.
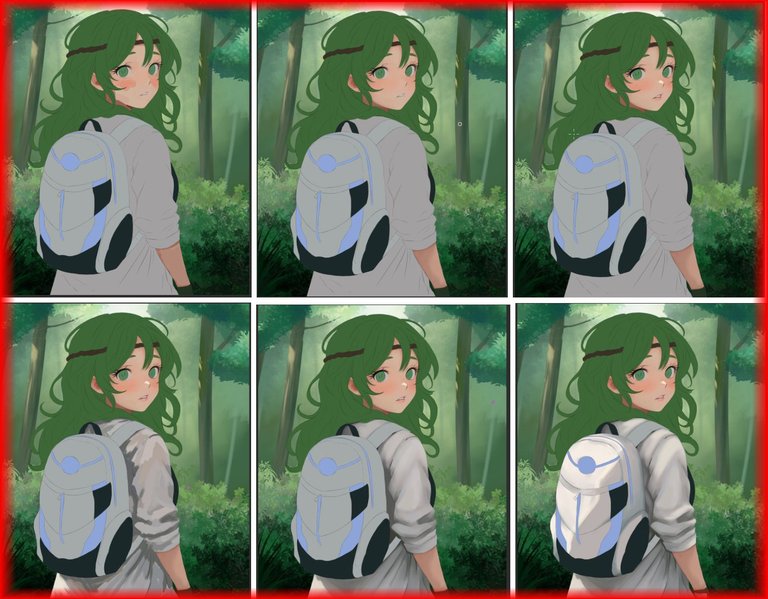
For the hair I did a kind of gradation of tones, from a green tone with a bit of blue to a yellow with a warmer tone.
After blending, we retouched with a hair color and texture brush.
For the effects of the bag I used a blue base color and with a brush I tried to make an effect similar to the one in the reference.
Para el cabello hice una especie de escalonado de tonos, desde un tono verde con un poco de azul hasta un amarillo con un tono más cálido.
Después de difuminar, retocamos con un pincel de color y textura para cabello.
Para los efectos del bolso use una base de color azul y con un pincel trate de hacer un efecto parecido al de la referencia

To finish we give details to the eyes, and we reinforce the eyelashes in all the drawing the eyes would be the lines with more strength and darkness.
I tried to add a color filter over all the drawing but honestly I didn't like the result so I decided to leave it as it is.
Para finalizar damos detalles a los ojos, y reforzamos las pestañas en todo el dibujo los ojos serian las lineas con mas fuerza y oscuridad.
intente agregar un filtro de color sobre todo el dibujo pero honestamente no me gusto el resultado por lo que decidí dejarlo tal cual.
Friends we got to the end, I hope you liked it!
I thought it wouldn't take me so long, but you know me 1 drawing per week haha.
I have other ideas to integrate the objects and healers, which I will develop.
Also before I say goodbye I wanted to tell you that part of the process of this illustration I showed it live on my tiktok, in case you are curious or if you want to stop by and say hi or talk for a while.
Now it's your turn to tell me in the comments box what you thought of the illustration.
I hope you have a great day, see you cowboys!
¡Amigos llegamos al final, espero les haya gustado!
Pensé que no me tomaría tanto tiempo, pero ya me conocen 1 dibujo por semana jaja.
Tengo otras ideas para integrar los objetos y los sanadores, las cuales iré desarrollando.
También antes de despedirme quería comentarles que parte del proceso de esta ilustración la mostré en live por mi tiktok, por si les da curiosidad o si quieren pasar a saludar o hablar un rato.
Ahora el turno es para ti cuéntame en la caja de comentarios que te pareció la ilustración.
Espero que tengan un excelente dia, nos vemos vaqueros!
Tools:
- CLIP STUDIO
- Inspiroy H640 Pen Tablets
- Corel PHOTO-PAINT 2019
- www.deepl.com/translator

I like how you keep using holozing accesories on most of your drawings now. I completely forgot using the card on my drawings until you posted it haha.
Great work as always. Like to see more holomon arts from you :)
Amazing art brother
Congratulations @sephiwolf!
You raised your level and are now a Minnow!
Check out our last posts: