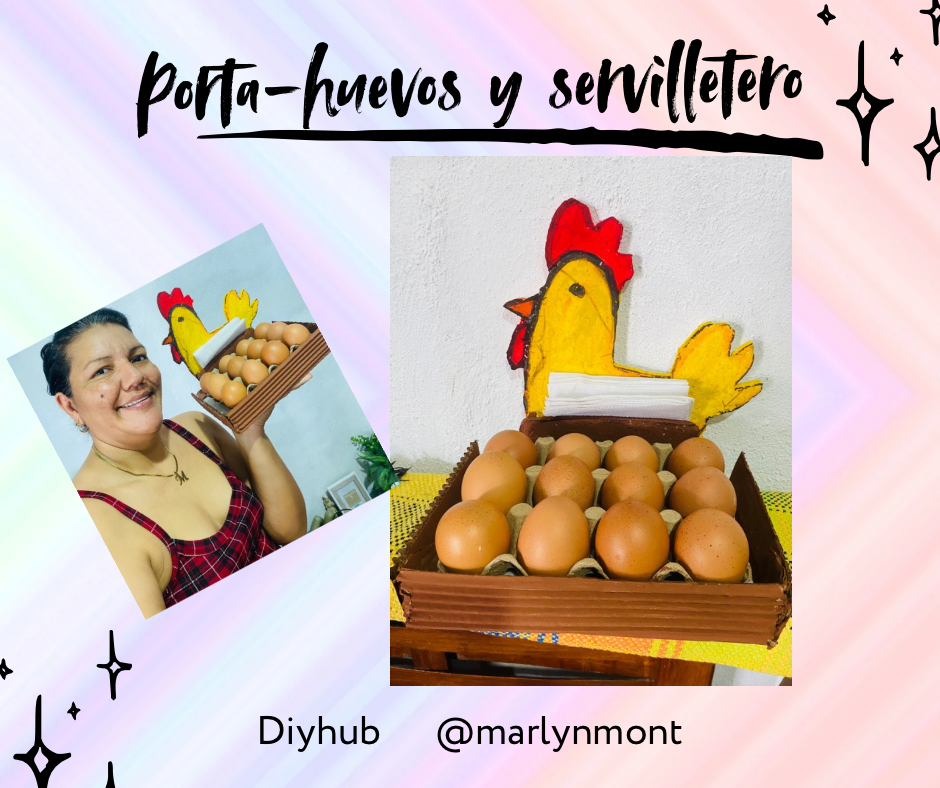
Reciclando y creando un 2 en 1, Porta-huevos y servilletero 🐓🧑🍳🍳🥚
Saludos amigos de DIYHUB, ya casi se nos va el Concurso de mayo: “Trucos y manualidades para la cocina” y no podía dejar que se terminara sin antes hacer una última participación en este mes, espero les guste. 🧑🍳🍳🐓
Los organizadores son esos utensilios que nos facilitan mucho la vida y nos permiten tener las cosas con mejor acceso, es por esto que hoy quiero compartir con ustedes la idea de hacer un lindo organizador 2 en 1 decorativo para nuestras cocinas en el cual podemos colocar los huevos y al mismo tiempo las servilletas, este organizador está decorado con una linda gallina 🐓 , esta figura me gusta mucho para decorar la cocina, aquí les muestro el paso a paso:
Greetings DIYHUB friends, the May Contest: “Kitchen Tricks and Crafts” is almost over and I couldn’t let it end without first making one last entry this month. I hope you like it. 🧑🍳🍳🐓
Organizers are those utensils that make our lives much easier and allow us to have things with better access, that is why today I want to share with you the idea of making a nice decorative 2-in-1 organizer for our kitchens in which we can place the eggs and at the same time the napkins, this organizer is decorated with a cute hen 🐓 , I really like this figure to decorate the kitchen, here I show you the step by step:
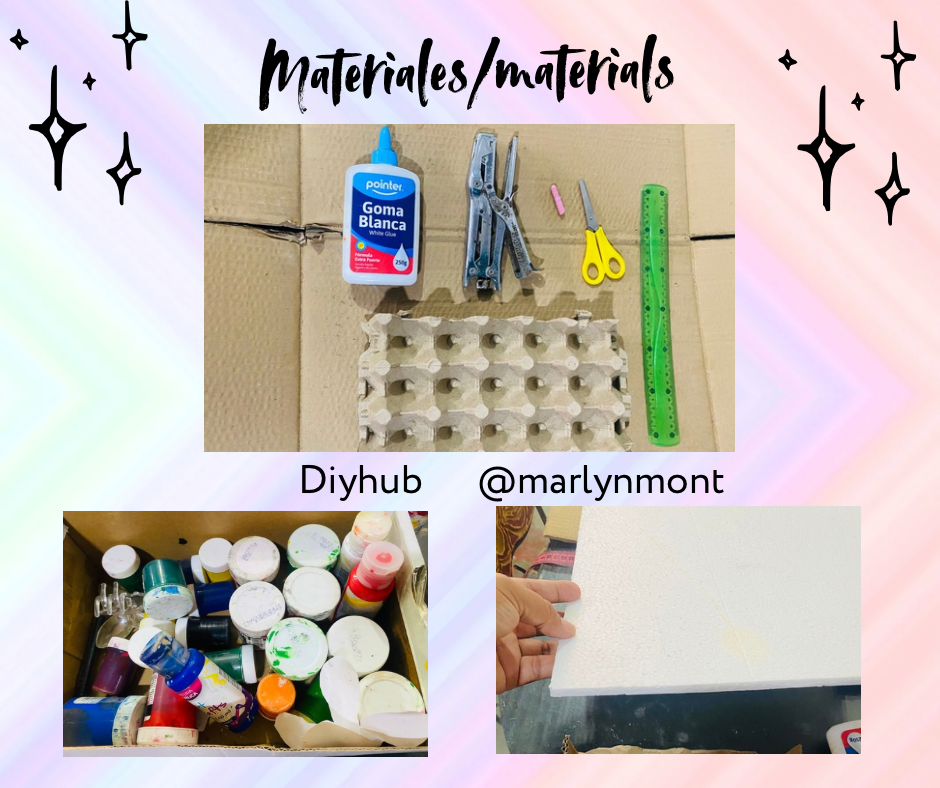
MATERIALES
MATERIALS
No sé si a ustedes les sucede, pero siempre que compro los huevos no encuentro donde colocarlos, es por esto que pensé en la idea de hacer un lindo organizador y al mismo tiempo integrar en él un servilletero en el cual pueda tener la servilletas a la mano, lo mejor de todo es que lo podemos hacer con sólo materiales de reciclaje, aquí le dejo la lista de materiales a utilizar:
- Cartón de huevos
- Cartón
- anime
- Pega, silicone
- Tijeras, cutter
- Regla
- Lápiz
- Pinturas al frío
I don't know if this happens to you, but every time I buy eggs, I can't find a place to put them. That's why I thought about the idea of making a cute organizer and at the same time integrating a napkin holder into it so I can keep the napkins handy. The best part is that we can make it with only recycled materials. Here's the list of materials to use:
- Egg carton
- Cardboard
- Anime
- Glue, silicone
- Scissors, cutter
- Ruler
- Pencil
- Freeze-based paints
PASO A PASO
STEP BY STEP
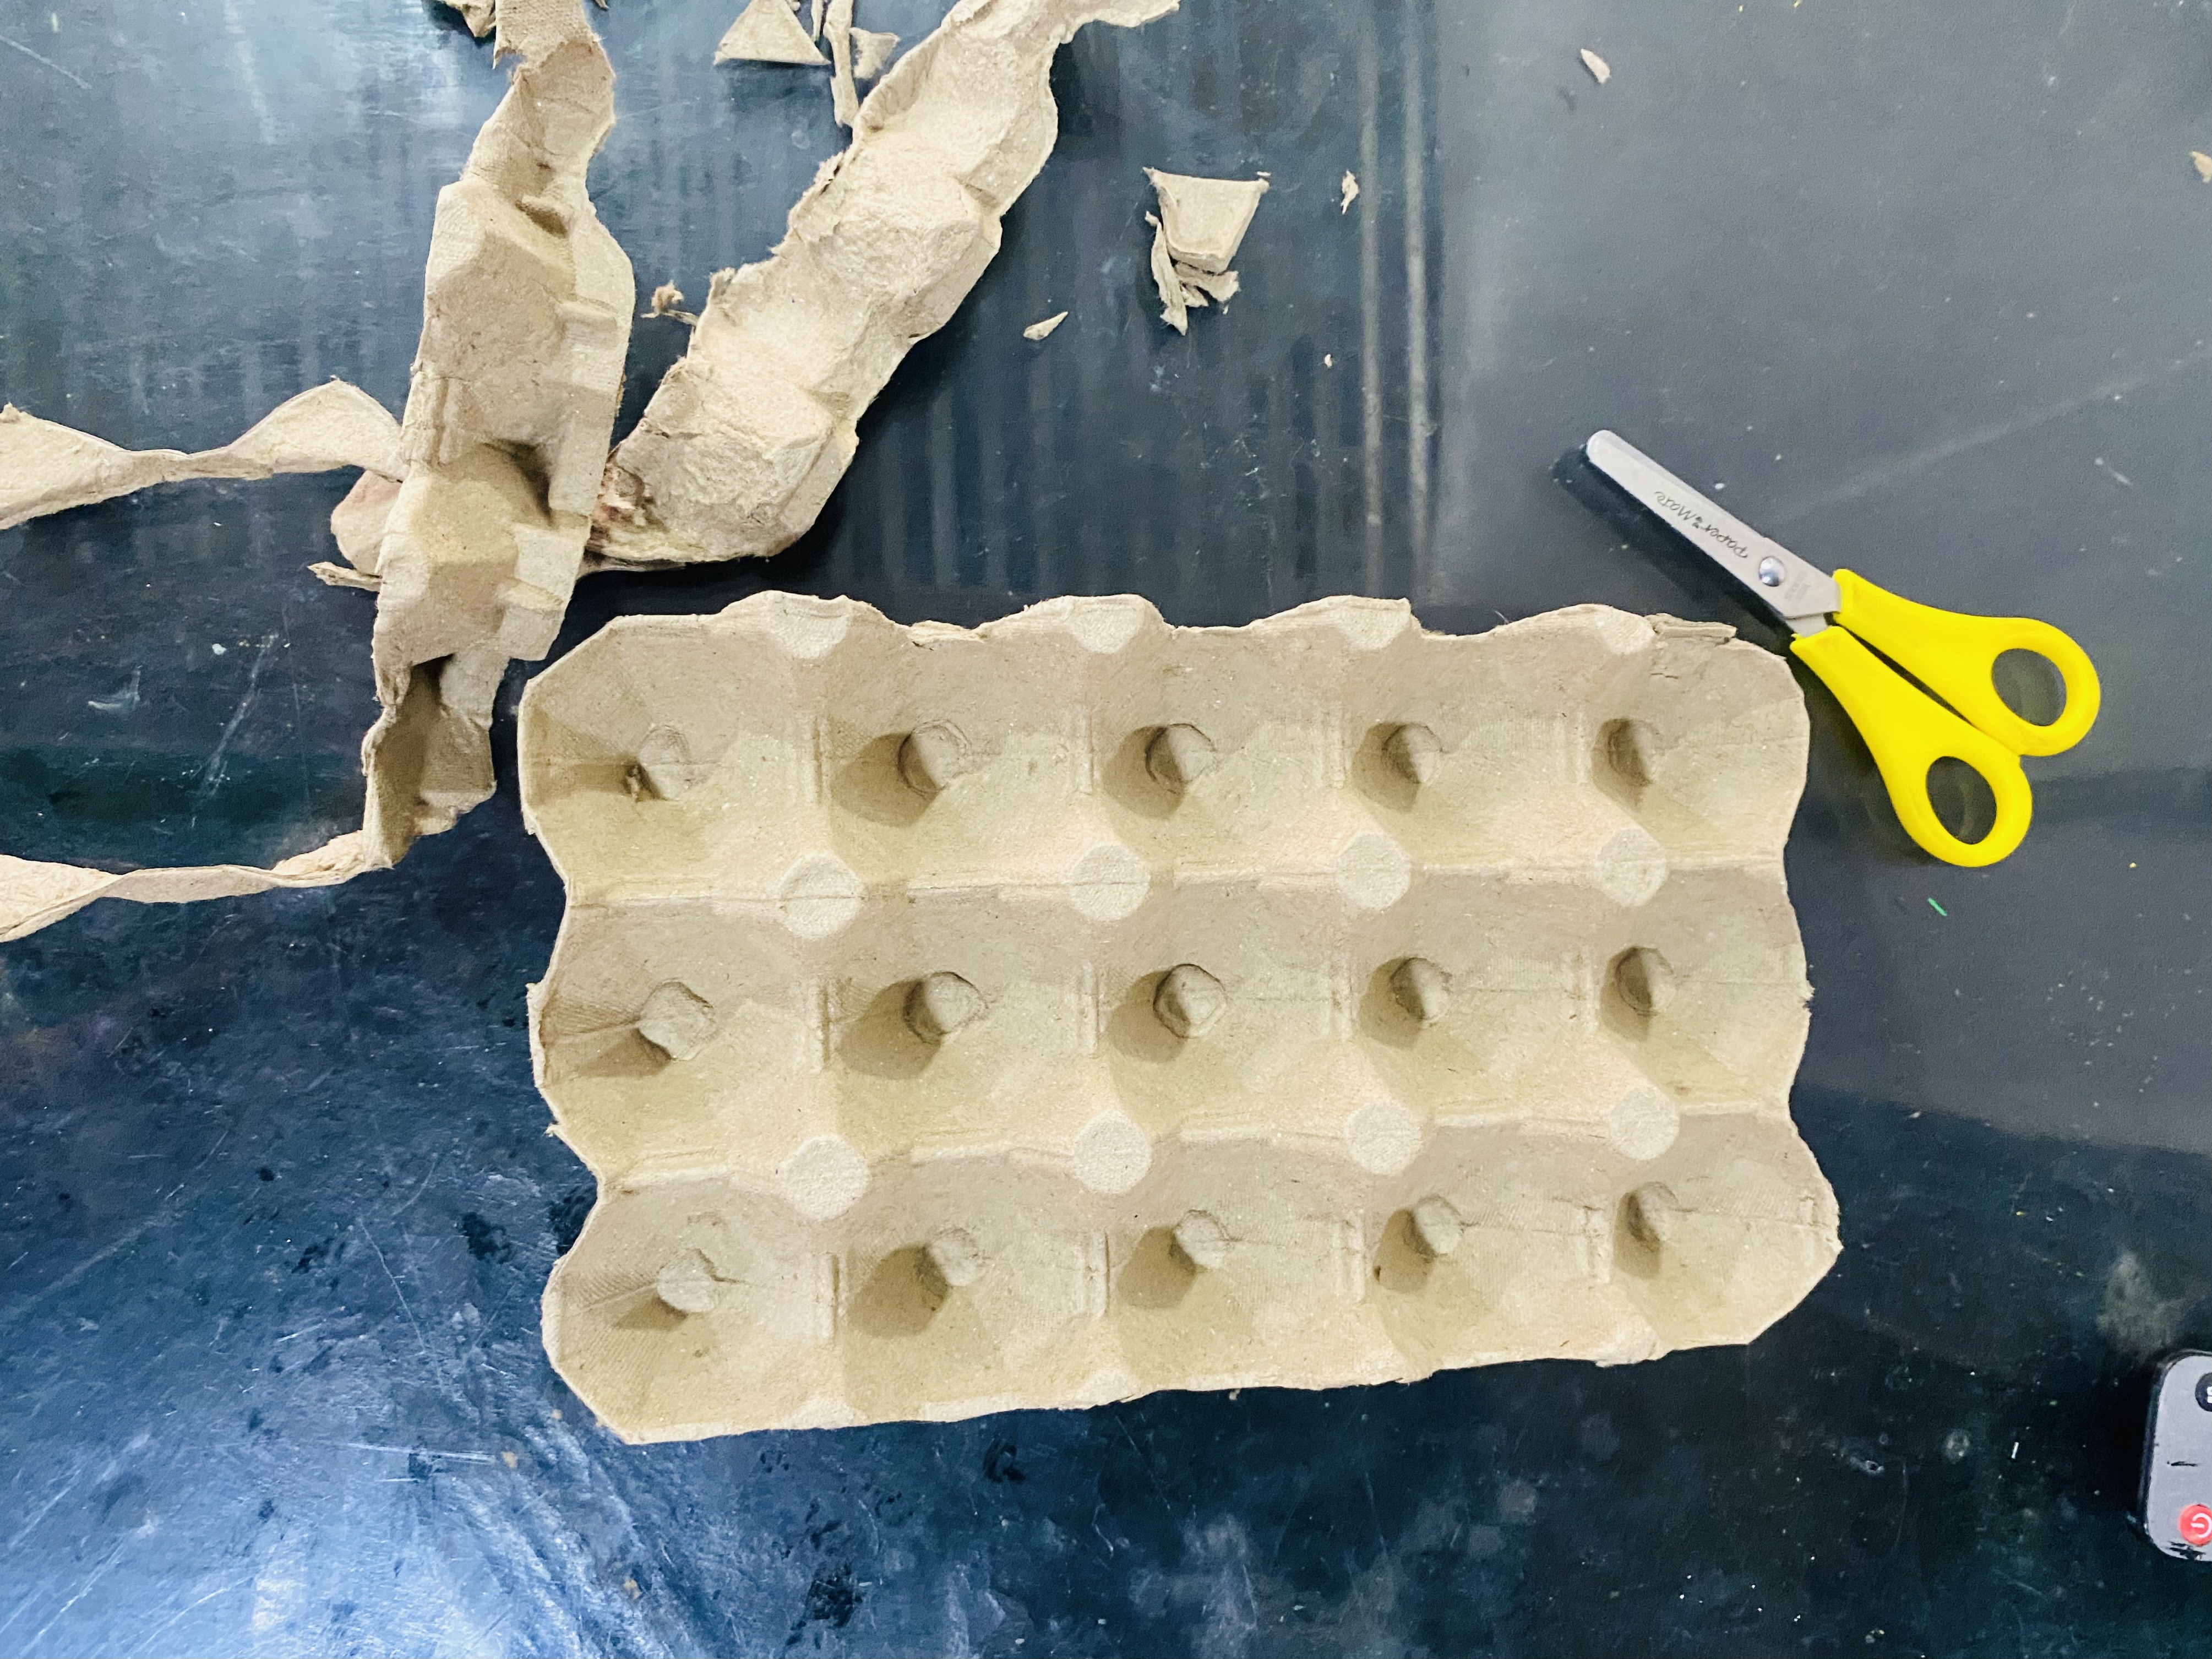
𝓟𝓪𝓼𝓸 1
Para nuestro primer paso vamos a comenzar haciendo la base para nuestro porta huevos, voy a utilizar la mitad de un cartón, le quitaré tres espacios y le quito todos los excedentes que tenga por la orilla en total será para 12 huevos, cortaremos un rectángulo en cartón y las medidas serán las siguientes : 30 cm de largo por 20 cm de ancho.
Vamos a marcar un aproximado de 4 cm en tres de sus lados pasamos un objeto que no corte para que le haga el pliegue y poder doblarlo, la idea es que nos quepa el cartón de huevos que estamos utilizando, al tenerlo listo le cortamos el excedente y pegamos en las esquinas, si gustas también puedes graparlo para más firmeza.
El cartón que yo estoy utilizando es del que se le puede quitar la capa de encima y queda como corrugado, con canales, me encantó ya que le da un aspecto más rústico y es bonito para la decoración de este,
For our first step, we'll start by making the base for our egg carrier. I'm going to use half a carton. I'll remove three spaces and trim off any excess along the edge. This will hold 12 eggs in total. We'll cut a rectangle out of cardboard, measuring 30 cm long by 20 cm wide.
We'll mark approximately 4 cm on three of its sides. We'll use a non-cutting object to crease it so we can fold it. The idea is to fit the egg carton we're using. Once it's ready, we'll cut off the excess and glue it to the corners. If you like, you can also staple it for extra strength.
The cardboard I'm using is the kind that has a removable top layer, creating a corrugated look with grooves. I loved it because it gives it a more rustic look and is beautiful for decorating.
 |  |
|---|---|
 |  |
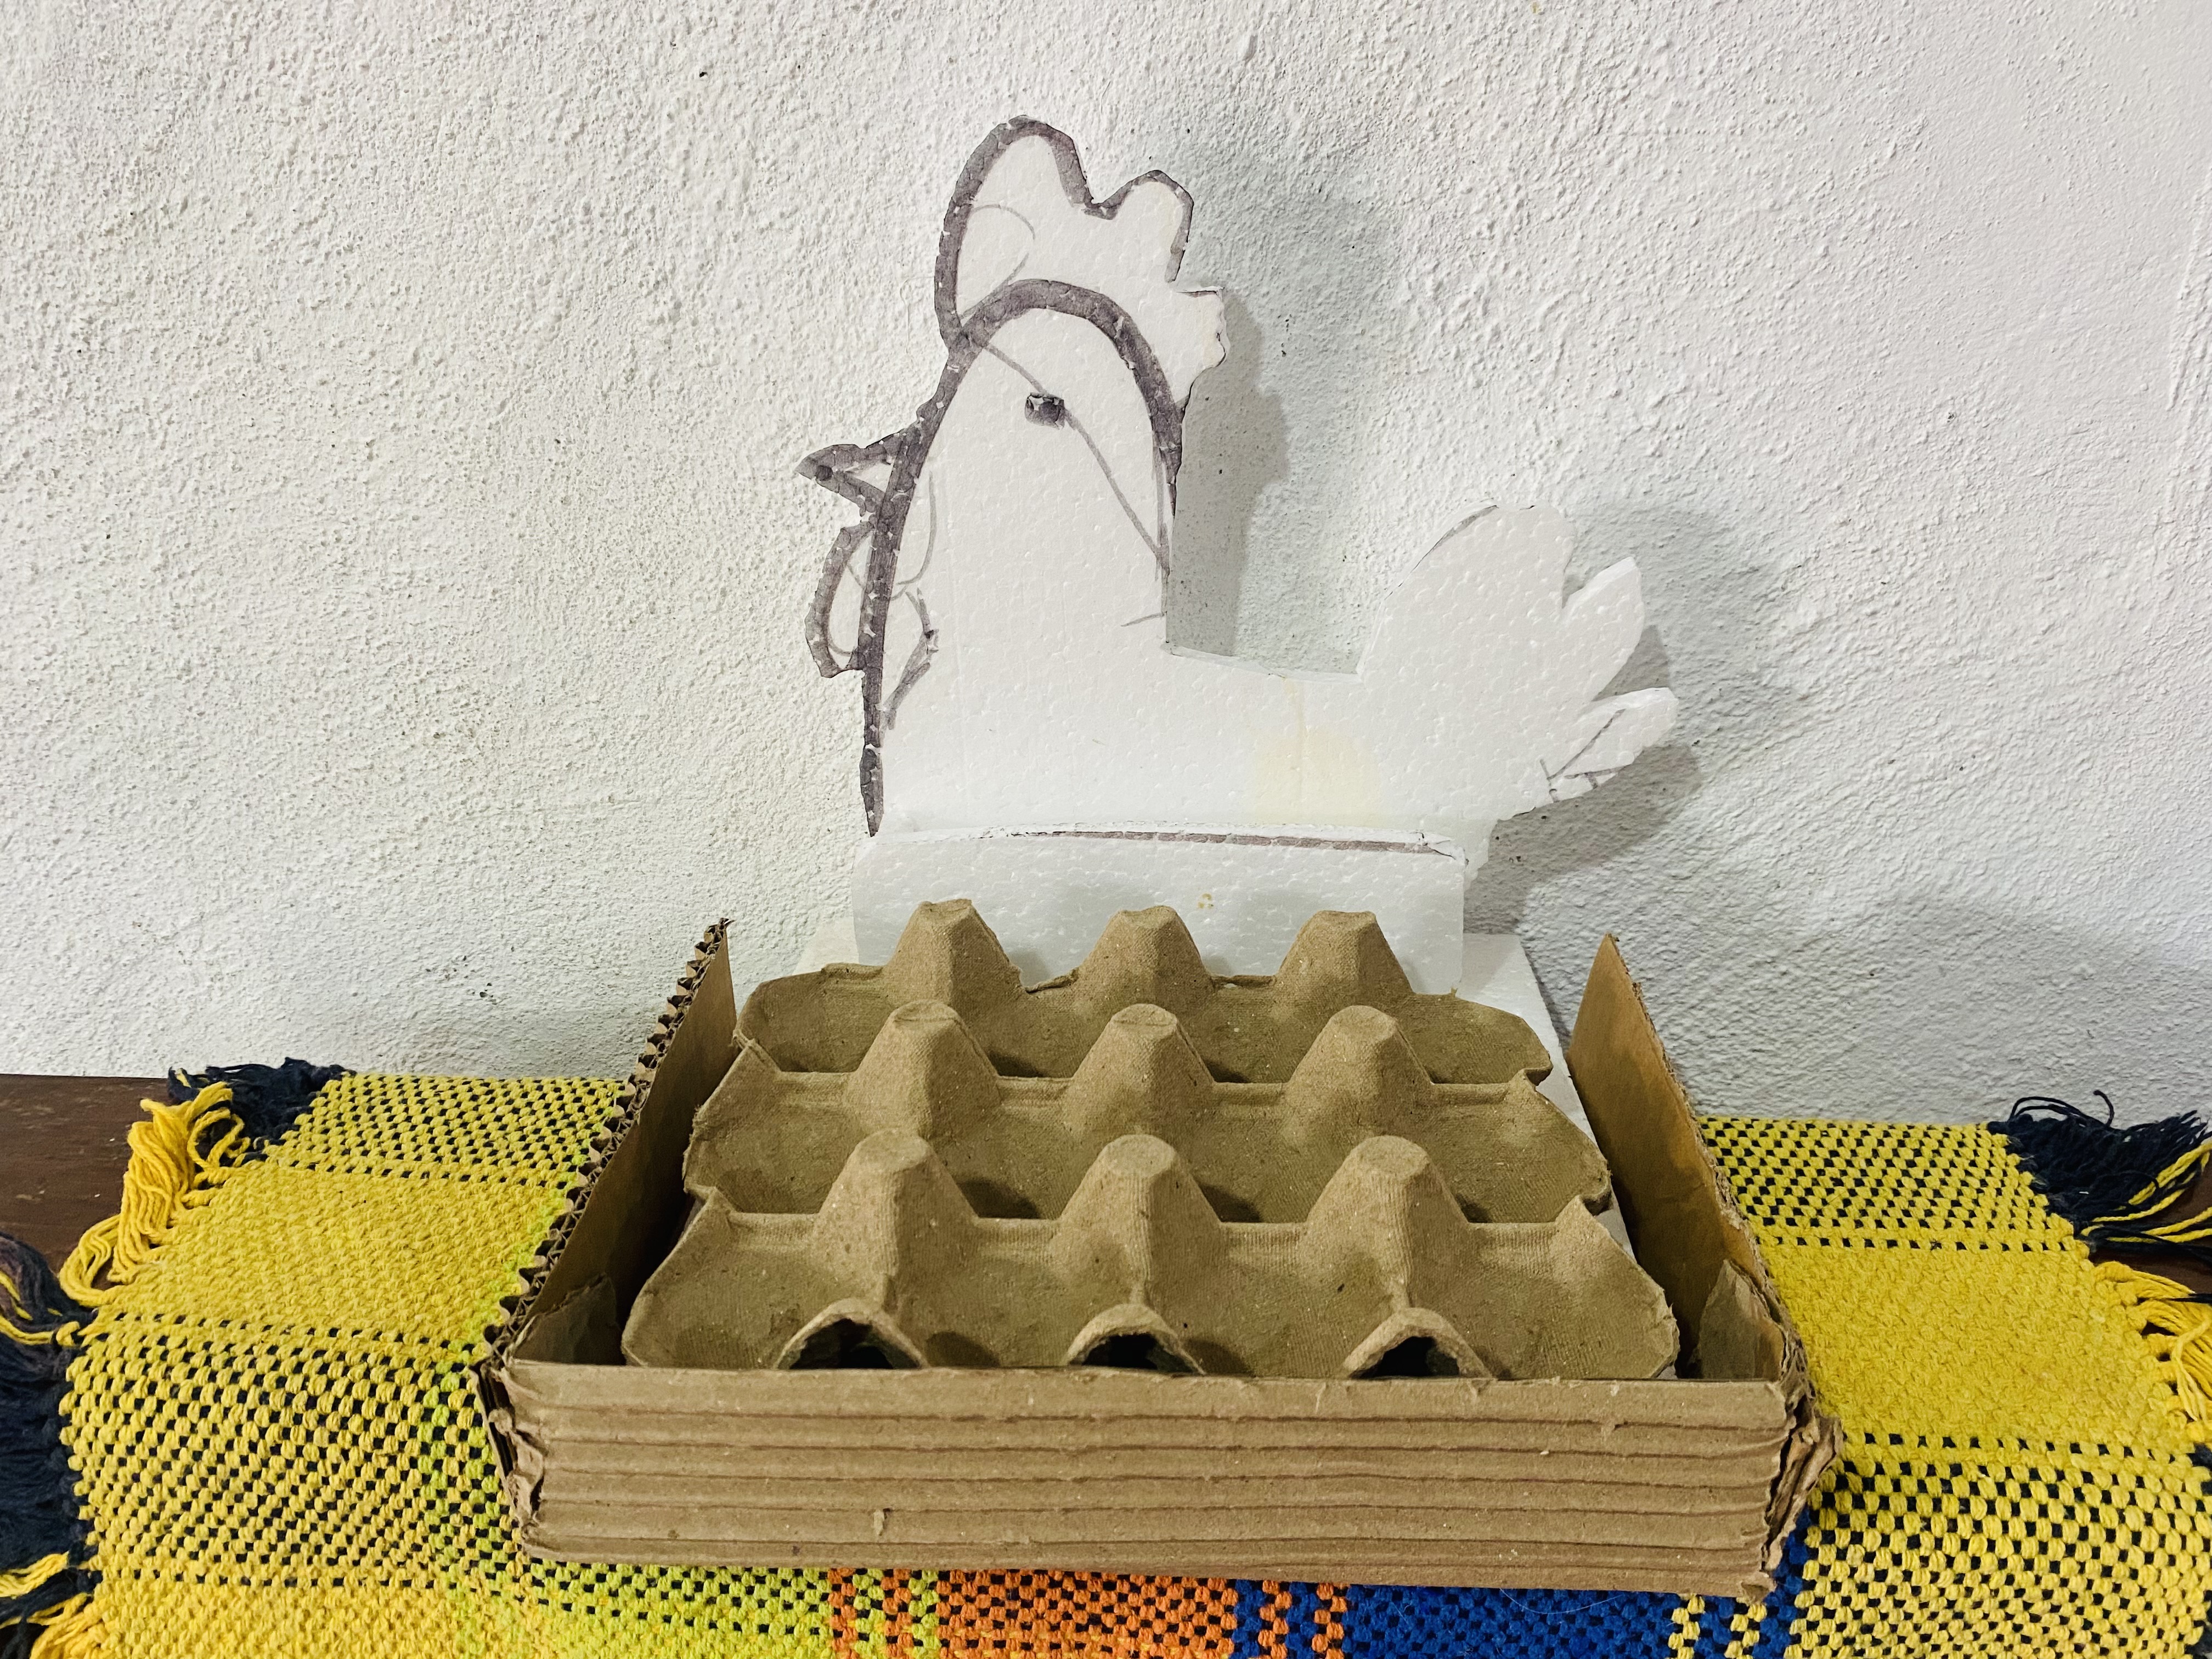
𝓟𝓪𝓼𝓸 2
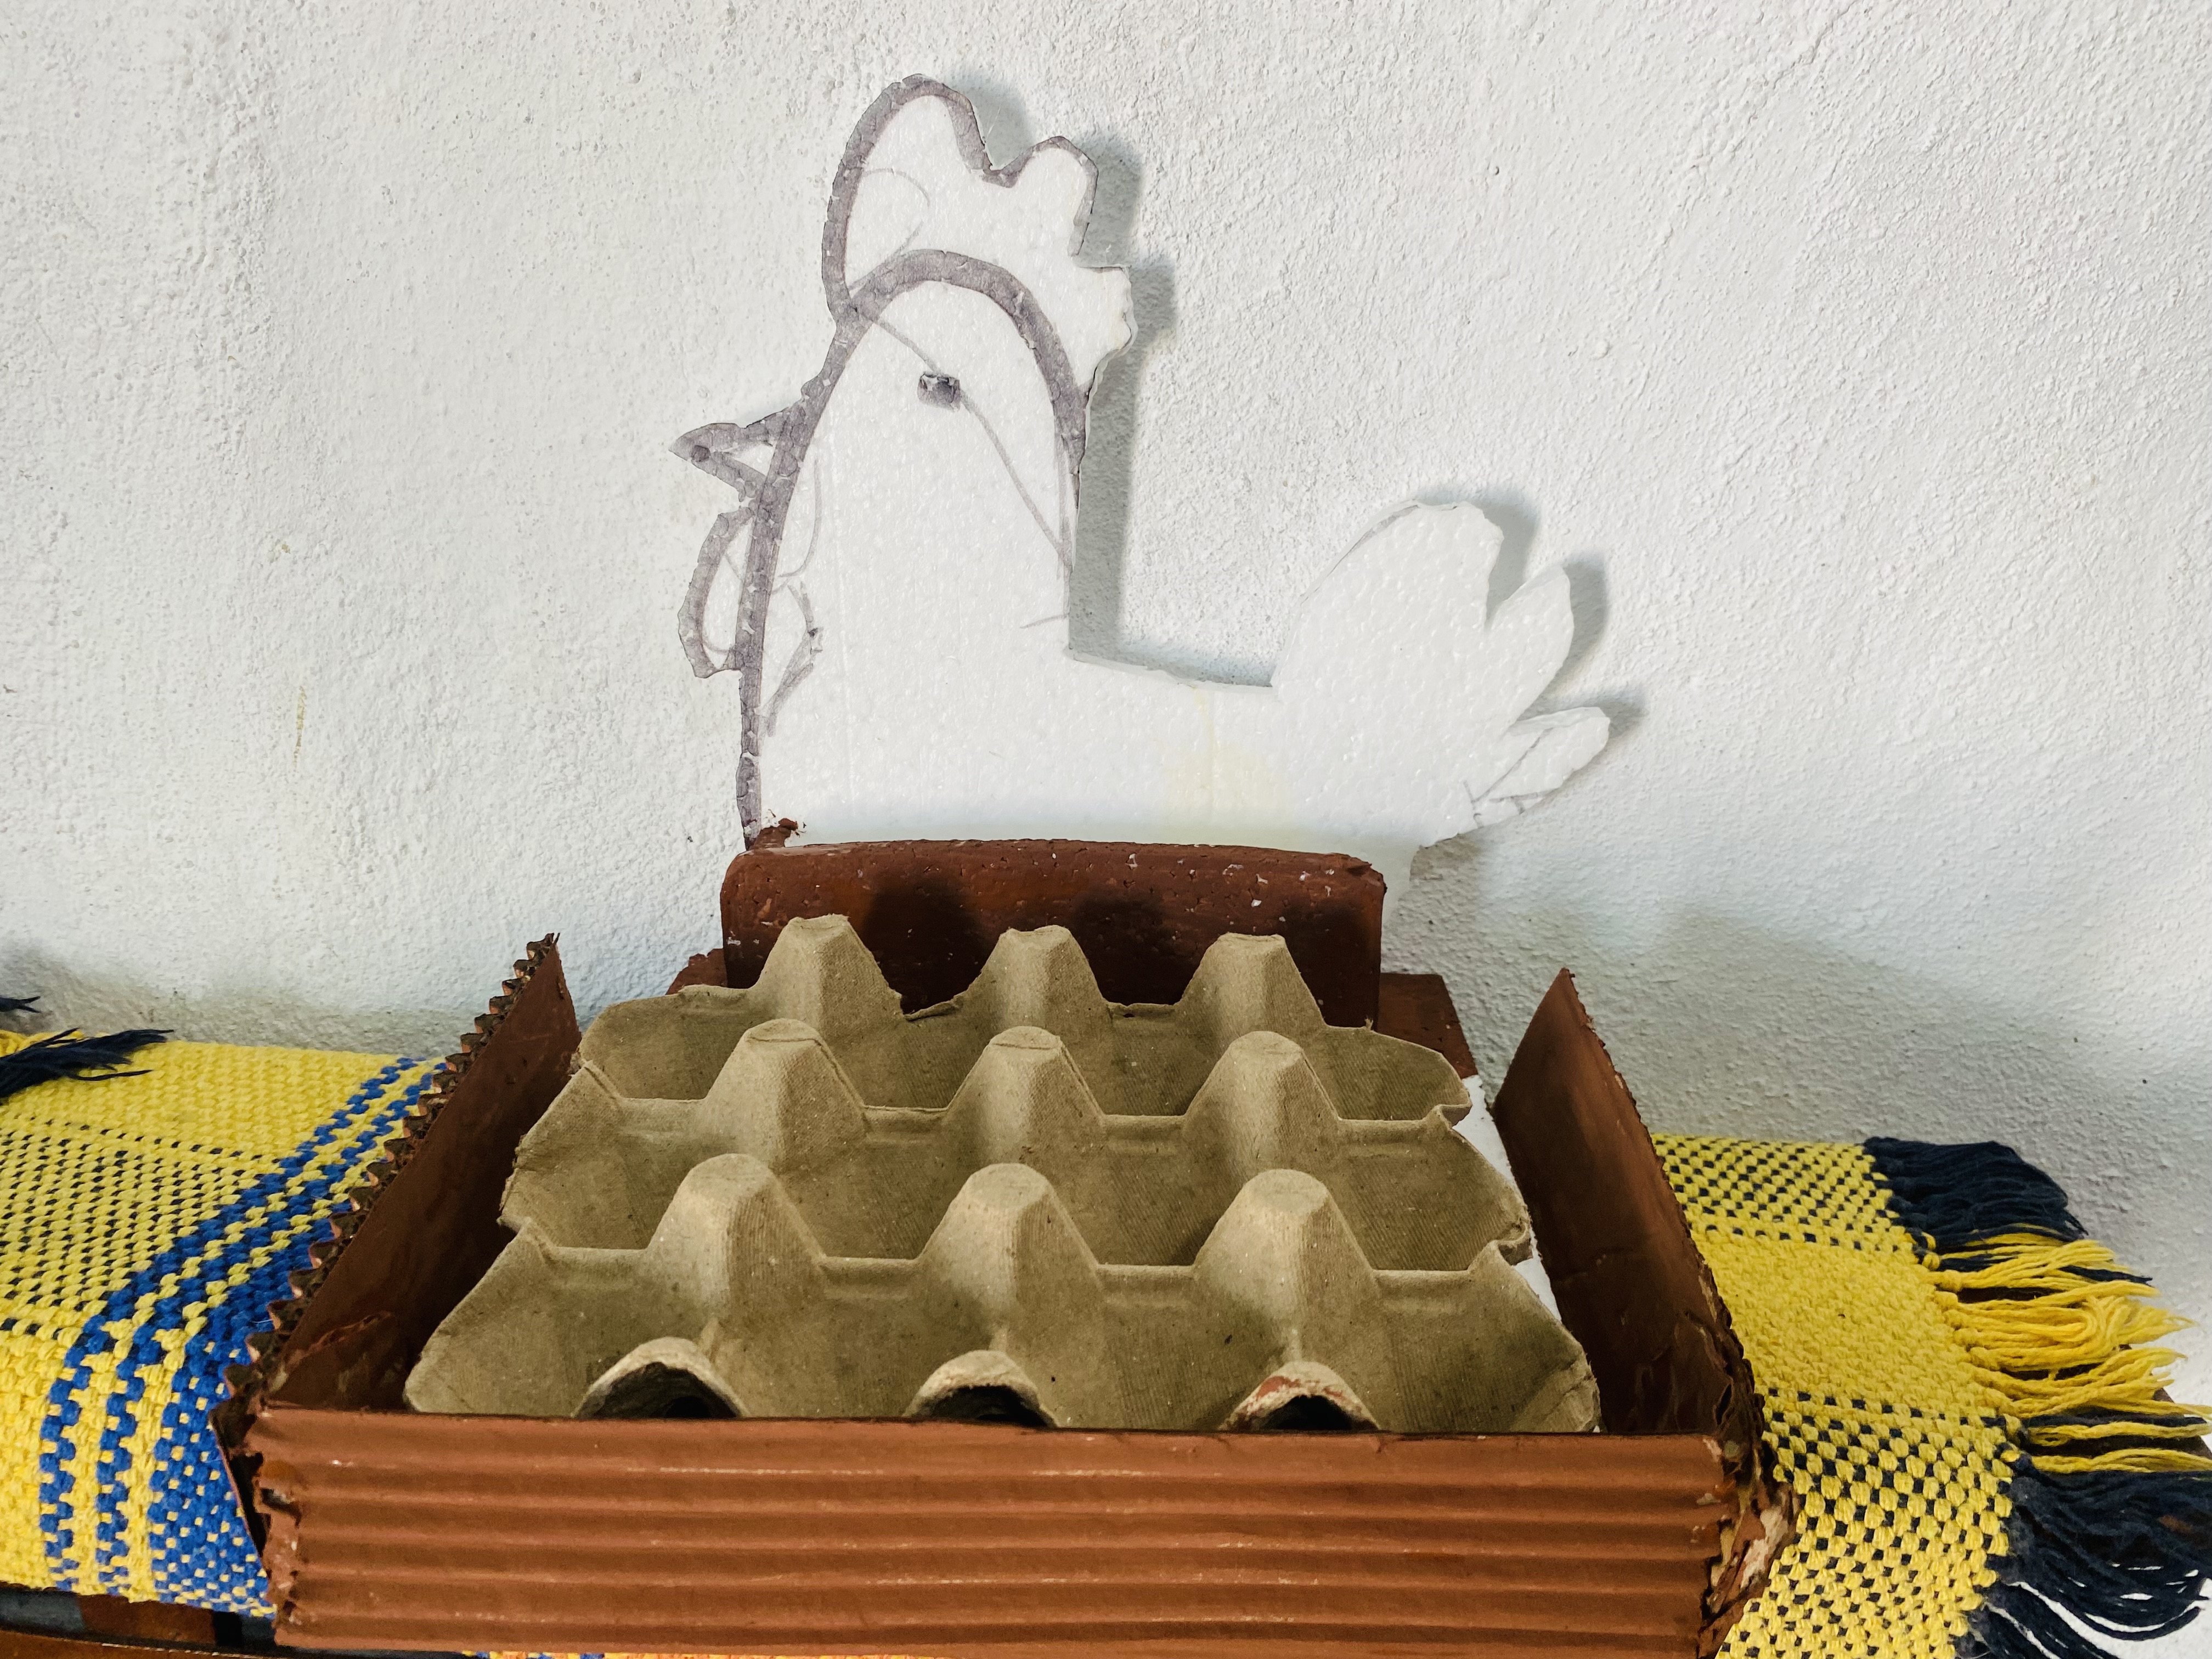
En este paso vamos a hacer la parte que será el servilletero, para esto conseguí una lámina de anime de aproximadamente medio centímetro de grosor, me encantó para hacer la figura de gallina y colocarle a la base del porta huevos, para esto corte un cuadrado de 21 cm por cada lado, también dibujé la figura de gallina sobre el anime y con ayuda de un cuchillo caliente le fui dando la forma.
También cortaremos un rectángulo de 5 cm de alto por el ancho que tenga la figura de gallina, este será para sostener las servilletas, pegamos con Silicon todas las partes y en uno de los lados entre el rectángulo pequeño y la galliná, le colocamos un pequeño rectángulo de anime para que quede más firme y no se abra al momento de meter las servilletas, si gustan pueden pegar también el cartón de huevos para que quede más firme.
In this step, we're going to make the napkin holder. For this, I got a sheet of anime paper about half a centimeter thick. I loved it for making the chicken shape and placing it at the base of the egg holder. To do this, I cut a square measuring 21 cm on each side. I also drew the chicken shape on the anime paper and, using a hot knife, shaped it.
We'll also cut a rectangle 5 cm high by the width of the chicken shape. This will be used to hold the napkins. We glue all the parts together with silicone glue. On one side, between the small rectangle and the chicken, we place a small rectangle of anime paper to make it more stable and prevent it from opening when inserting the napkins. If you like, you can also glue the egg carton to make it more stable.
 |  |
|---|---|
 |  |
Un tips que les voy a dar, seguramente ya conoces esta técnica, pero para él que no la conoce, si deseas cortar anime a la perfección, puedes utilizar un cuchillo, lo pones a calentar en la cocina y luego con mucho cuidado lo vas pasando por la orilla por donde deseas cortar el anime, si está muy caliente el cuchillo va a derretir muy fácilmente el anime así que debes tener un buen pulso al momento de cortar.
A tip I'm going to give you, you probably already know this technique, but for those who don't, if you want to cut anime perfectly, you can use a knife, heat it on the stove and then very carefully pass it along the edge where you want to cut the anime, if it's too hot the knife will melt the anime very easily so you must have a steady hand when cutting.
𝓟𝓪𝓼𝓸 3
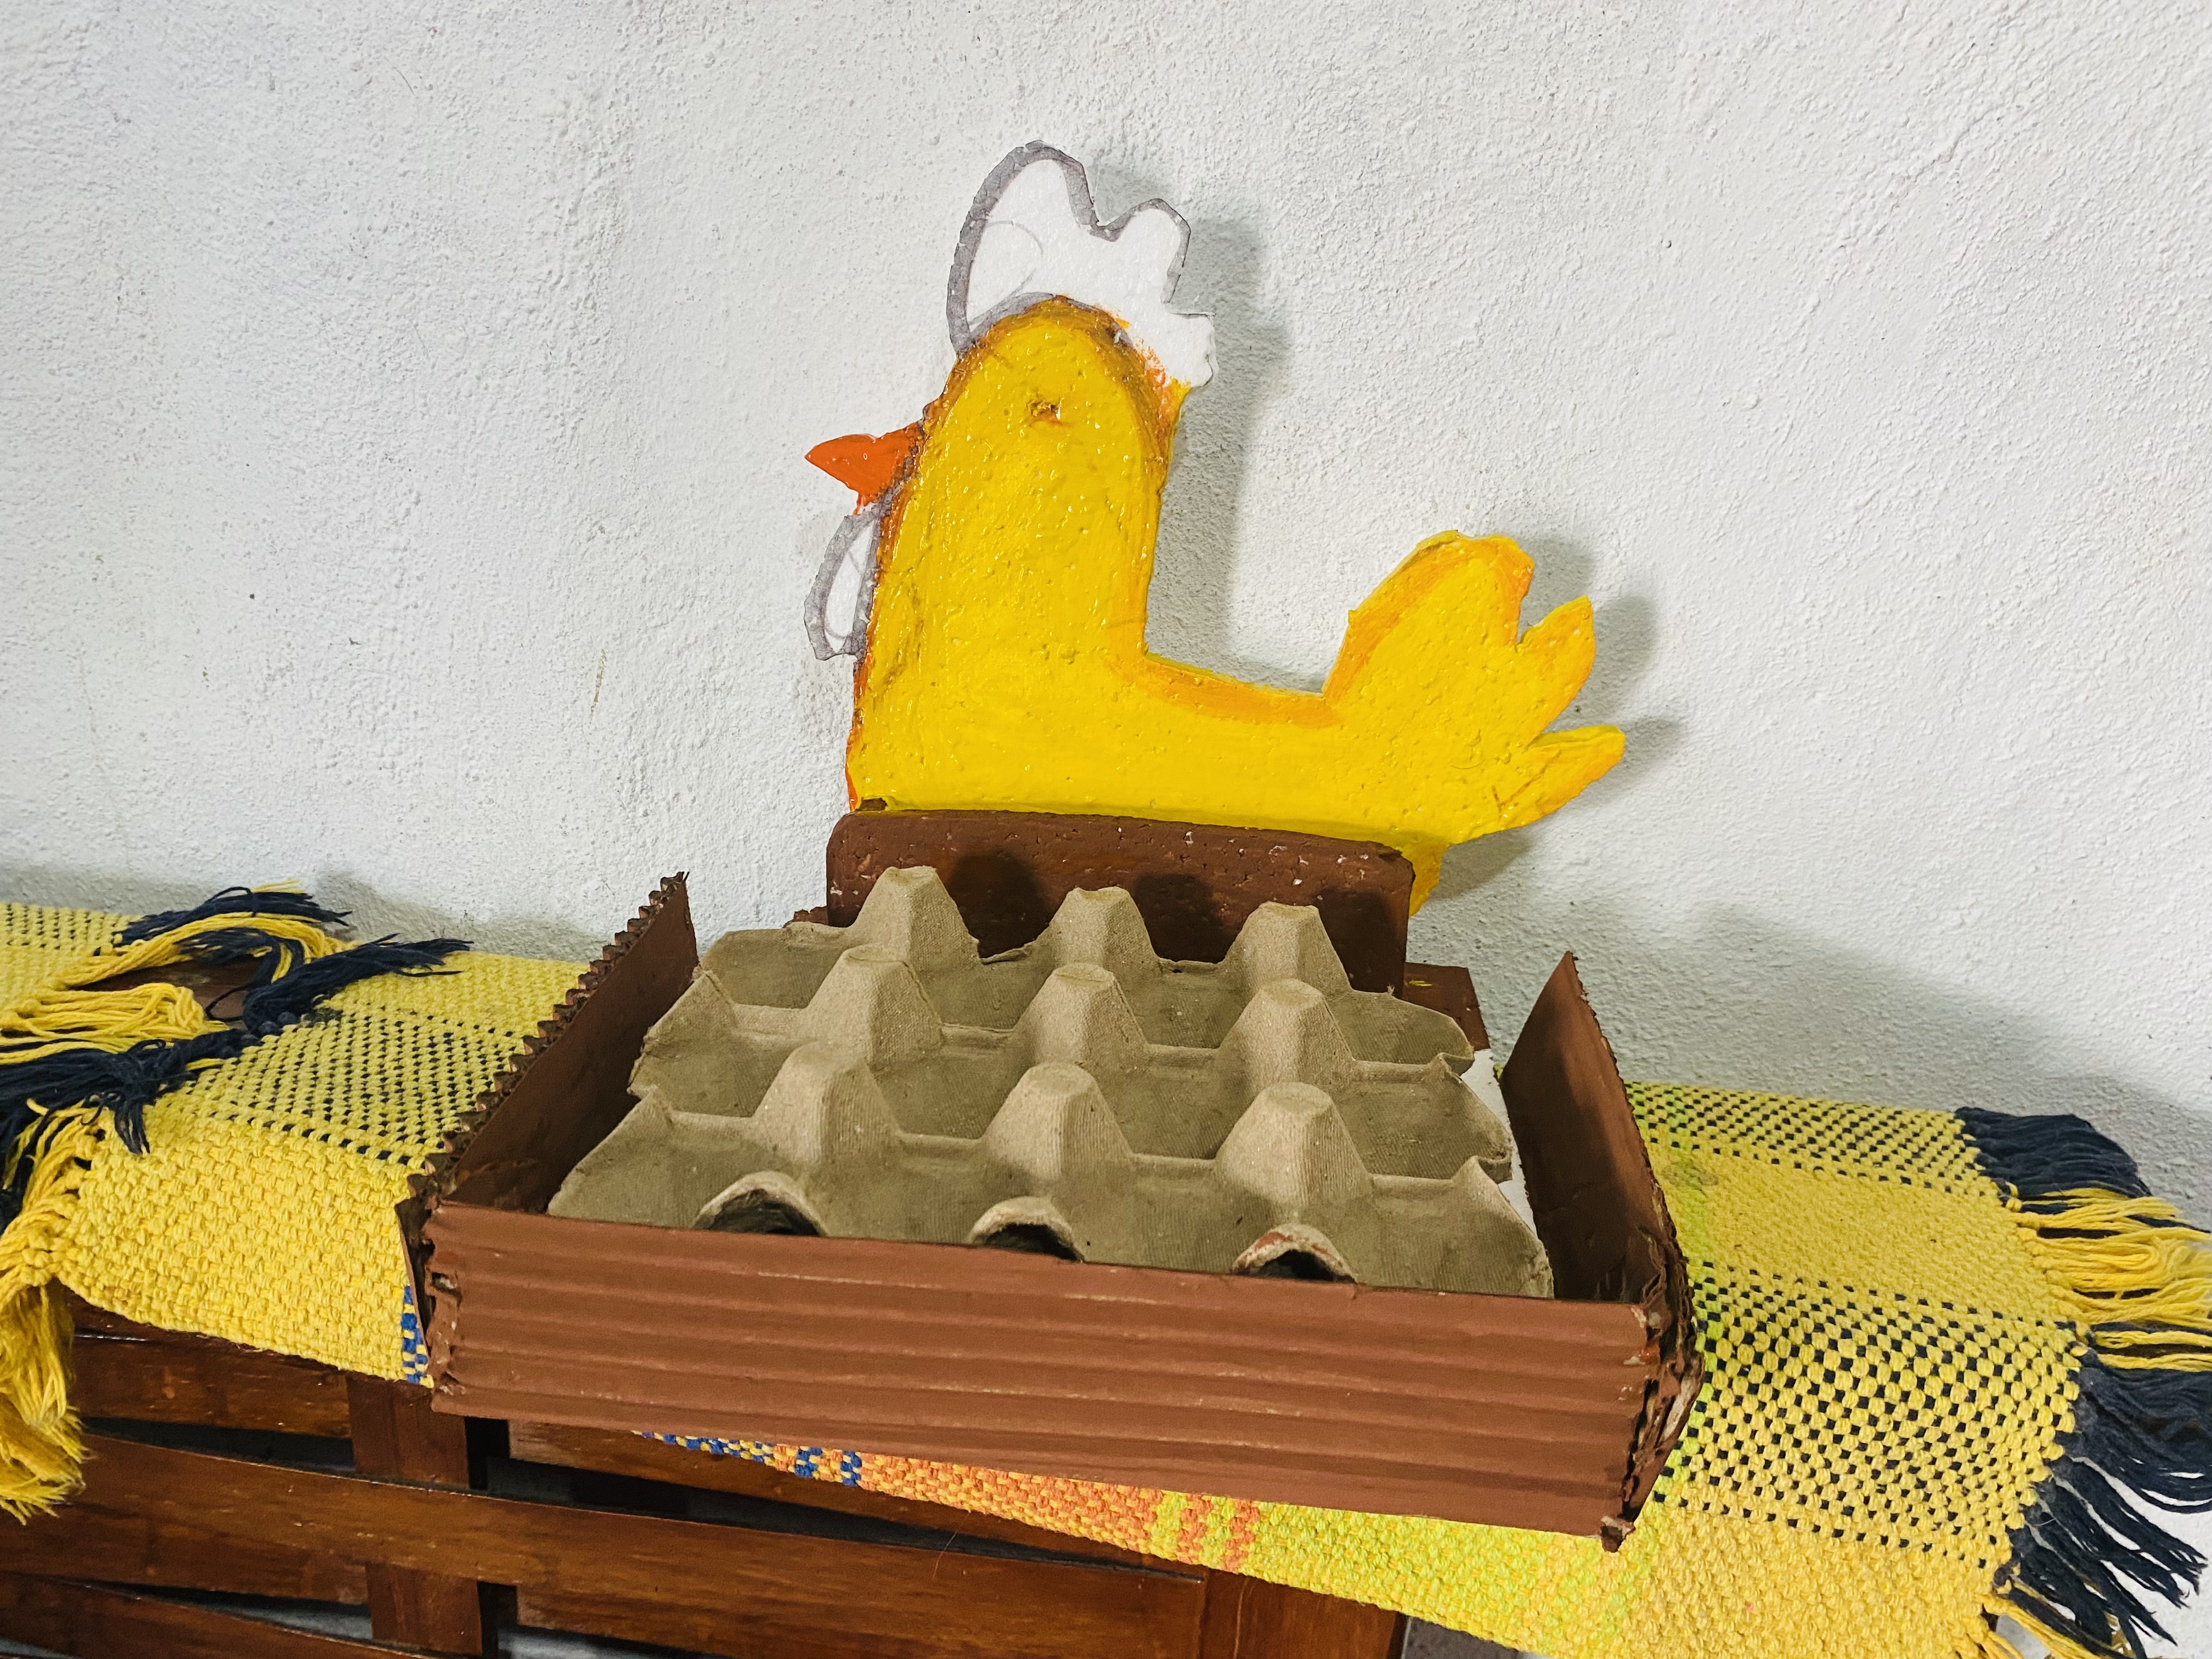
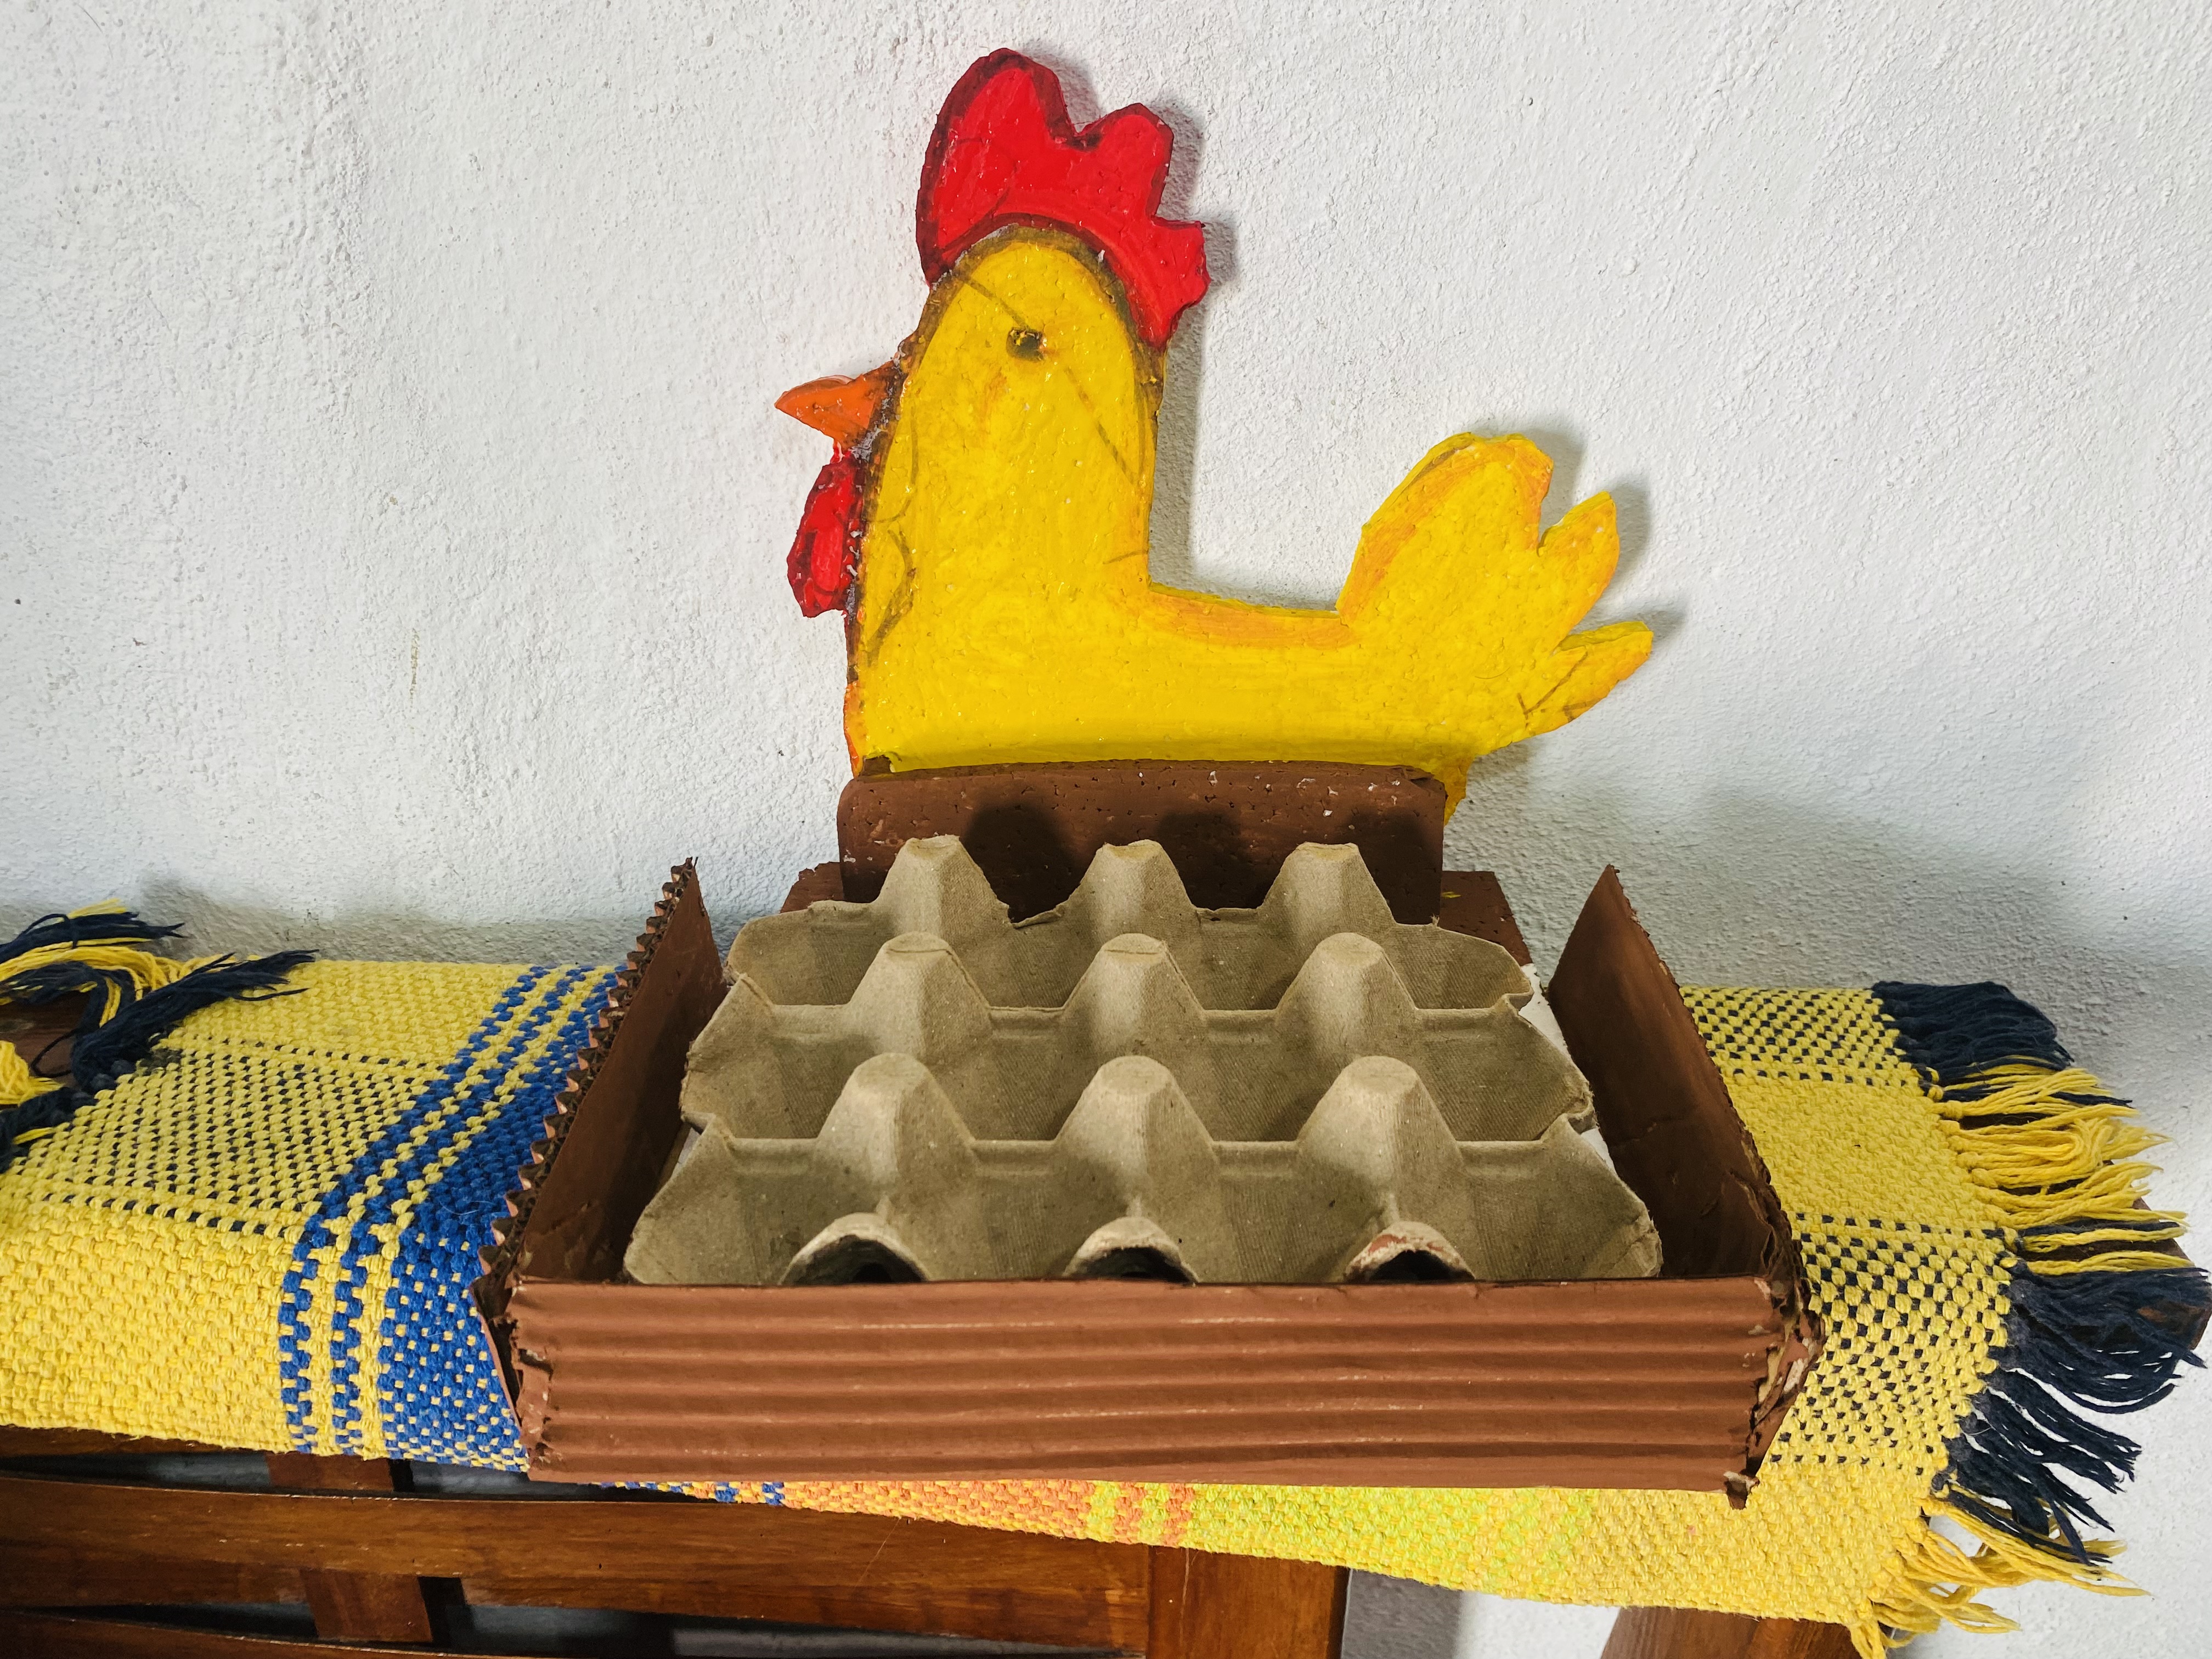
Ya estamos casi finalizando, para este paso vamos a buscar nuestras pinturas y a pintar nuestra linda manualidad, para la caja le colocaré color marrón, para la gallina me gusta el color amarillo, el pico de color naranja y las crestas de color rojo, luego de qué se seque la pintura le marqué un poco las orillas con marcador negro y así ya está listo este lindo organizador con material de reciclaje para utilizarlo como porta huevos y servilletero, espero les guste el resultado
We are almost finished, for this step we are going to look for our paints and paint our cute craft, for the box I will put brown color, for the hen I like the yellow color, the orange beak and the red crests, after the paint dries, we will mark the edges a little with a black marker and so this cute organizer with recycled material is ready to use as an egg holder and napkin holder, I hope you like the result
 |  |
|---|---|
 |  |
Amo las manualidades y si se trata de hacer decoraciones para nuestro hogar las amo aún más, me encantó este organizador porta huevos y servilletero para mi cocina, con esto completo una linda colección de manualidades hechas por mí, para decorar esa parte tan importante del hogar como lo es la cocina, si deseas puedes dejarme tu opinión en los comentarios, de antemano estoy muy agradecida de qué hayas visitado mi Publicación, me despido deseándoles muchos éxitos y bendiciones y con esto le doy la despedida a este gran Concurso del mes de mayo.
I love crafts and if it's about making decorations for our home I love them even more, I loved this egg holder and napkin holder for my kitchen, with this I complete a nice collection of crafts made by me, to decorate that important part of the home as is the kitchen, if you want you can leave me your opinion in the comments, in advance I am very grateful that you have visited my Publication, I say goodbye wishing you much success and blessings and with this I say goodbye to this great Contest of the month of May.


las fotos aquí compartidas son de mi propiedad tomadas con mi teléfono iPhone 11, la edición fue hecha en Canva, para la traducción del inglés utilice el traductor de Google
Thanks for participating in the monthly contest, we are glad that you were able to participate against all odds. Your organizer looks good and super useful. Great work, thanks for sharing.
selected by @ibbtammy
It is a great pleasure to participate in these incredible contests. Thank you for giving us such great motivation. I wish I had much more time to be able to make more creations. Thank you for all the support.😊❤️
Me gusta porque es muy fácil de hacer, además de que tiene un toque hogareño muy bonito, la gallina es el detalle perfecto. Además, tiene doble utilidad. Que lindo adorno, jijiji.
Gracias amiga por su bonito comentario me llena de motivación, saludos
🎉🎉🥳 Congratulations 🥳🎊🎊
Your post has just been curated and upvoted by Ecency
keep up the good work
Join us on the Ecency Discord
Chevere regalo para compartir ideas
..gracias por apoyar...
Gracias 🥰
Sencilla pero muy linda. Gracias por compartir el procedimiento.
Gracias 😊
muy creativo, está ingenioso!
very creative, it's ingenious!
Gracias 🥰
Amiga encantada con tu hermosa idea hasta me provoco hacerlo el tutorial esta expectacular para seguirlo y hacerlo perfecto muchas gracias por compartir me gusto mucho este porta huevos y servilletas, bendiciones para ti amiga.
Muchas gracias amiga, saludos 🥰
Wow this so useful and amazing
You did awesomely well
Thank you very much 🥰
It looks simple but very beautiful and interesting.. thank you for sharing the tutorial sis 😍😍
Thank you very much 😊