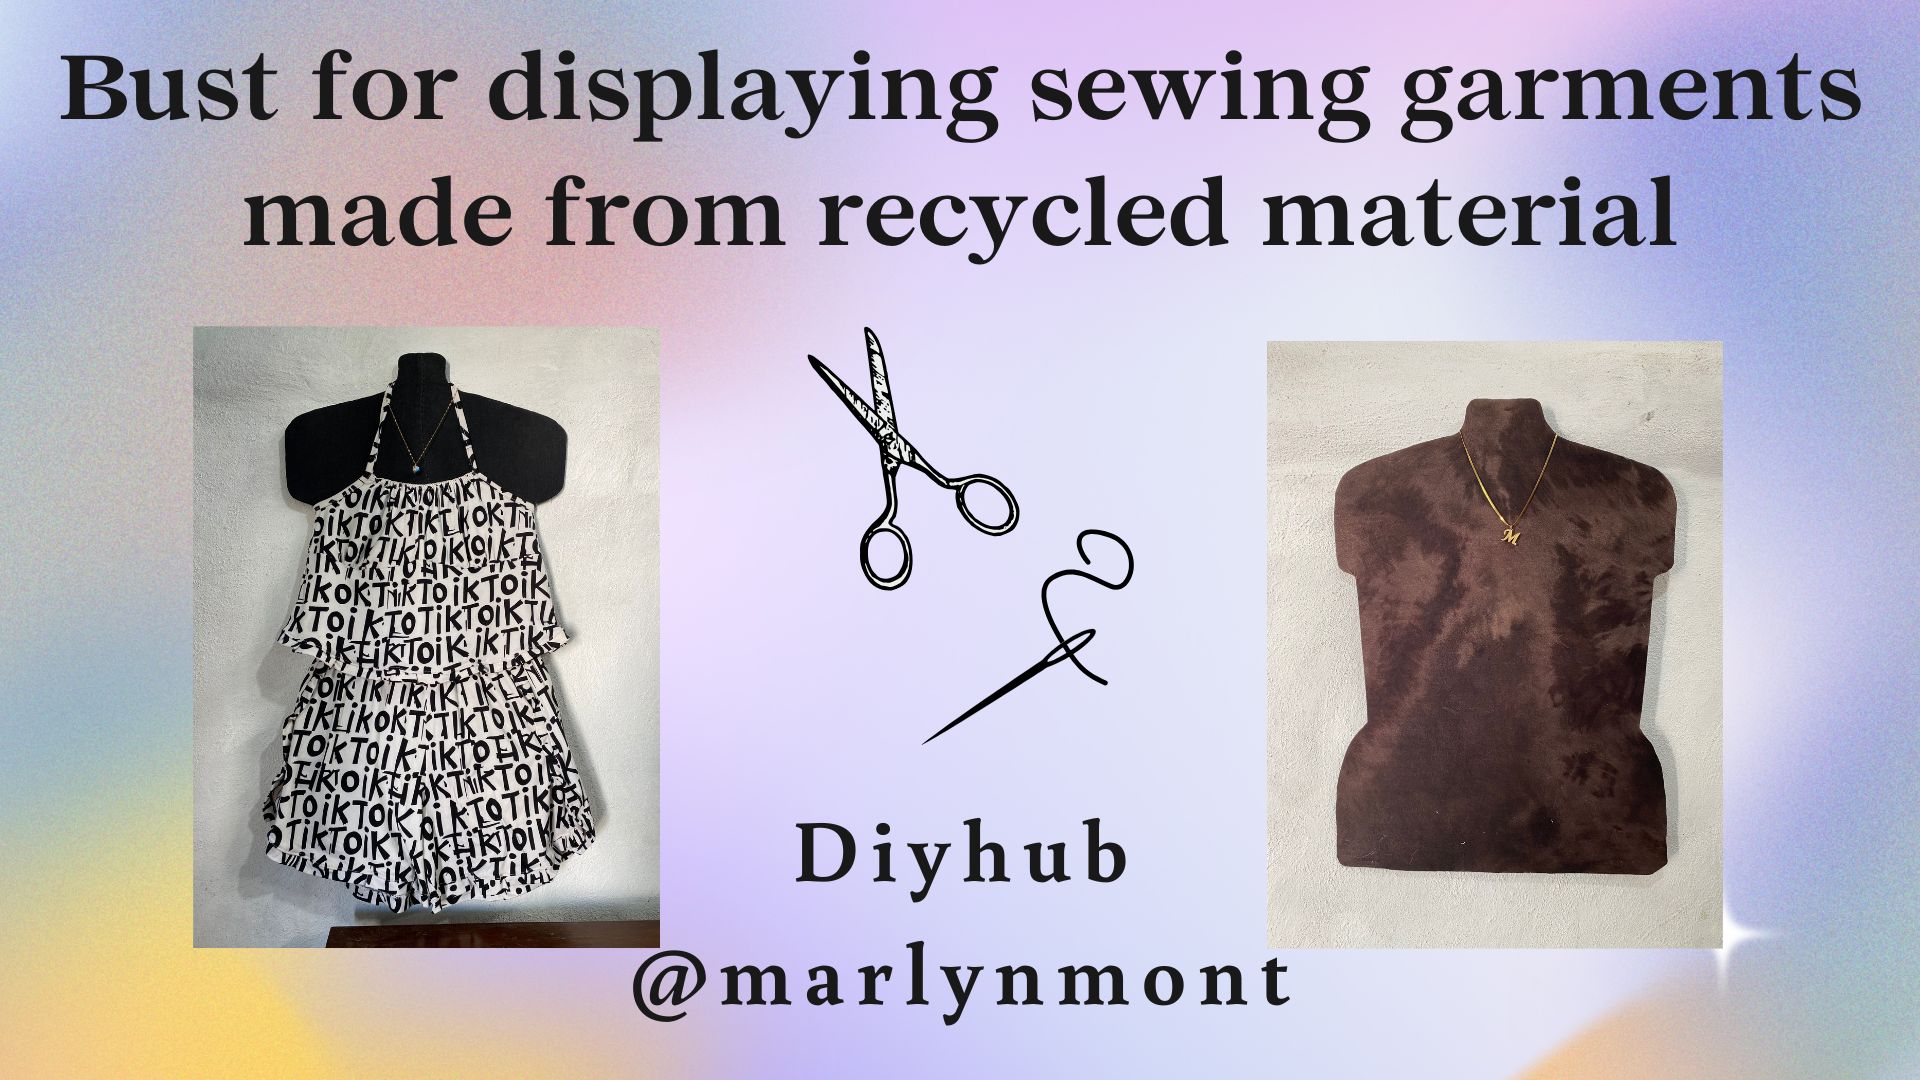
Busts to display sewing garments 🪡🧵♻️❤️ [eng/esp]
Greetings, dear friends of DIYHUB, I'm pleased to be making my first entry for the June contest "Recycling, Upcycling, and Repairing 🛠️"
One of the greatest passions I have had throughout my life is sewing, whenever I make clothes I have felt that need to somehow show them so they look beautiful, but without a bust or mannequin it is a bit complicated, especially when taking photographs and showing them, that is why today I want to show you an idea to present your clothes and make them look better when you offer them, come and I will show you the step by step:
Saludos queridos amigos de DIYHUB, me complace hacer mi primera participación para el concurso del mes de junio “ Recycling, Upcycling and Repairing 🛠️”
Una de las pasiones más grandes que he tenido a lo largo de mi vida es la costura, siempre que hago prendas he sentido esa necesidad de alguna forma mostrarlas que se vean bonitas, pero sin un busto o maniquí es un poco complicado, sobre todo al tomar las fotografías y mostrarlas, es por eso que hoy quiero mostrarles una idea para presentar tus prendas y que se vean mejor al momento de ofrecerlas, ven y te muestro el paso a paso:
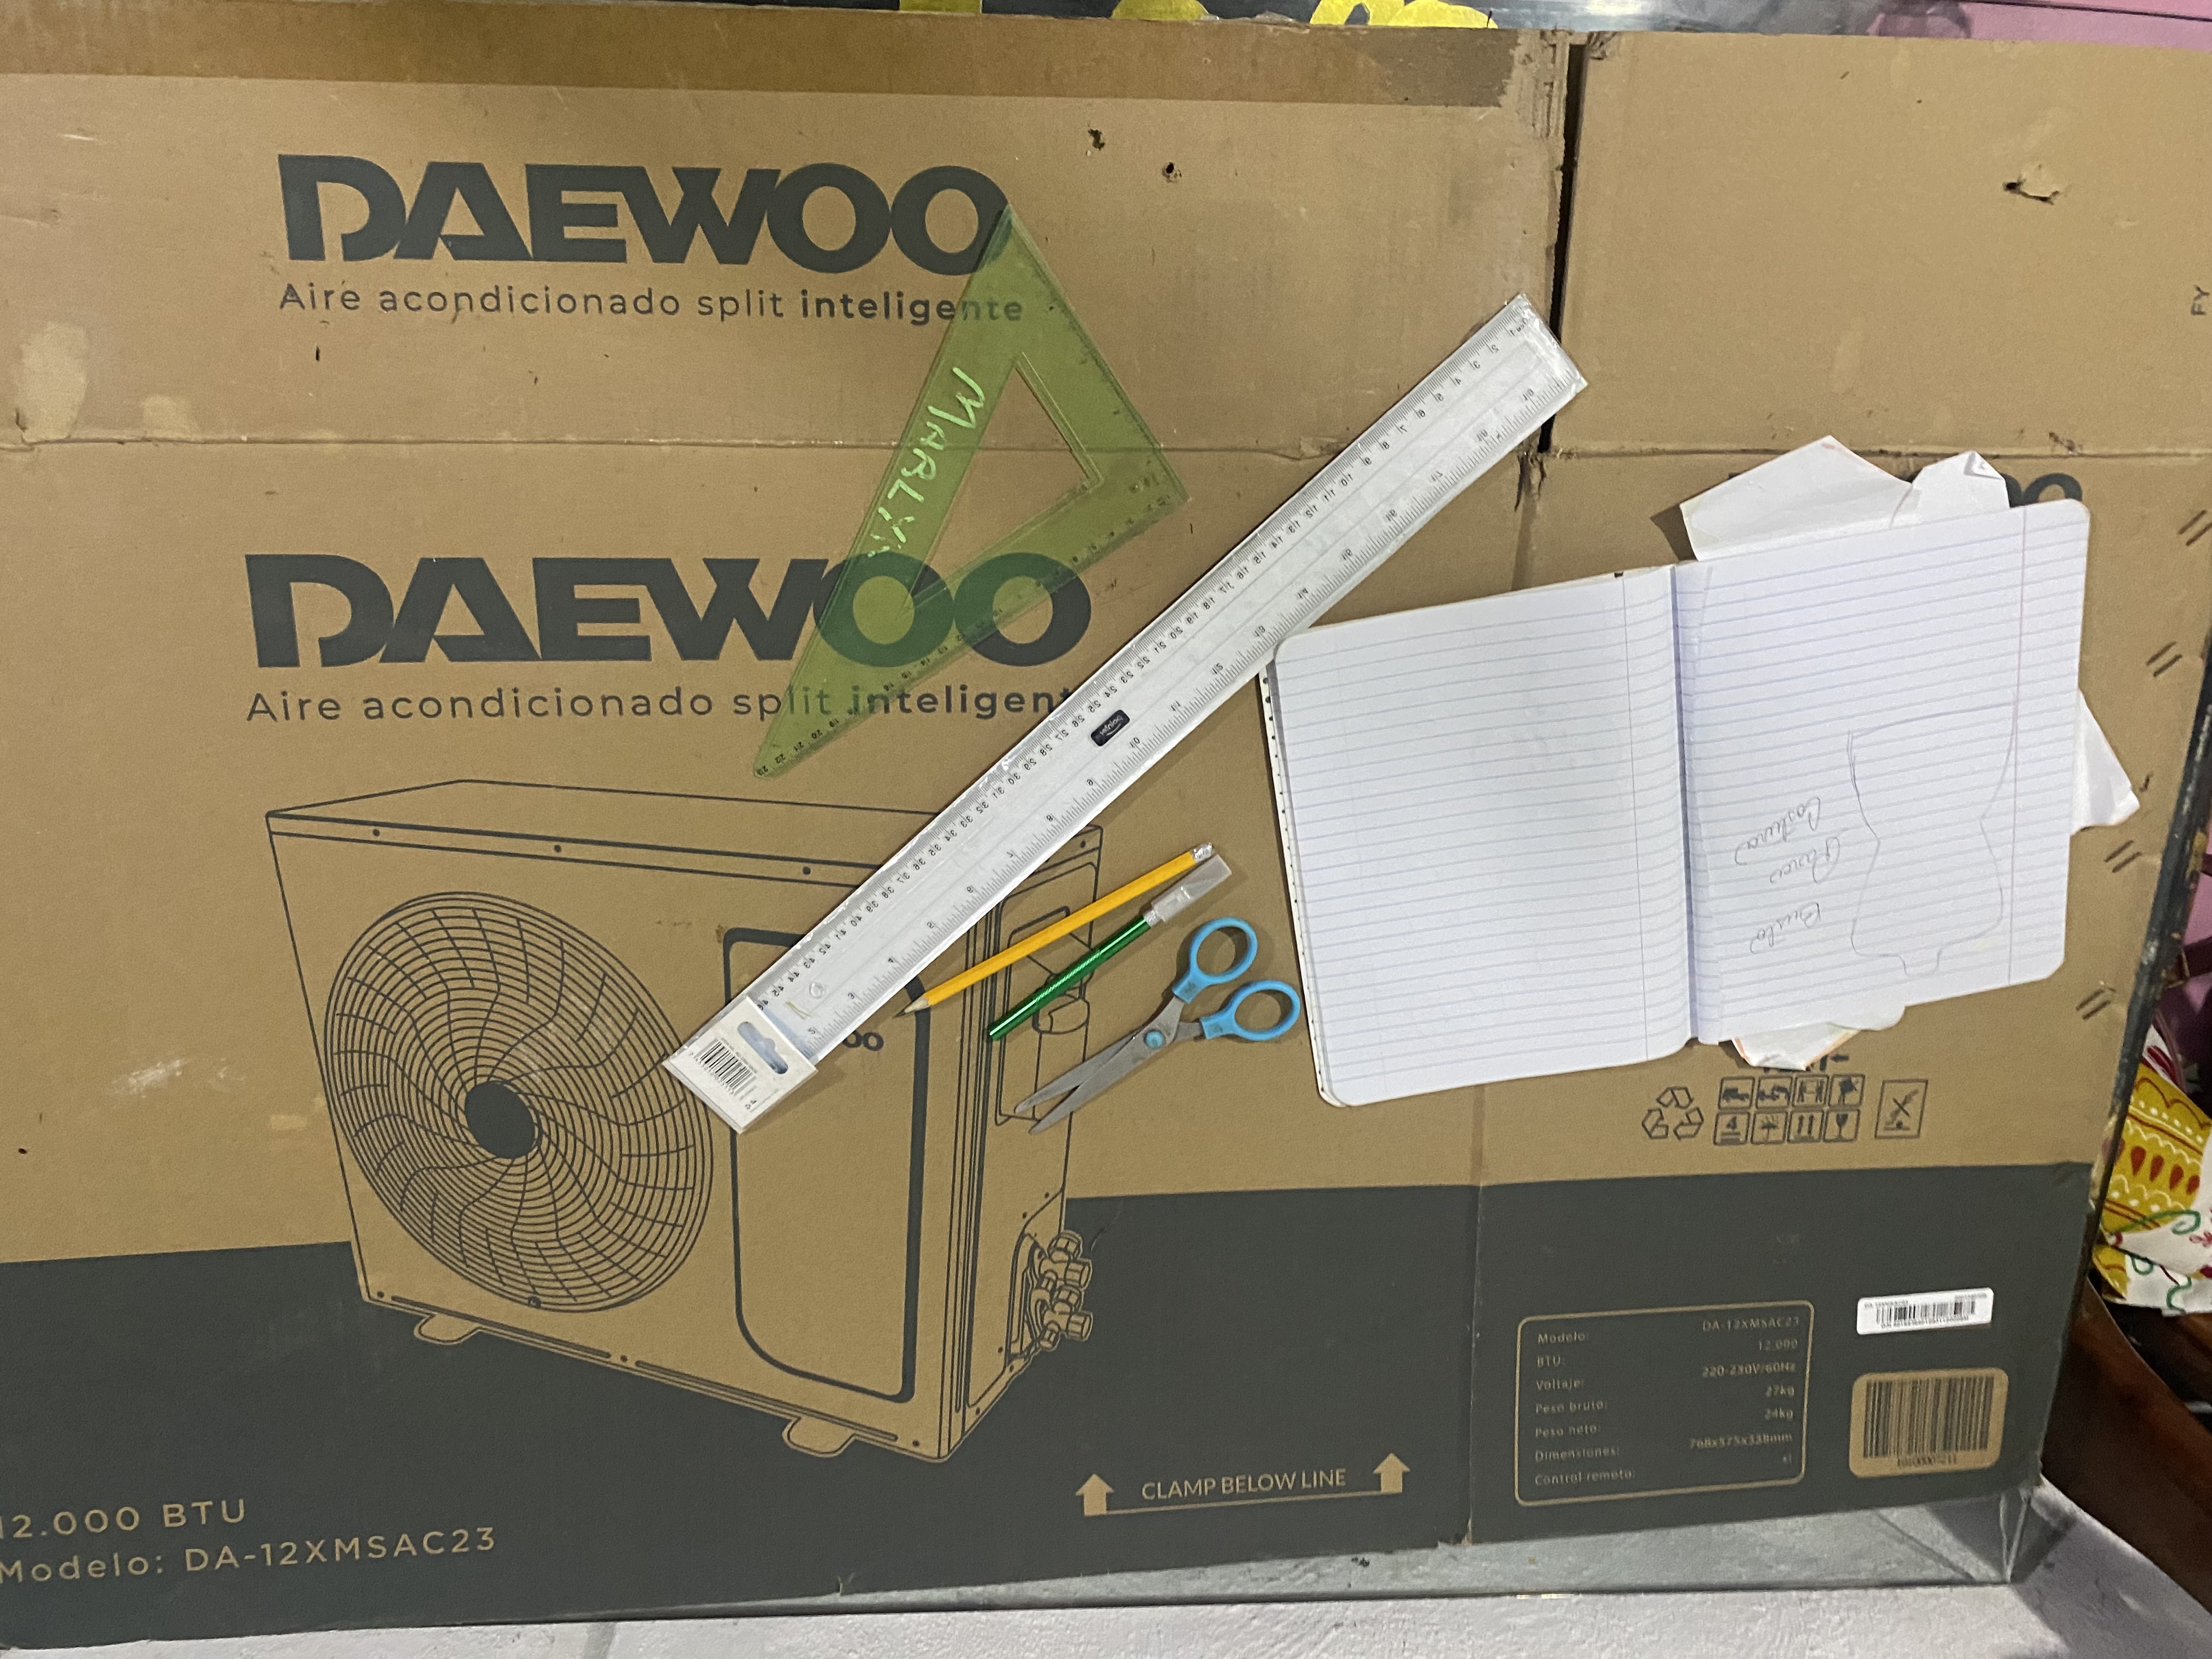
MATERIALES
MATERIALS
One of every seamstress's greatest dreams is to have her own bust or mannequin so she can beautifully display all the garments she makes. However, these are quite expensive, and few women manage to afford them. I once worked in the informal economy selling children's clothing, and back then I bought some sample books made of thick wire. I thought about finding a way to make one for clothing in that shape but larger, but I don't have this material on hand at the moment. So I thought about making it out of recycled material, and what better than cardboard? This idea seemed brilliant, and I finally got down to work. Today, the day has come to make my sewing bust out of recycled materials. Here are the materials to use:
- Large cardboard
- Precision sharpie
- Scissors
- Pencil or marker
- Basic blouse pattern
- Fabrics from old clothes that you no longer use or are damaged
- Silicone
Uno de los deseos más grandes de toda costurera es tener su propio busto o maniquí para poder mostrar de una manera hermosa todas las prendas que va confeccionando, pero estos son bastante costosos y son pocas las que logran adquirirlos, hace tiempo trabajé en la economía informal vendiendo ropa de niño y en ese entonces compré unos muestrarios hechos con alambre grueso, pensé en buscar la manera de hacer uno para ropa en esa forma pero más grande, pero por los momentos no tengo este material a la mano, así que pensé en hacerlo en material de reciclaje y que mejor que el cartón, me pareció genial esta idea y al fin me puse manos a la obra, y hoy ha llegado el día para hacer mi busto de costura en materiales de reciclaje, aquí les dejo los materiales a utilizar:
- cartón grande
- Exacto de precisión
- Tijeras
- Lápiz o marcador
- Patrón Basico de blusa
- telas de ropa vieja que ya no uses o están dañadas
- silicone
PASO A PASO
STEP BY STEP
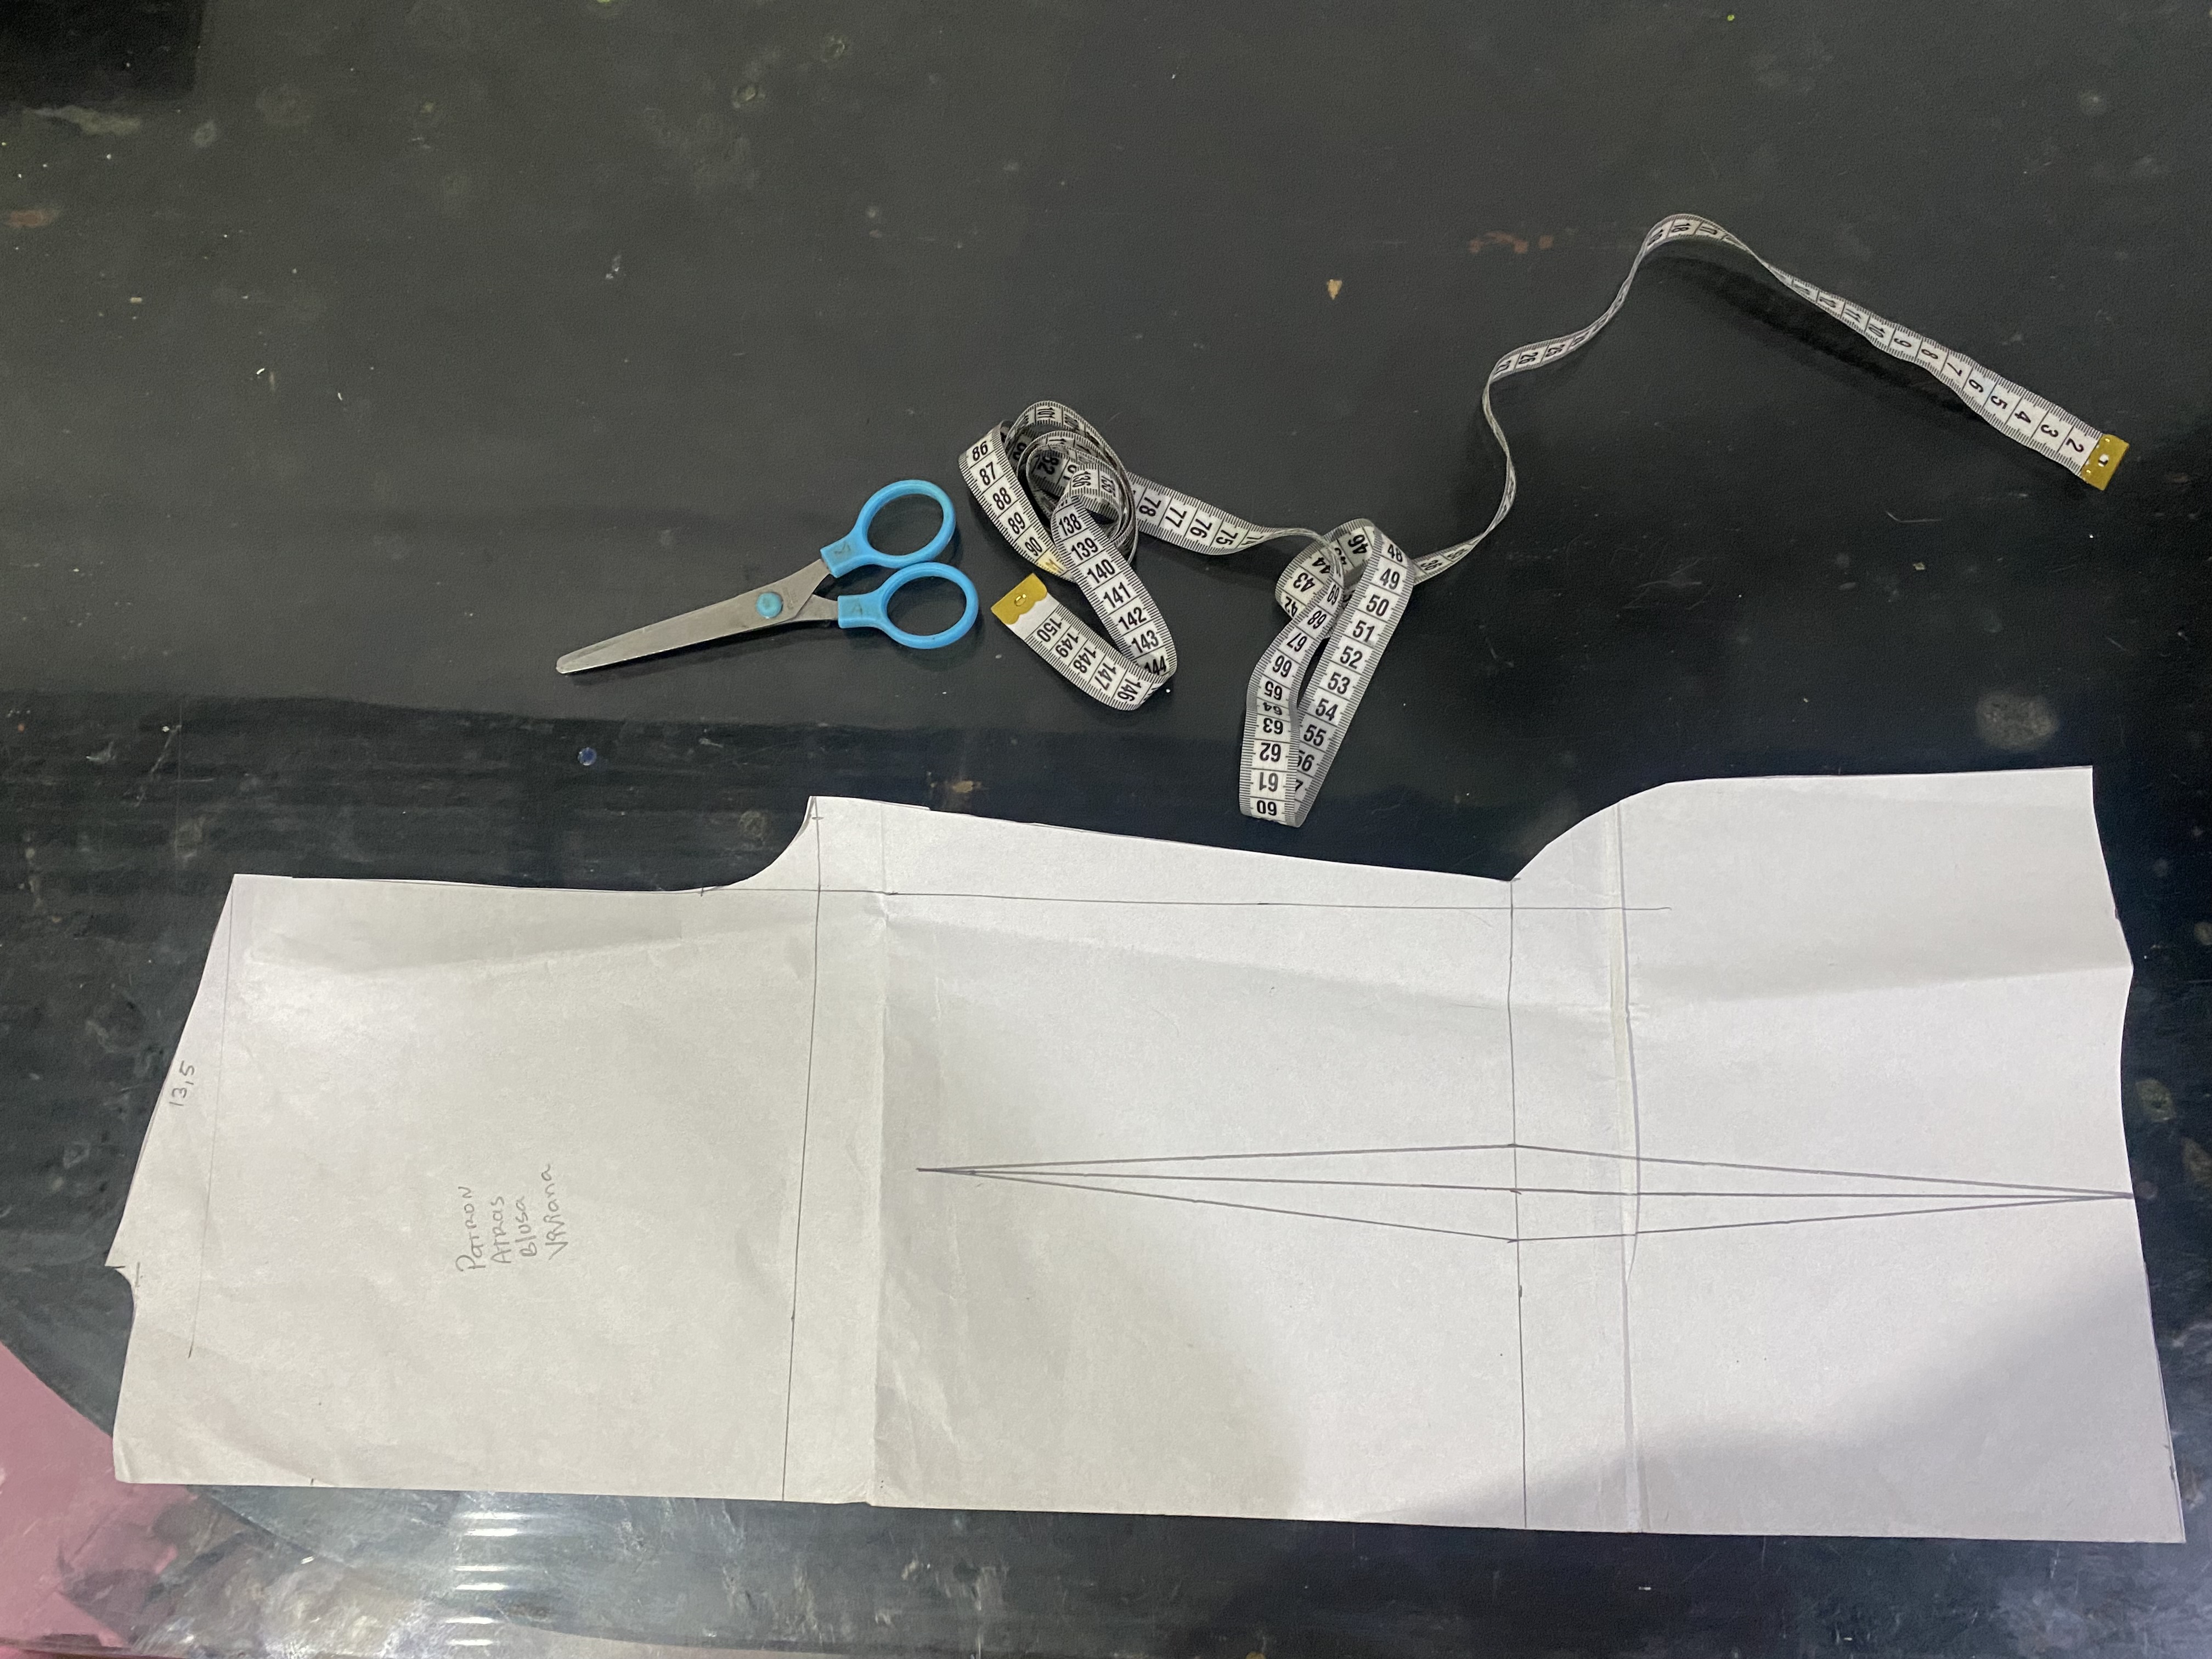
𝓟𝓐𝓢𝓞 1
We will start by drawing the Basic blouse pattern with the measurements of your preference, in my case I will do it with the measurements of one of my daughters, Ema is like size M, so it won't be so big for me, her measurements are: back width: 38 cm, bust circumference 92 cm, detail length 46 cm, waist circumference 82 cm, hip circumference 100 cm.
Comenzaremos dibujando el patrón Basico de blusa con las medidas de su preferencia, en mi caso lo voy a hacer con las medidas de una de mis hijas, Ema es como talla M, así no me quedará tan grande, sus medidas son: ancho de espalda:38 cm, contorno de busto 92 cm largo detalle 46 cm, contorno de cintura 82 cm, contorno de cadera 100 cm.
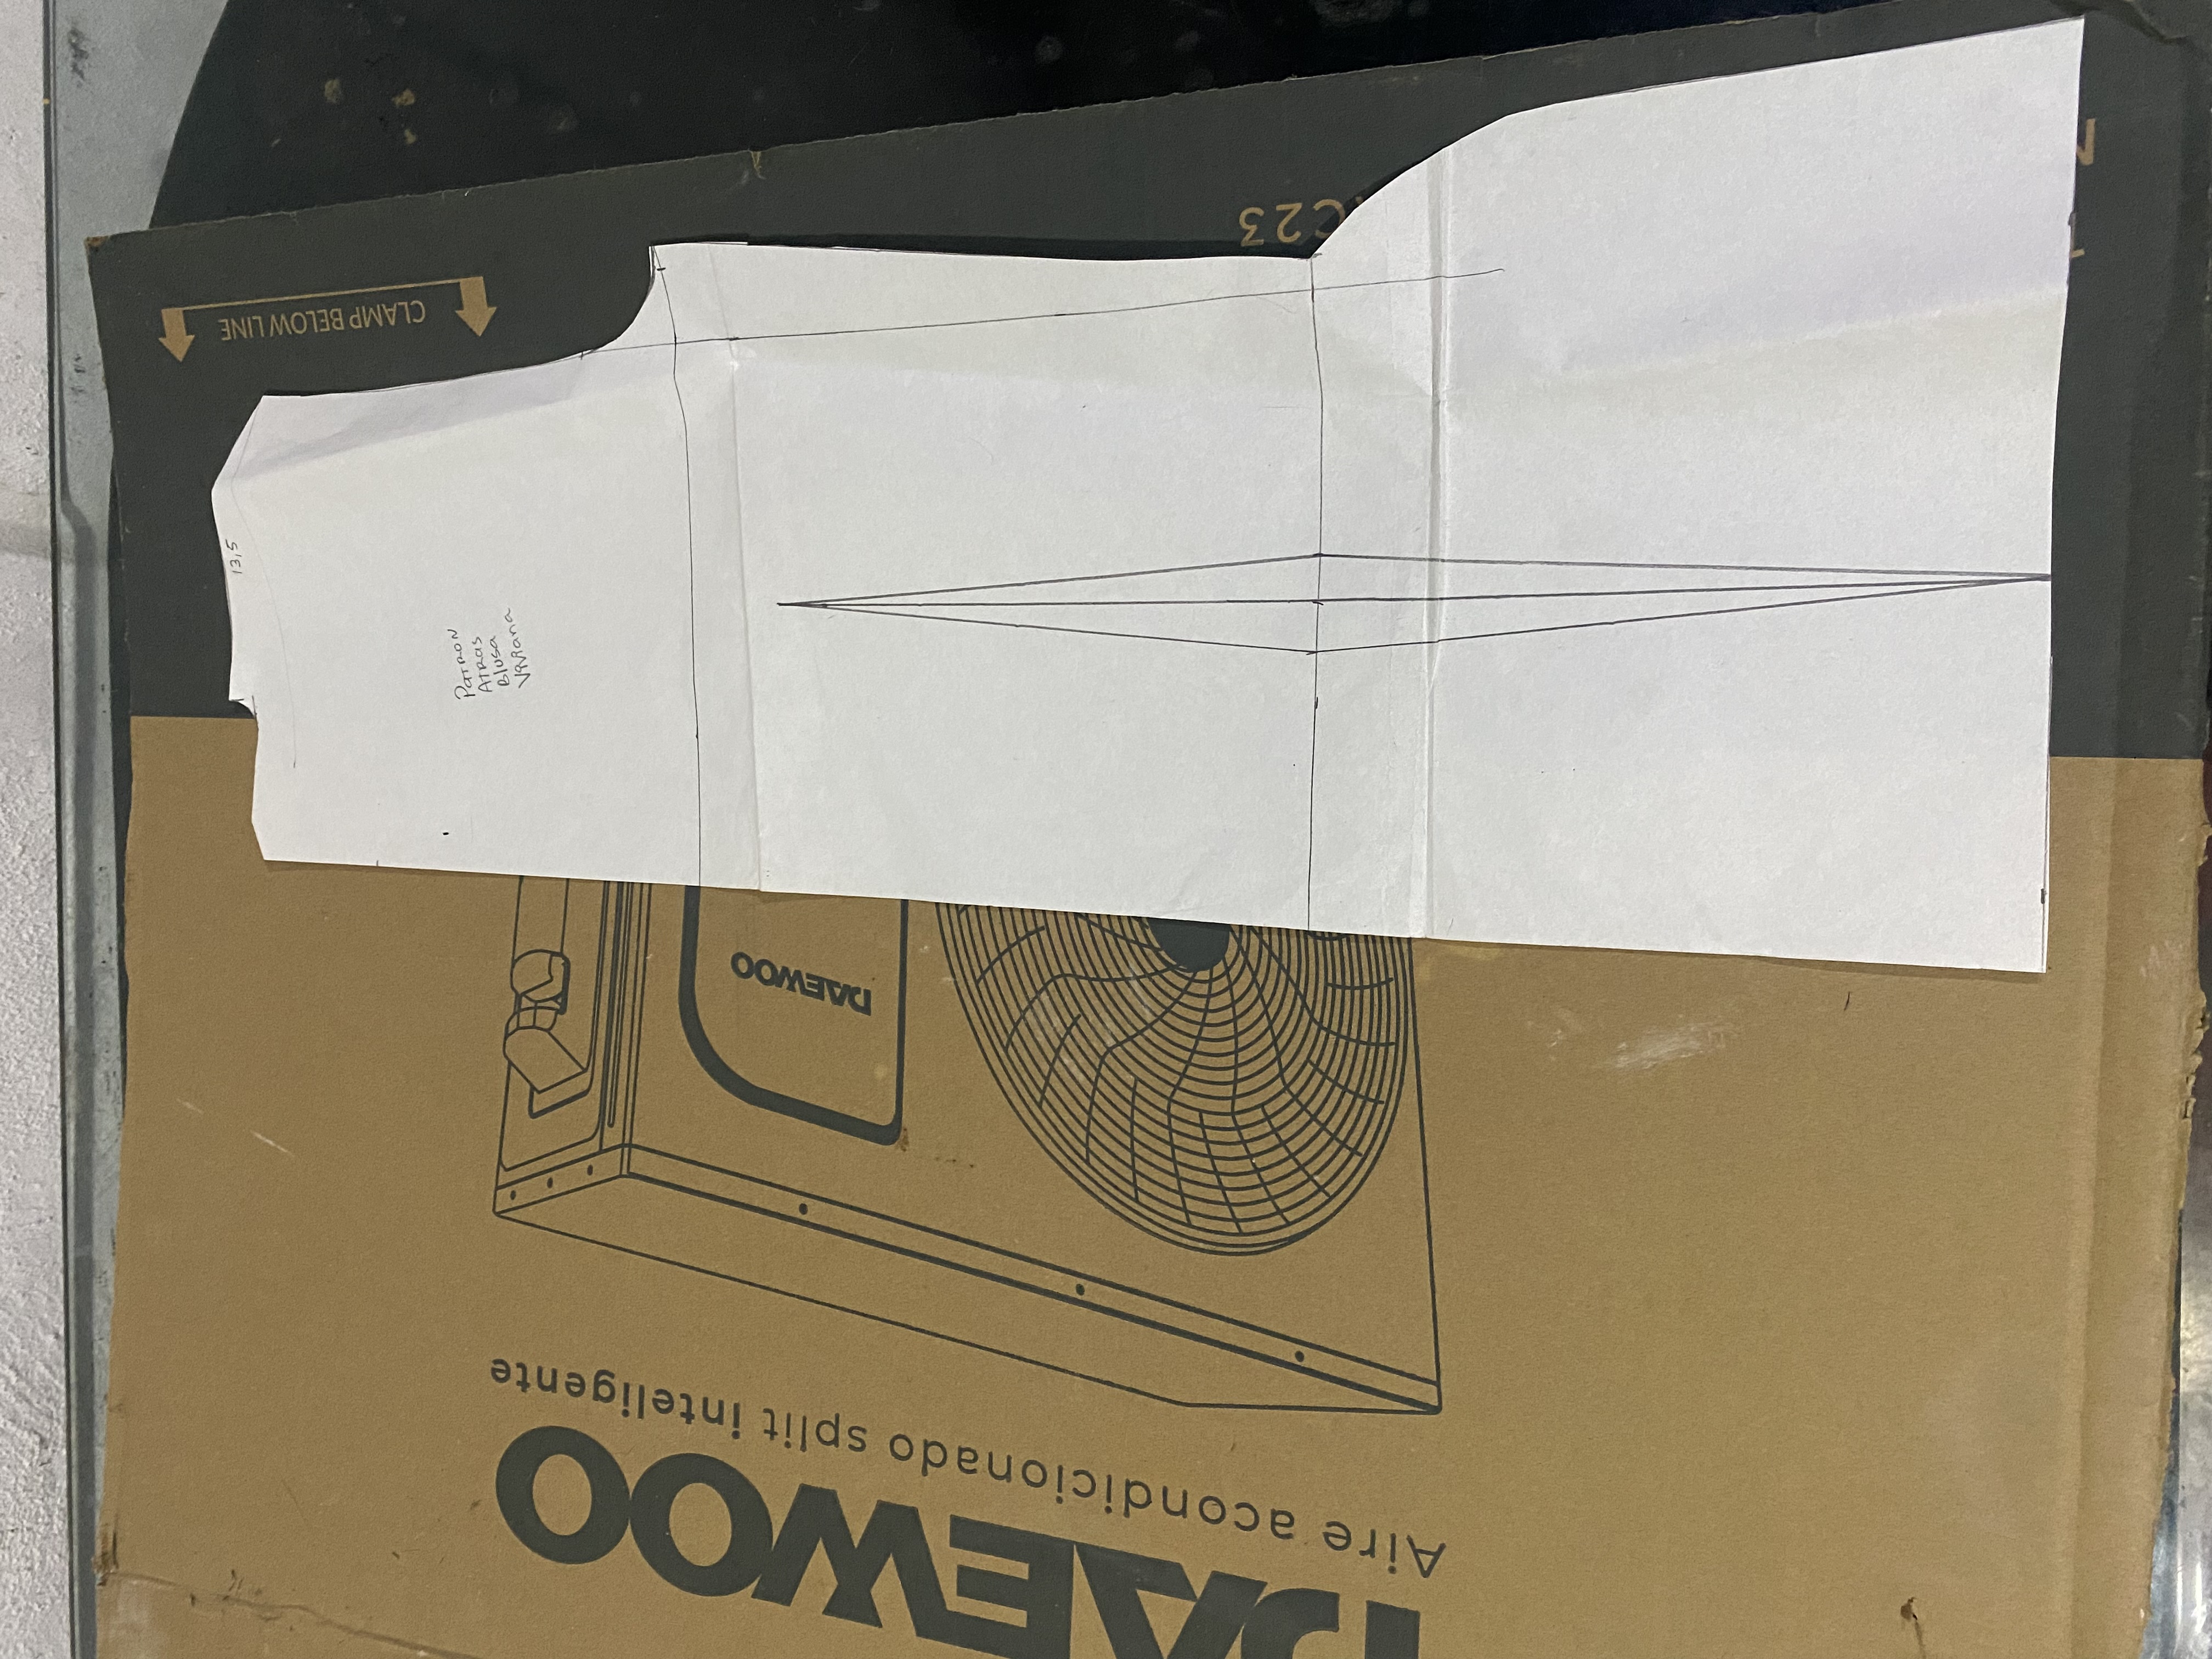
𝓟𝓐𝓢𝓞 2
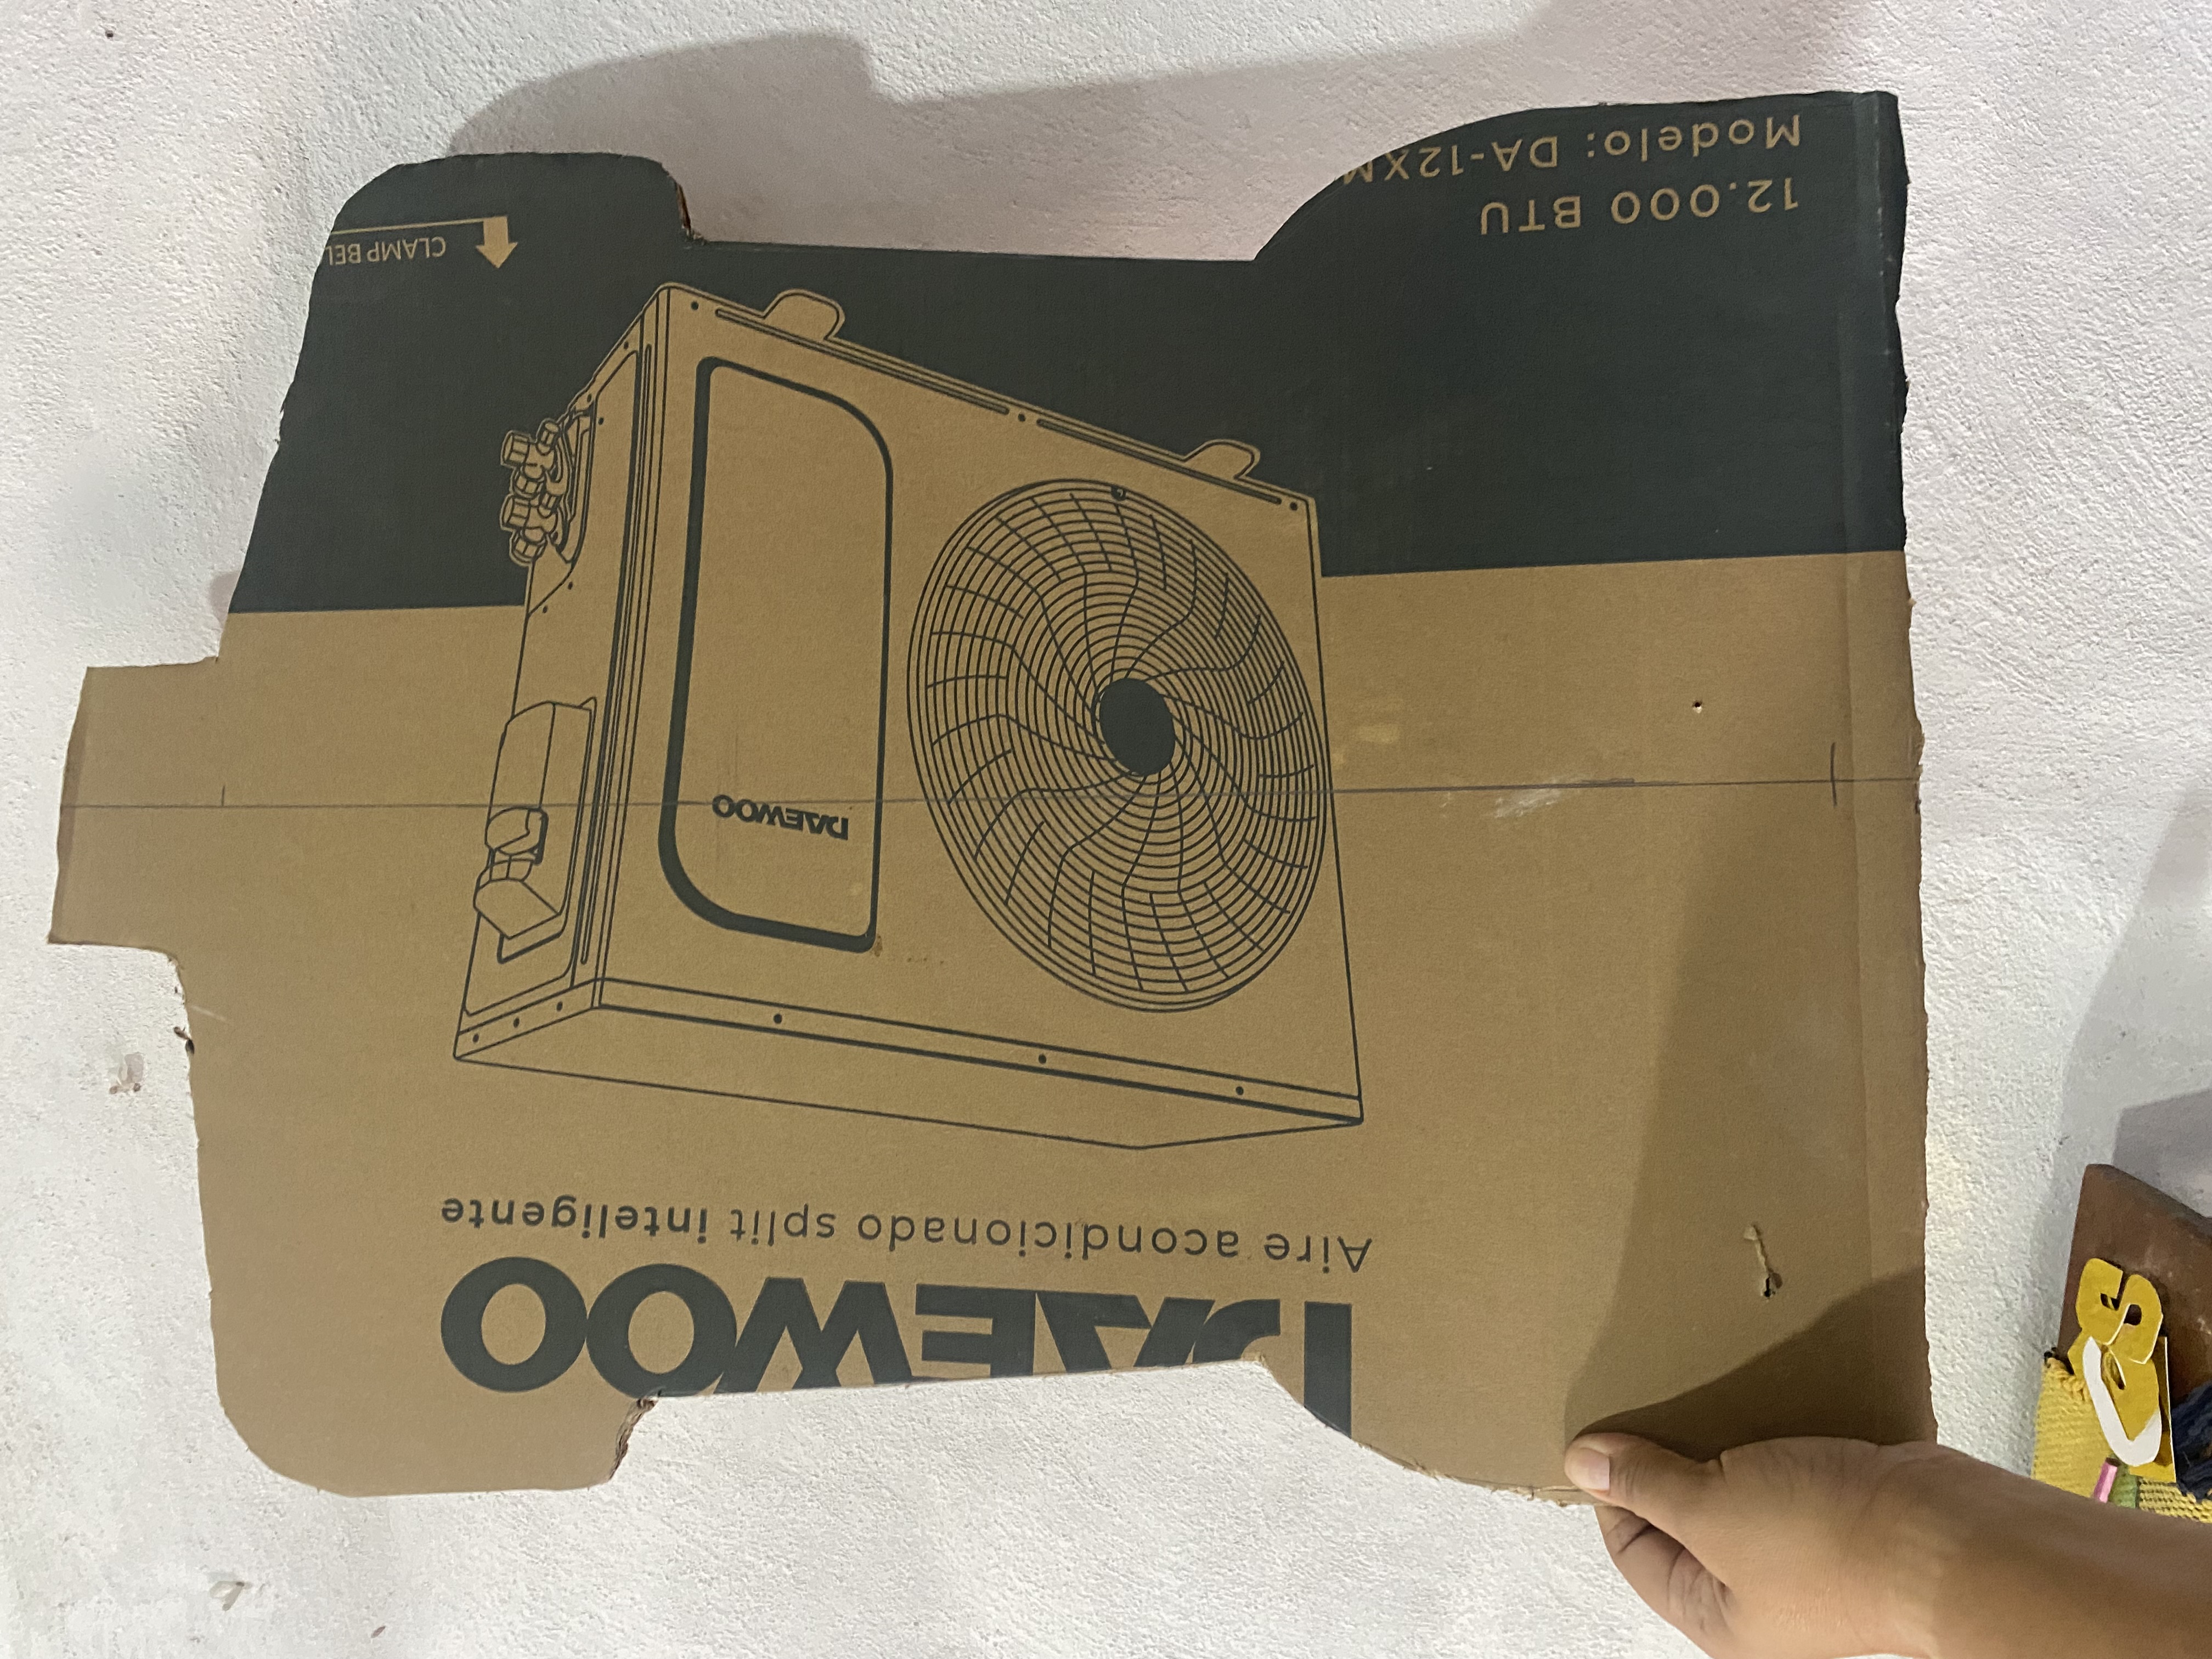
For the second step, we're going to trace the bust model onto our cardboard. You can cut the pattern in half with the paper and then unfold it. In my case, I had already drawn it on a single sheet of paper, so I'm going to draw a line down the center and then draw the pattern on both sides. To do this, I cut the cardboard scrap that I thought was enough for my bust since the cardboard I'm using is quite large and quite thick.
I marked the line 28 cm from the edge, with the intention of leaving a little room at the sleeve. After marking the cardboard, I began to cut. Once I had it cut, I realized it was quite large. I showed one of the small blouses I've made and saw that it was too big to fit and show this type of blouse. But I decided to cut another piece, and so I have two samples, one for a large size and one for a small size. For this, I used the same pattern, only I placed it further back from the center line to make it smaller.
Para el segundo paso vamos a plasmar el modelo de busto en nuestro cartón puedes cortar el patrón con el papel a la mitad y luego desplegar, en mi caso ya lo tenía dibujado en una sola hoja de papel así que voy a trazar una línea por el centro y luego voy a dibujar en ambos lados el patrón, para esto corté el retazo de cartón que creí suficiente para mi busto ya que el cartón que estoy usando es bastante grande y de de bastante grosor.
Marque la línea a 28 cm de distancia de la orilla, eso con la intención de dejarle un poco ancho en la manga, luego de marcar el cartón comencé a cortar, al tenerlo ya cortado me di cuenta que había quedado bastante grande, mostré una de las blusas pequeñas que he hecho y vi que era muy grande para meter y mostrar este tipo de blusas, pero decidí cortar otra pieza y así tengo dos muestrarios uno para talla grande y uno para talla pequeña, para esto utilizace el mismo patrón sólo que lo ubiqué Más adentro de la línea del centro y así poder hacerlo más pequeño.
 |  |
|---|---|
 |  |
𝓟𝓐𝓢𝓞 3
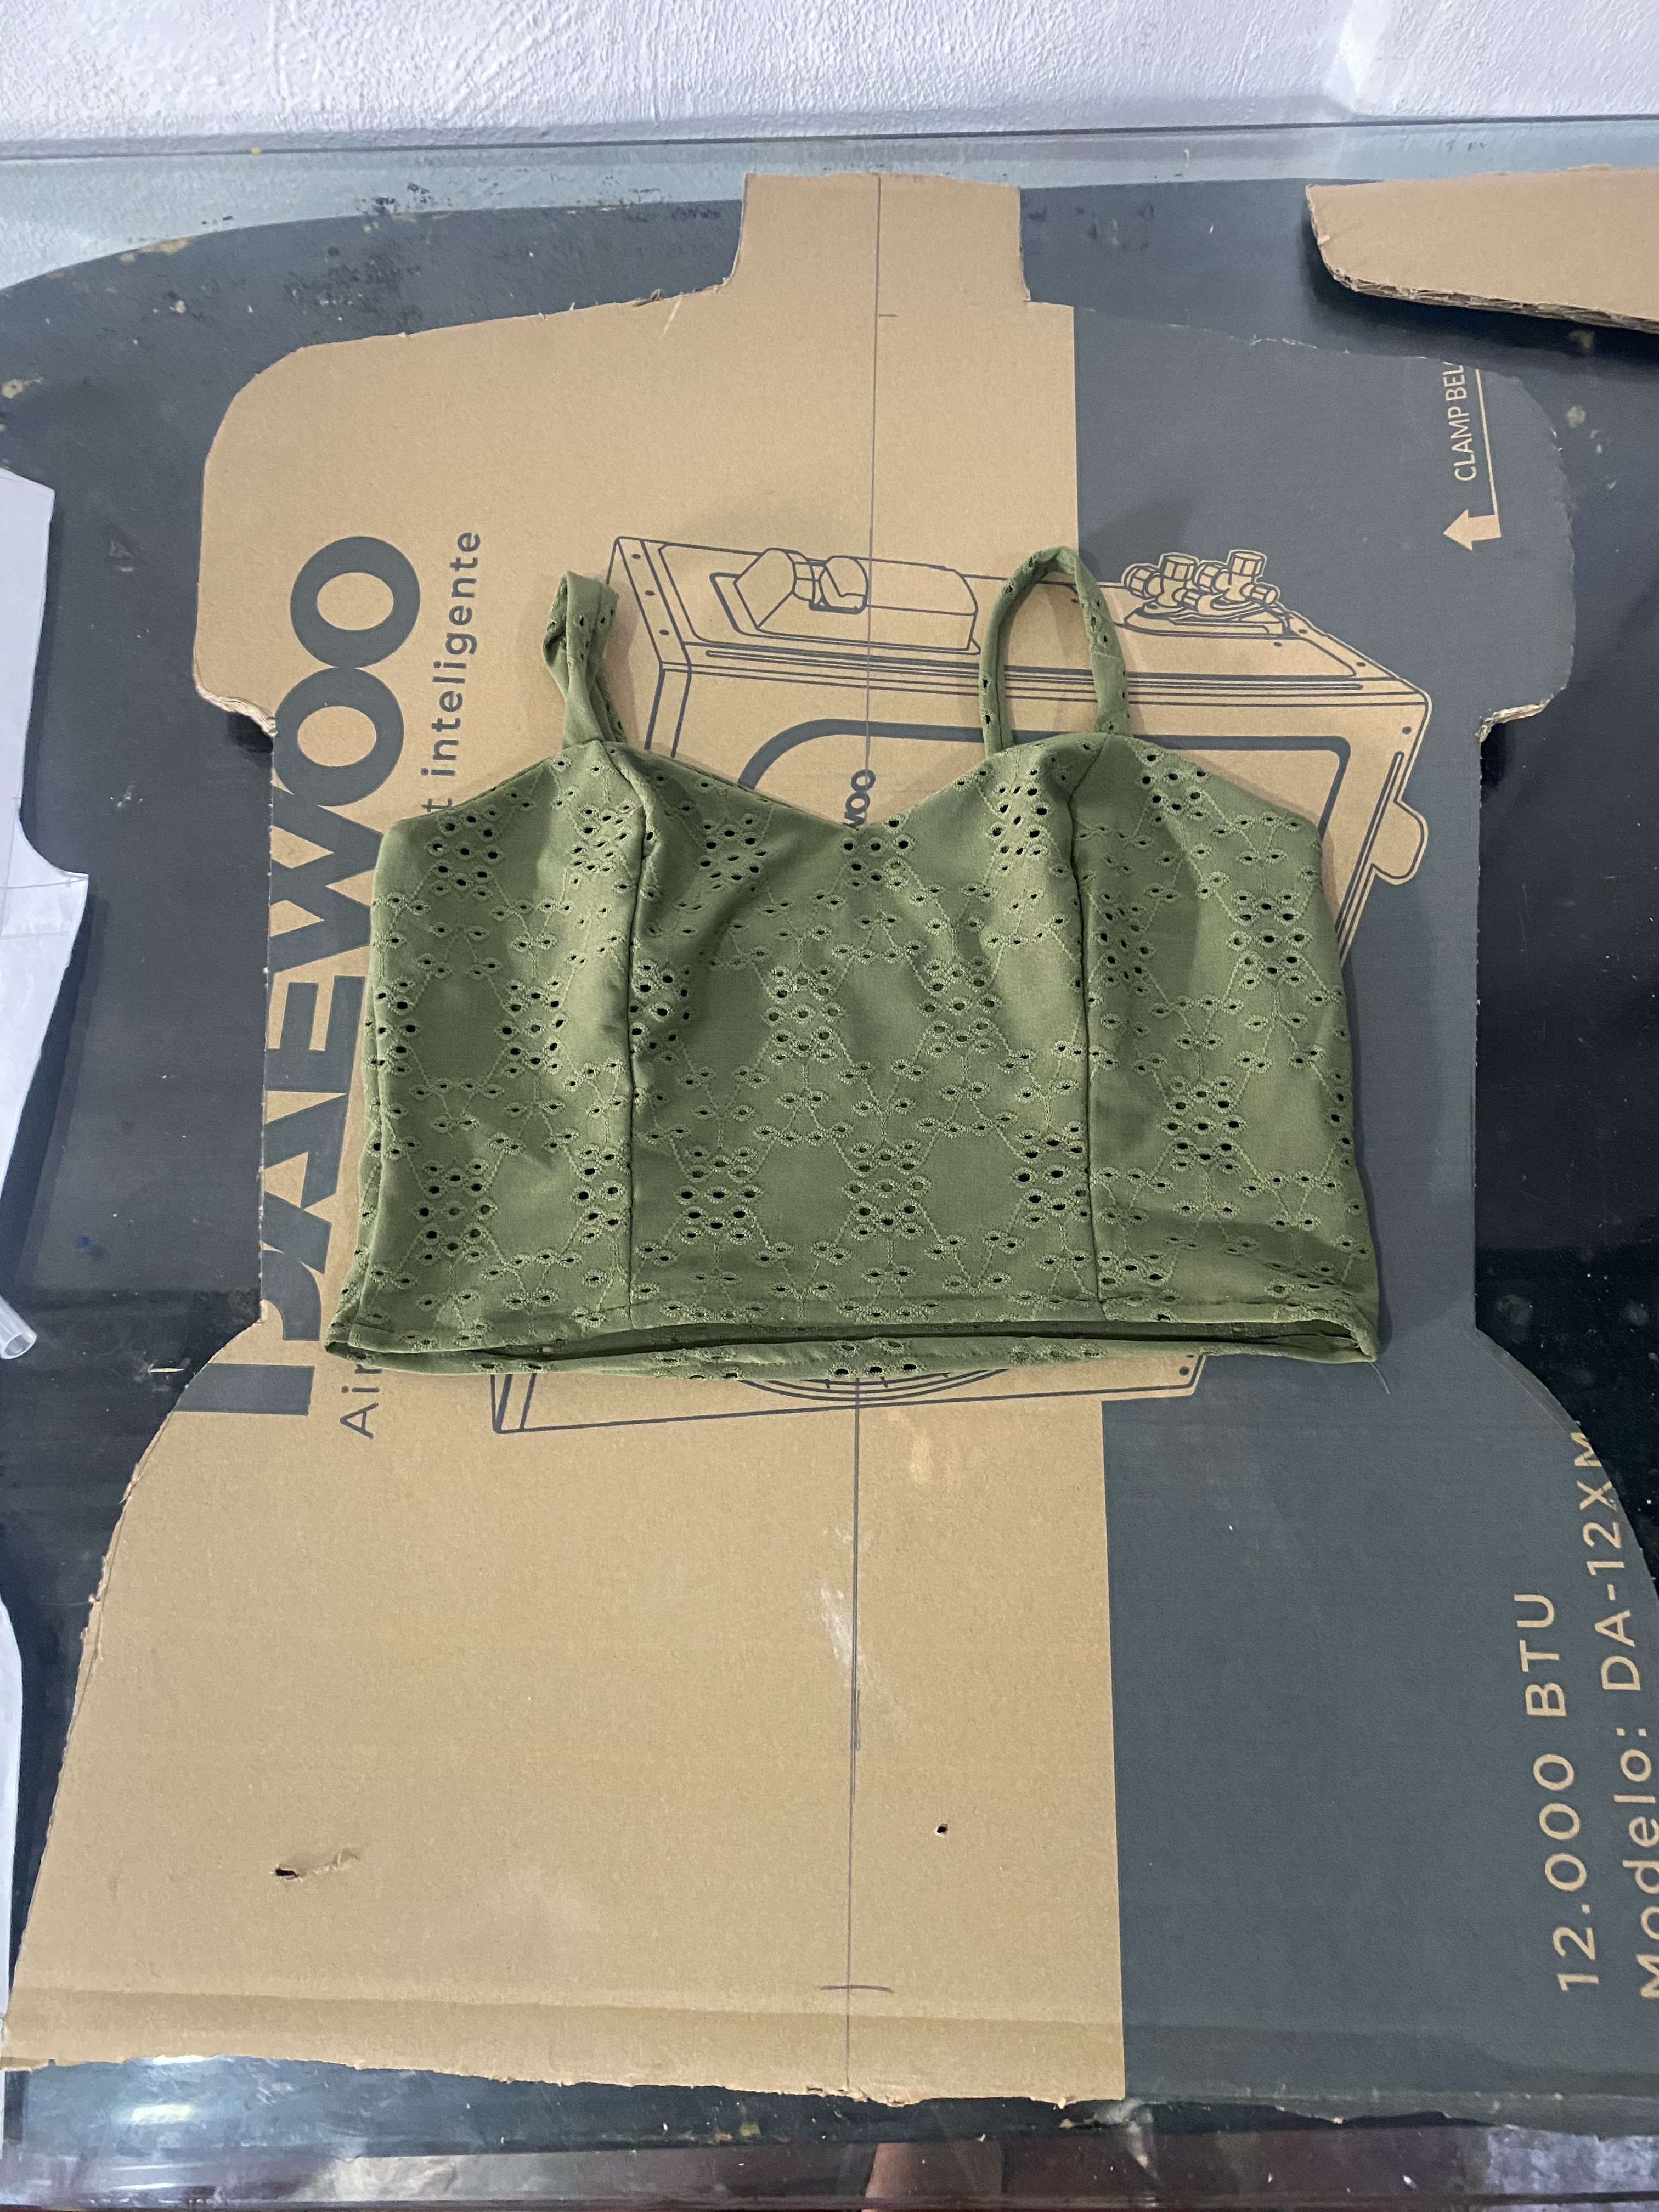
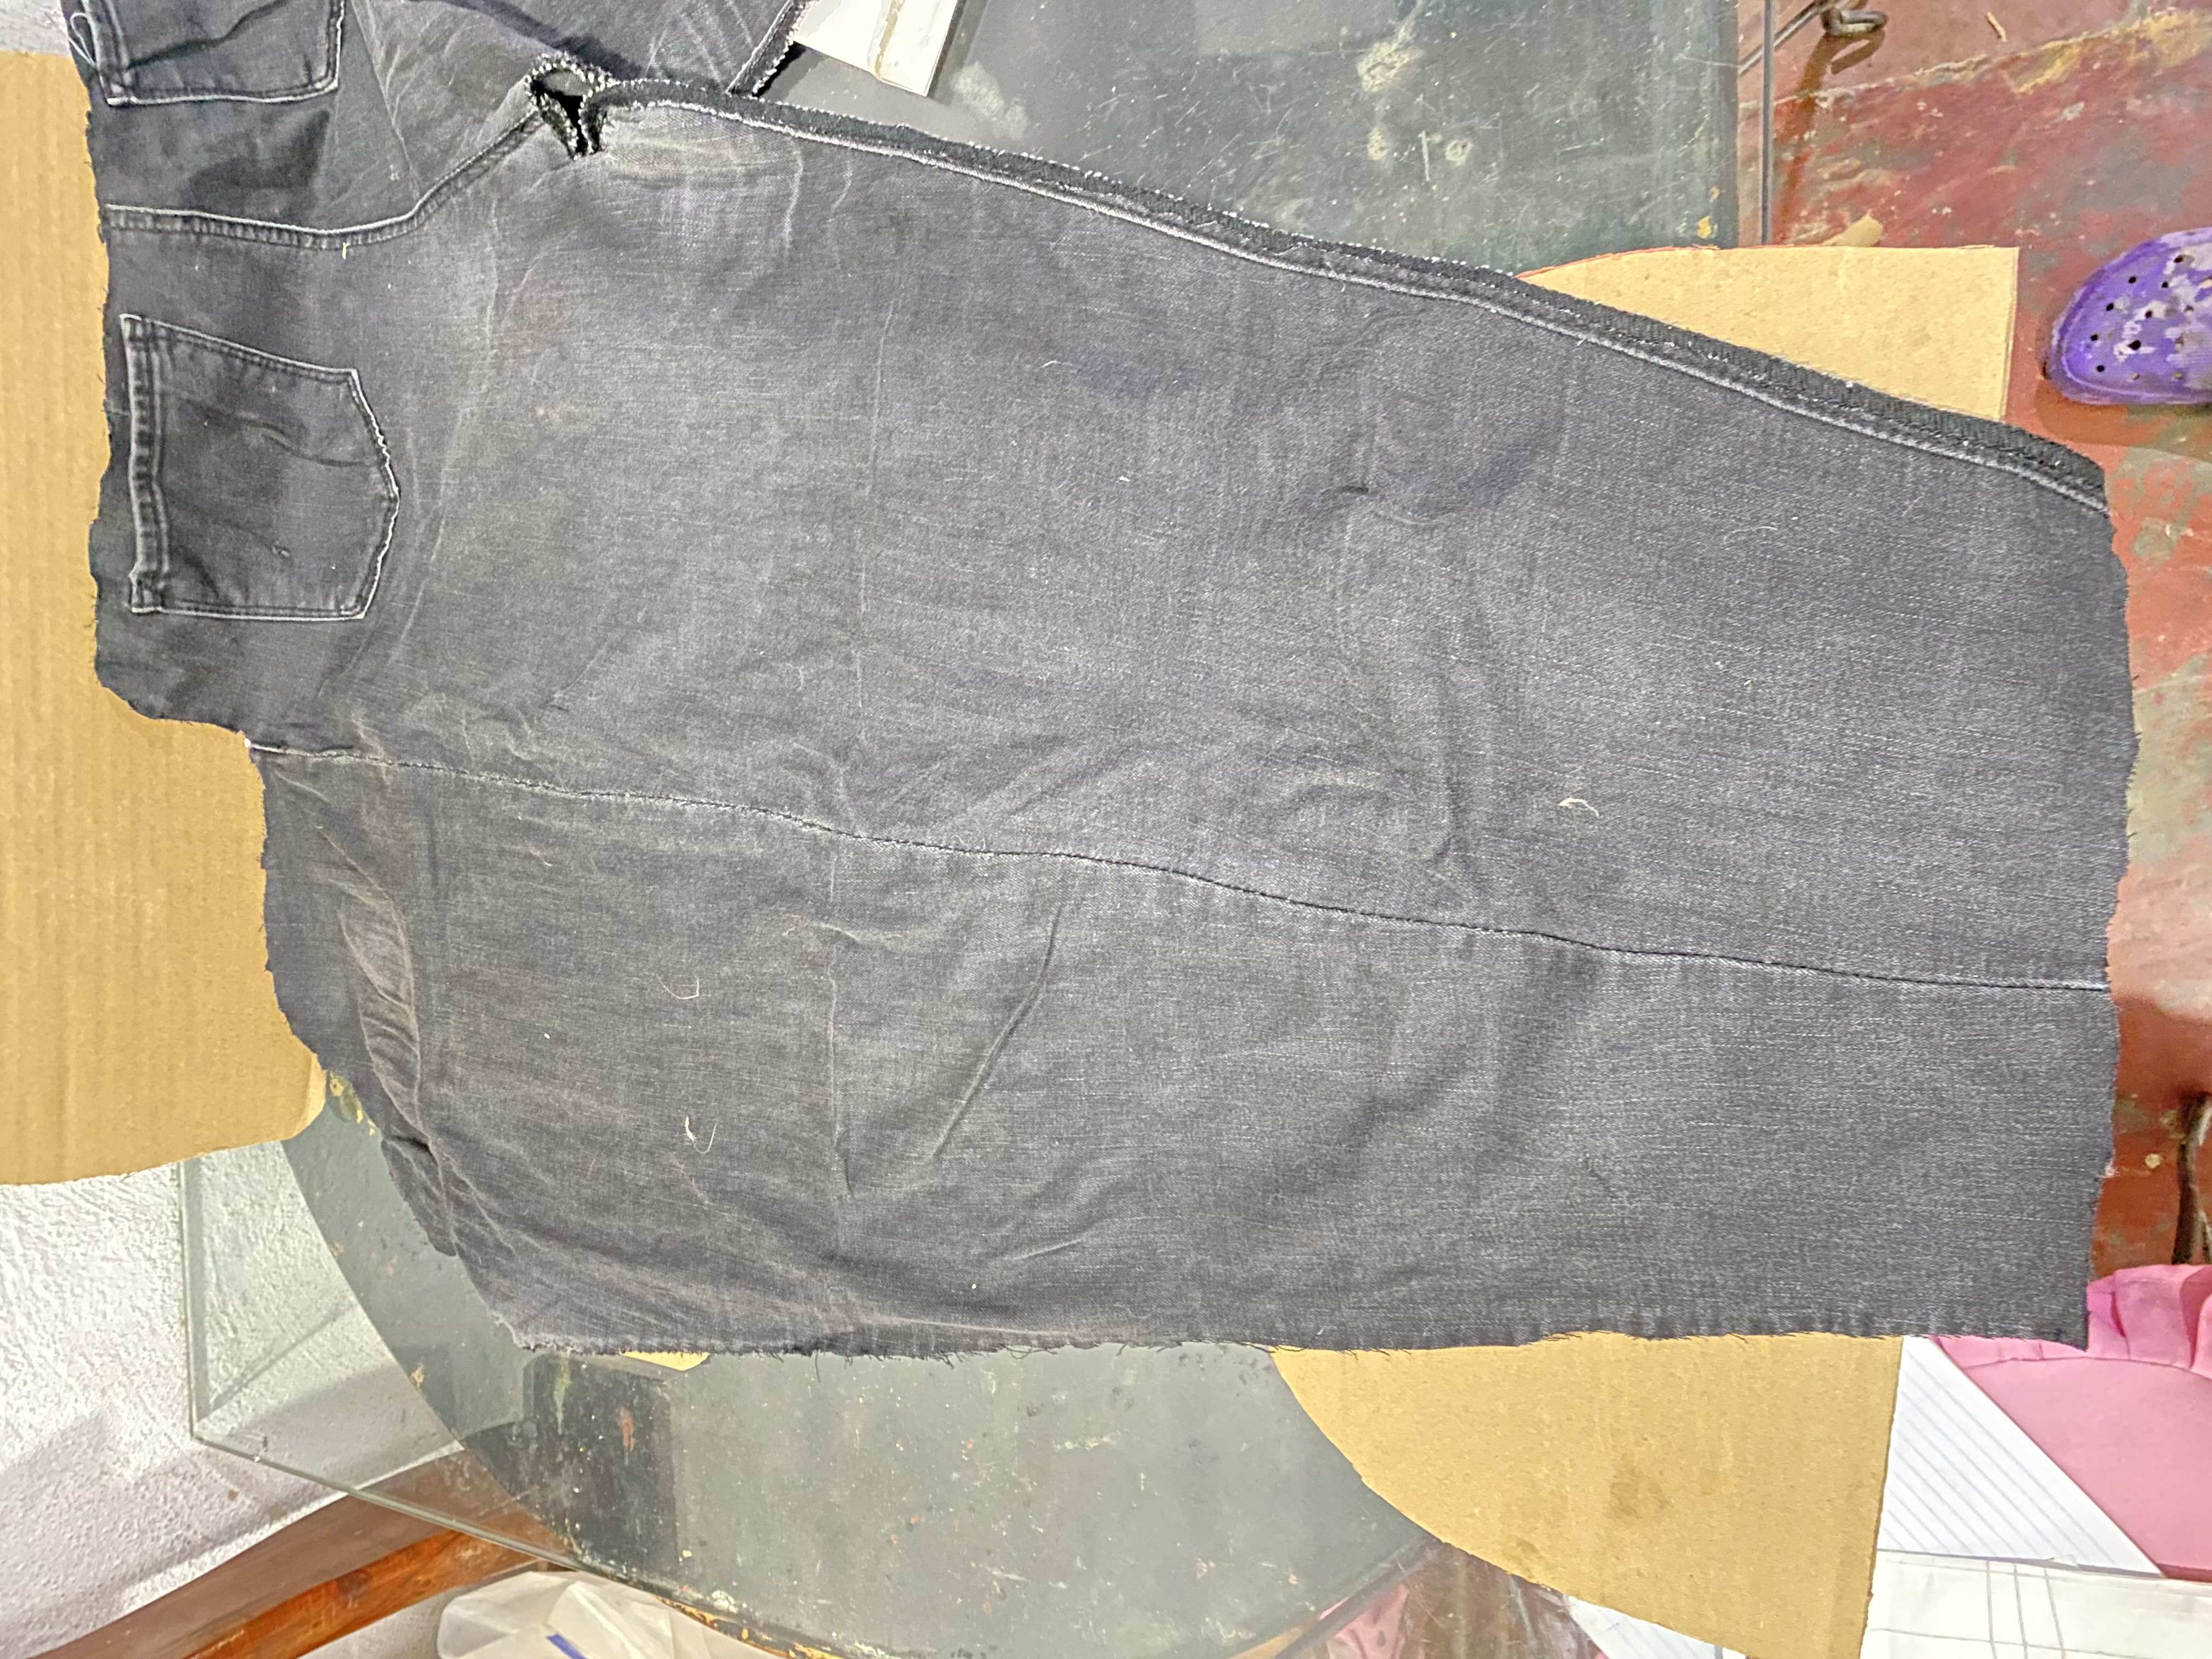
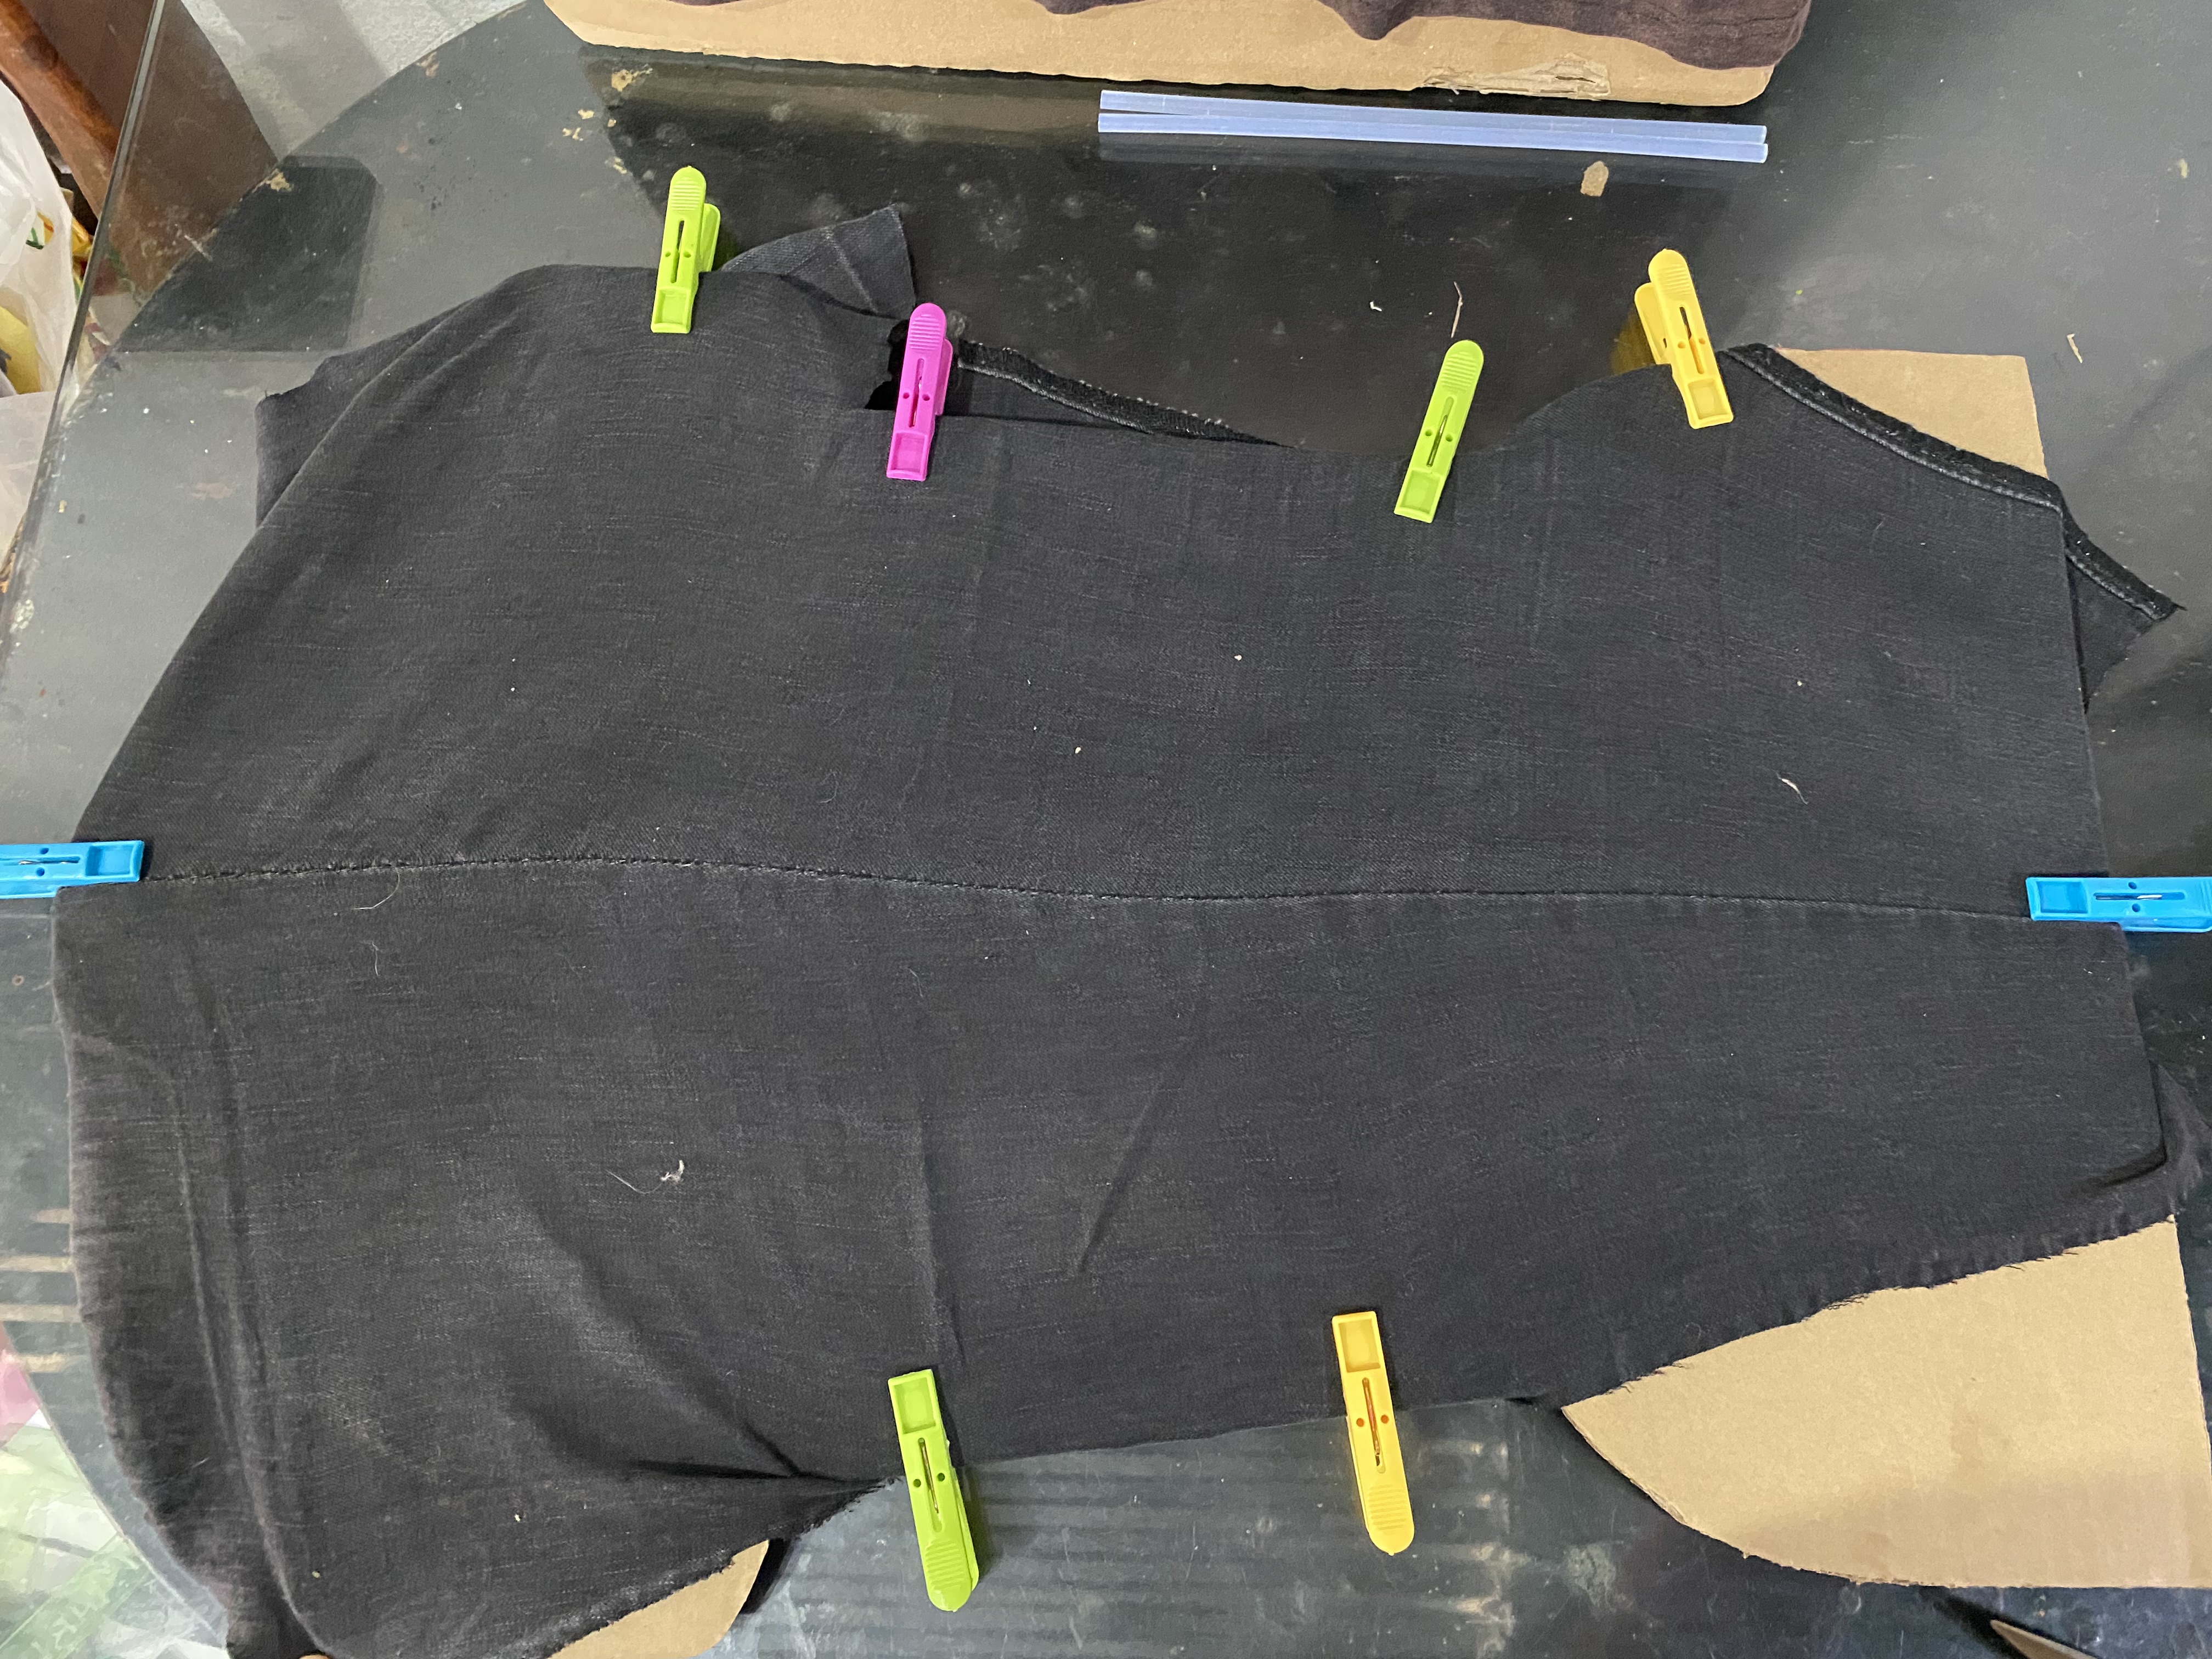
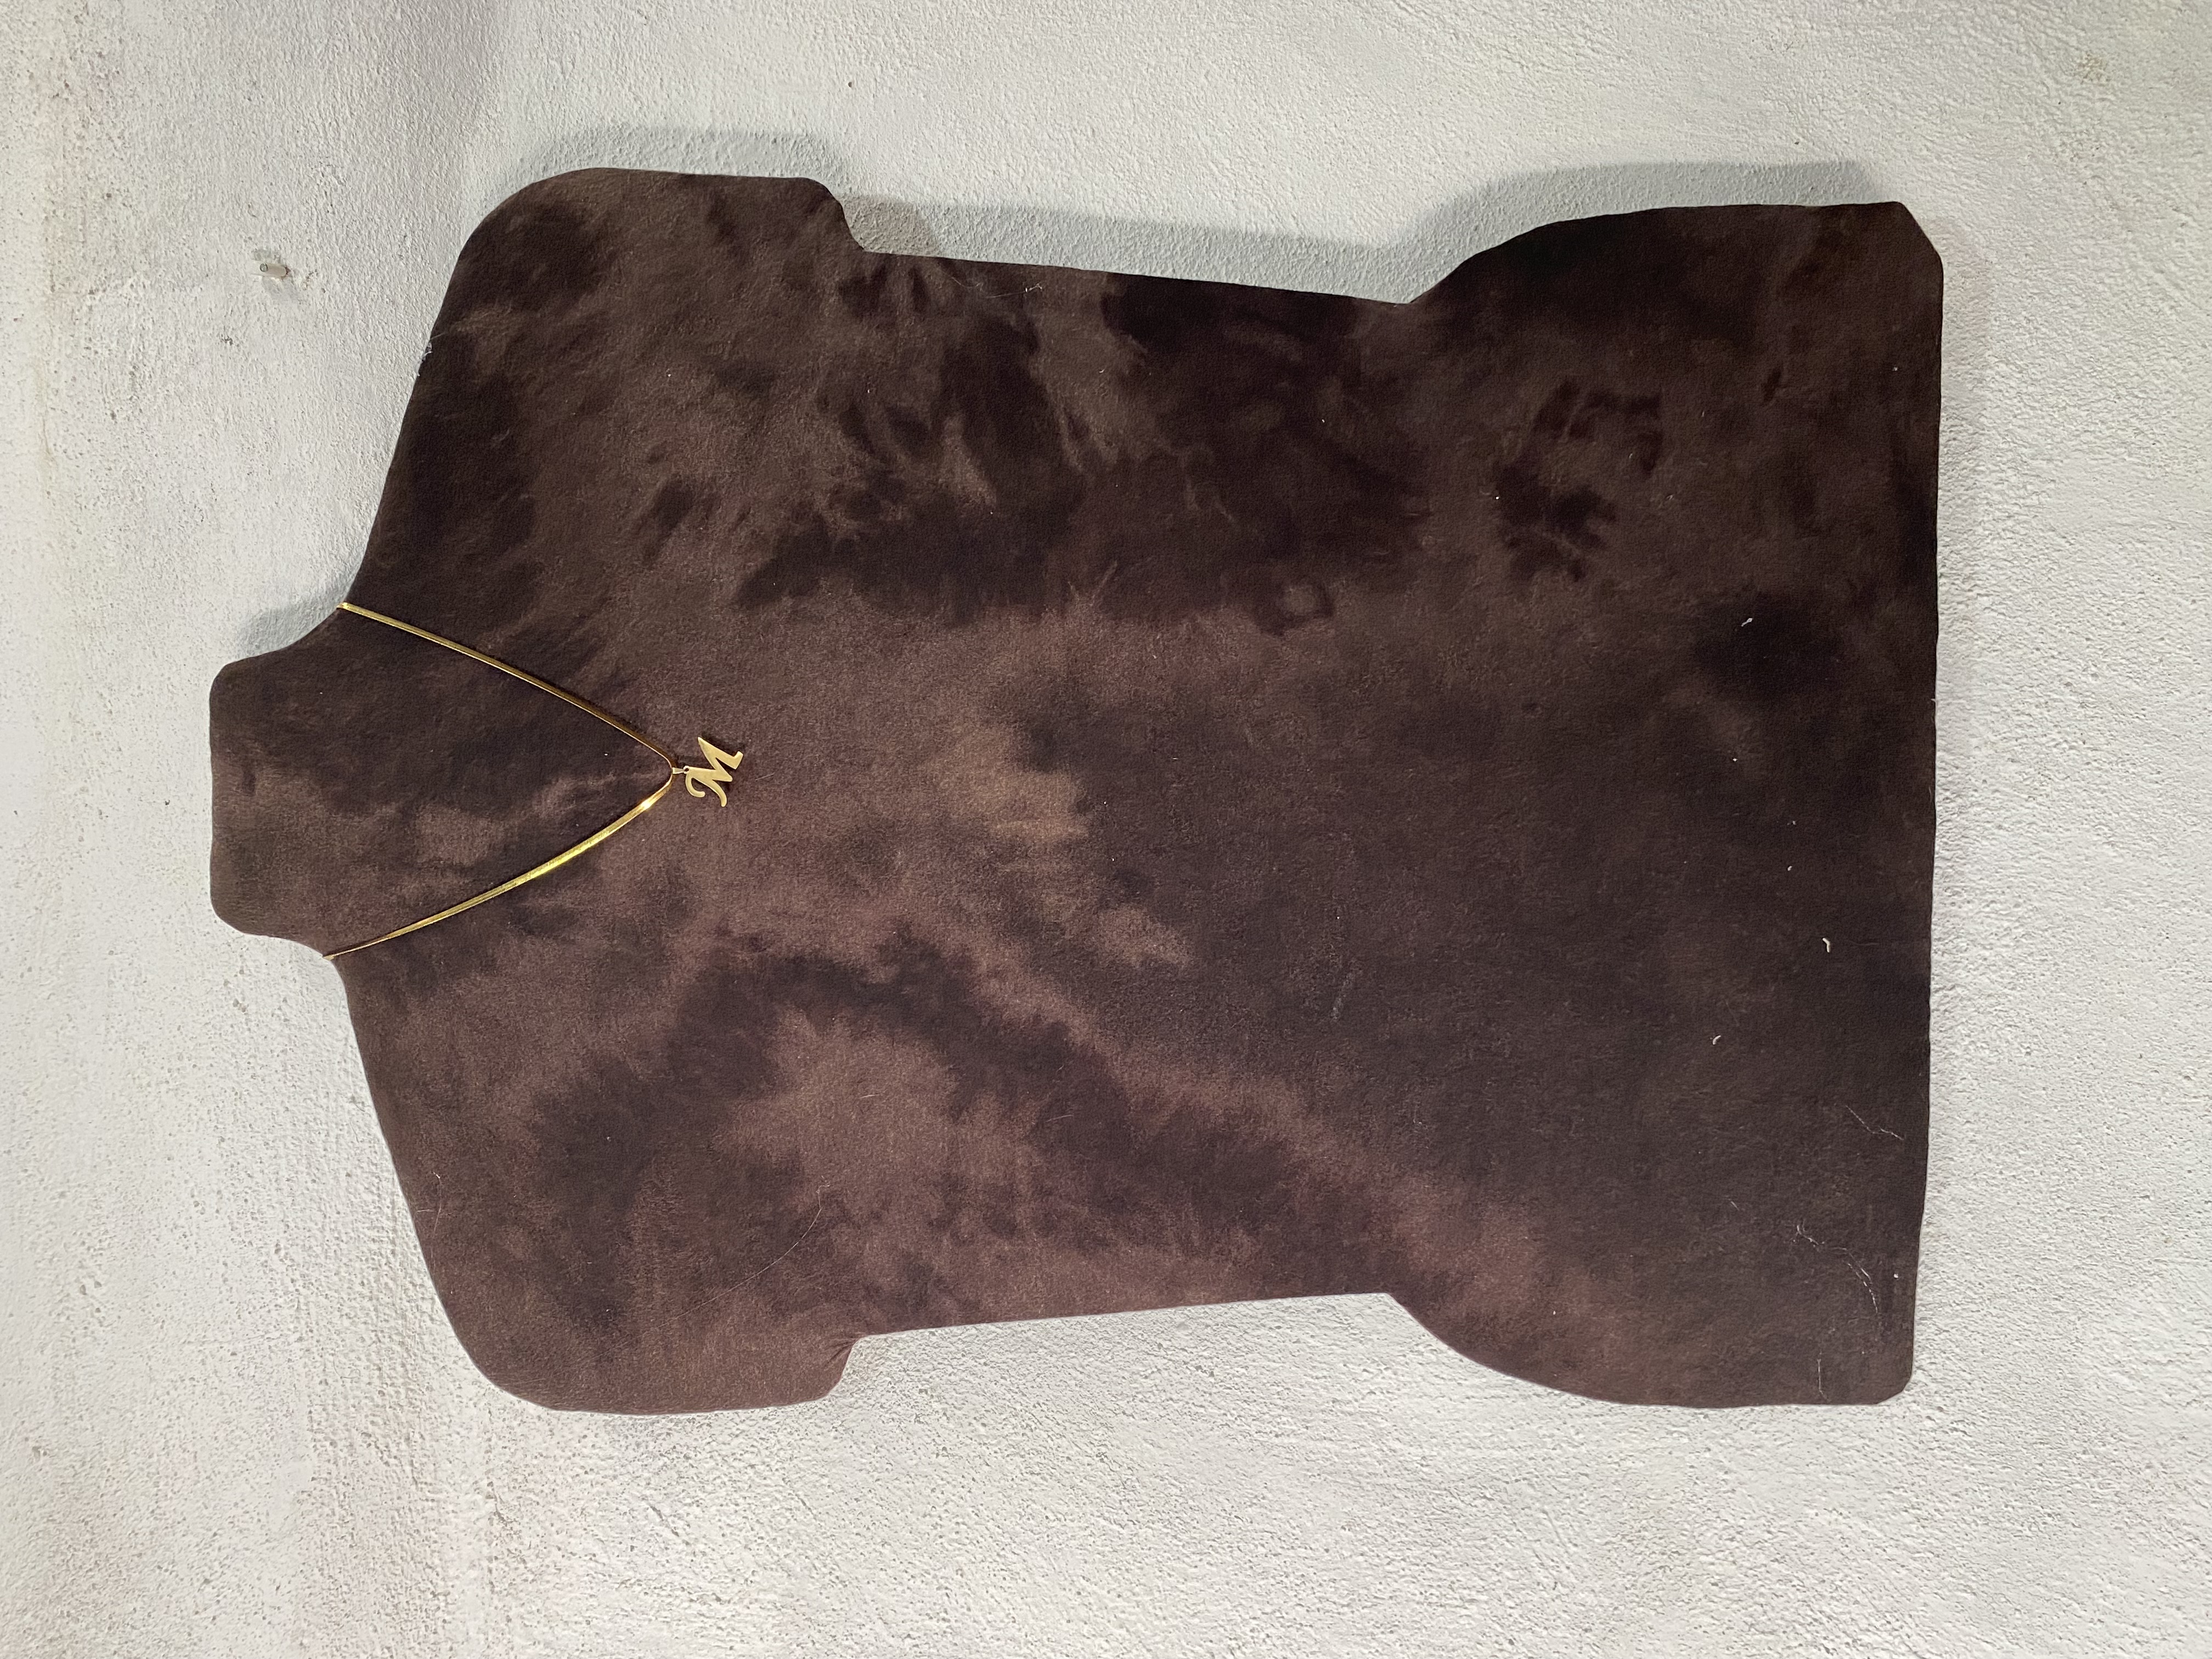
For the third step we are going to decorate our bust and place a small piece of cardboard behind it to hang it, searching among my scraps of fabric I found a pair of pants that were damaged and an old flannel, I liked them a lot since both are quite elastic fabrics and they seemed perfect to me, I looked for my silicone gun, started heating it and began to stretch the fabric and hold it with clothespins while I heated the silicone, then I glued it from the back little by little along all the edges, as I was gluing I held it with the clothespins so that it would be perfect
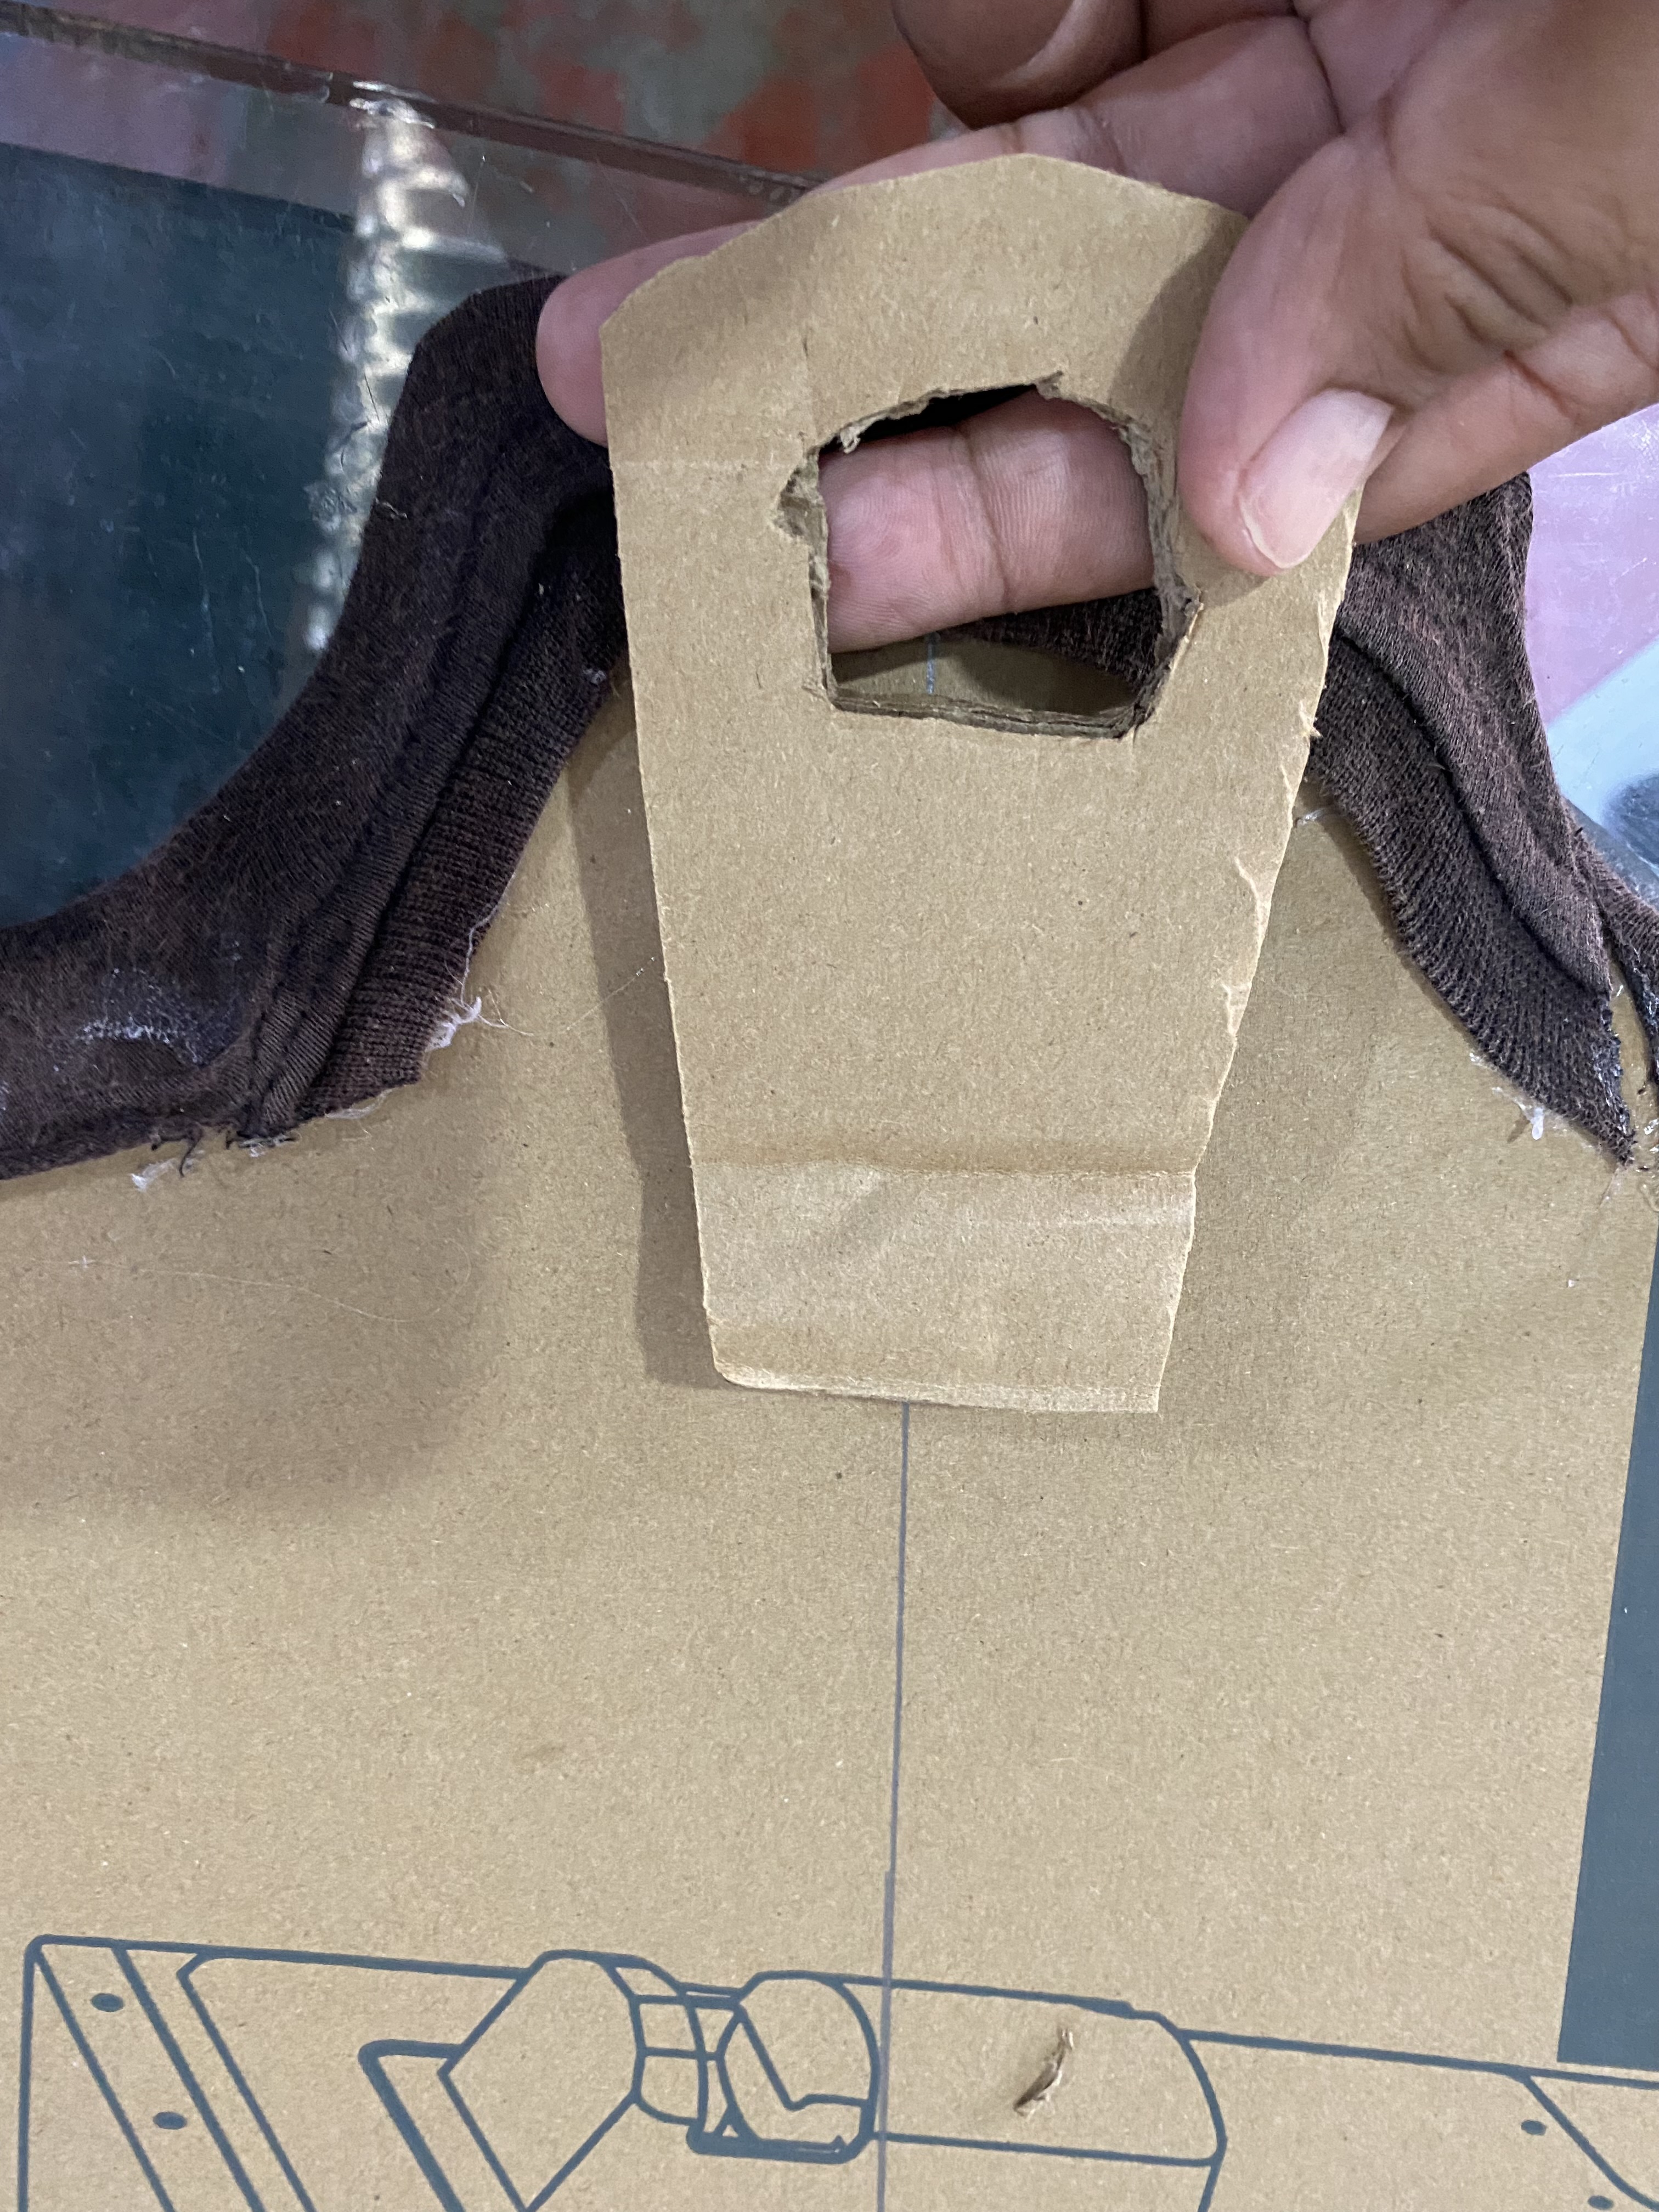
Then, on the back, we are going to glue a small cardboard rectangle with a hole, it can be in the shape of a circle. With this, we can hang it so that it cannot be seen from the front and thus we can better display our sewing garments. With this, we have reached the end. I hope you liked it.
Para el tercer paso vamos a decorar nuestro busto y a colocarle una pequeña pieza de cartón por detrás para colgar, buscando entre mis retazos de tela conseguí un pantalón que estaba dañado y una vieja franela, me gustaron mucho ya que ambas son telas bastante elásticas y me parecieron perfectas, busqué mi pistola de Silicon puse a calentar y comencé a estirar la tela y sostener con pinzas de ropa mientras calentaba el Silicon, luego fui pegando por la parte de atrás poco a poco por todas las orillas, a medida que iba pegando iba sosteniendo con las pinzas de ropa para que quedara perfecta
Luego por la parte de atrás vamos a pegar un pequeño rectángulo de cartón con un orificio puede ser en forma de círculo, con este lo podremos colgar y que por la parte del frente no se vea y así podremos exhibir de una mejor manera nuestras prendas de costura, ya con esto llegamos al final, espero les haya gustado.
 |  |
|---|---|
 |  |
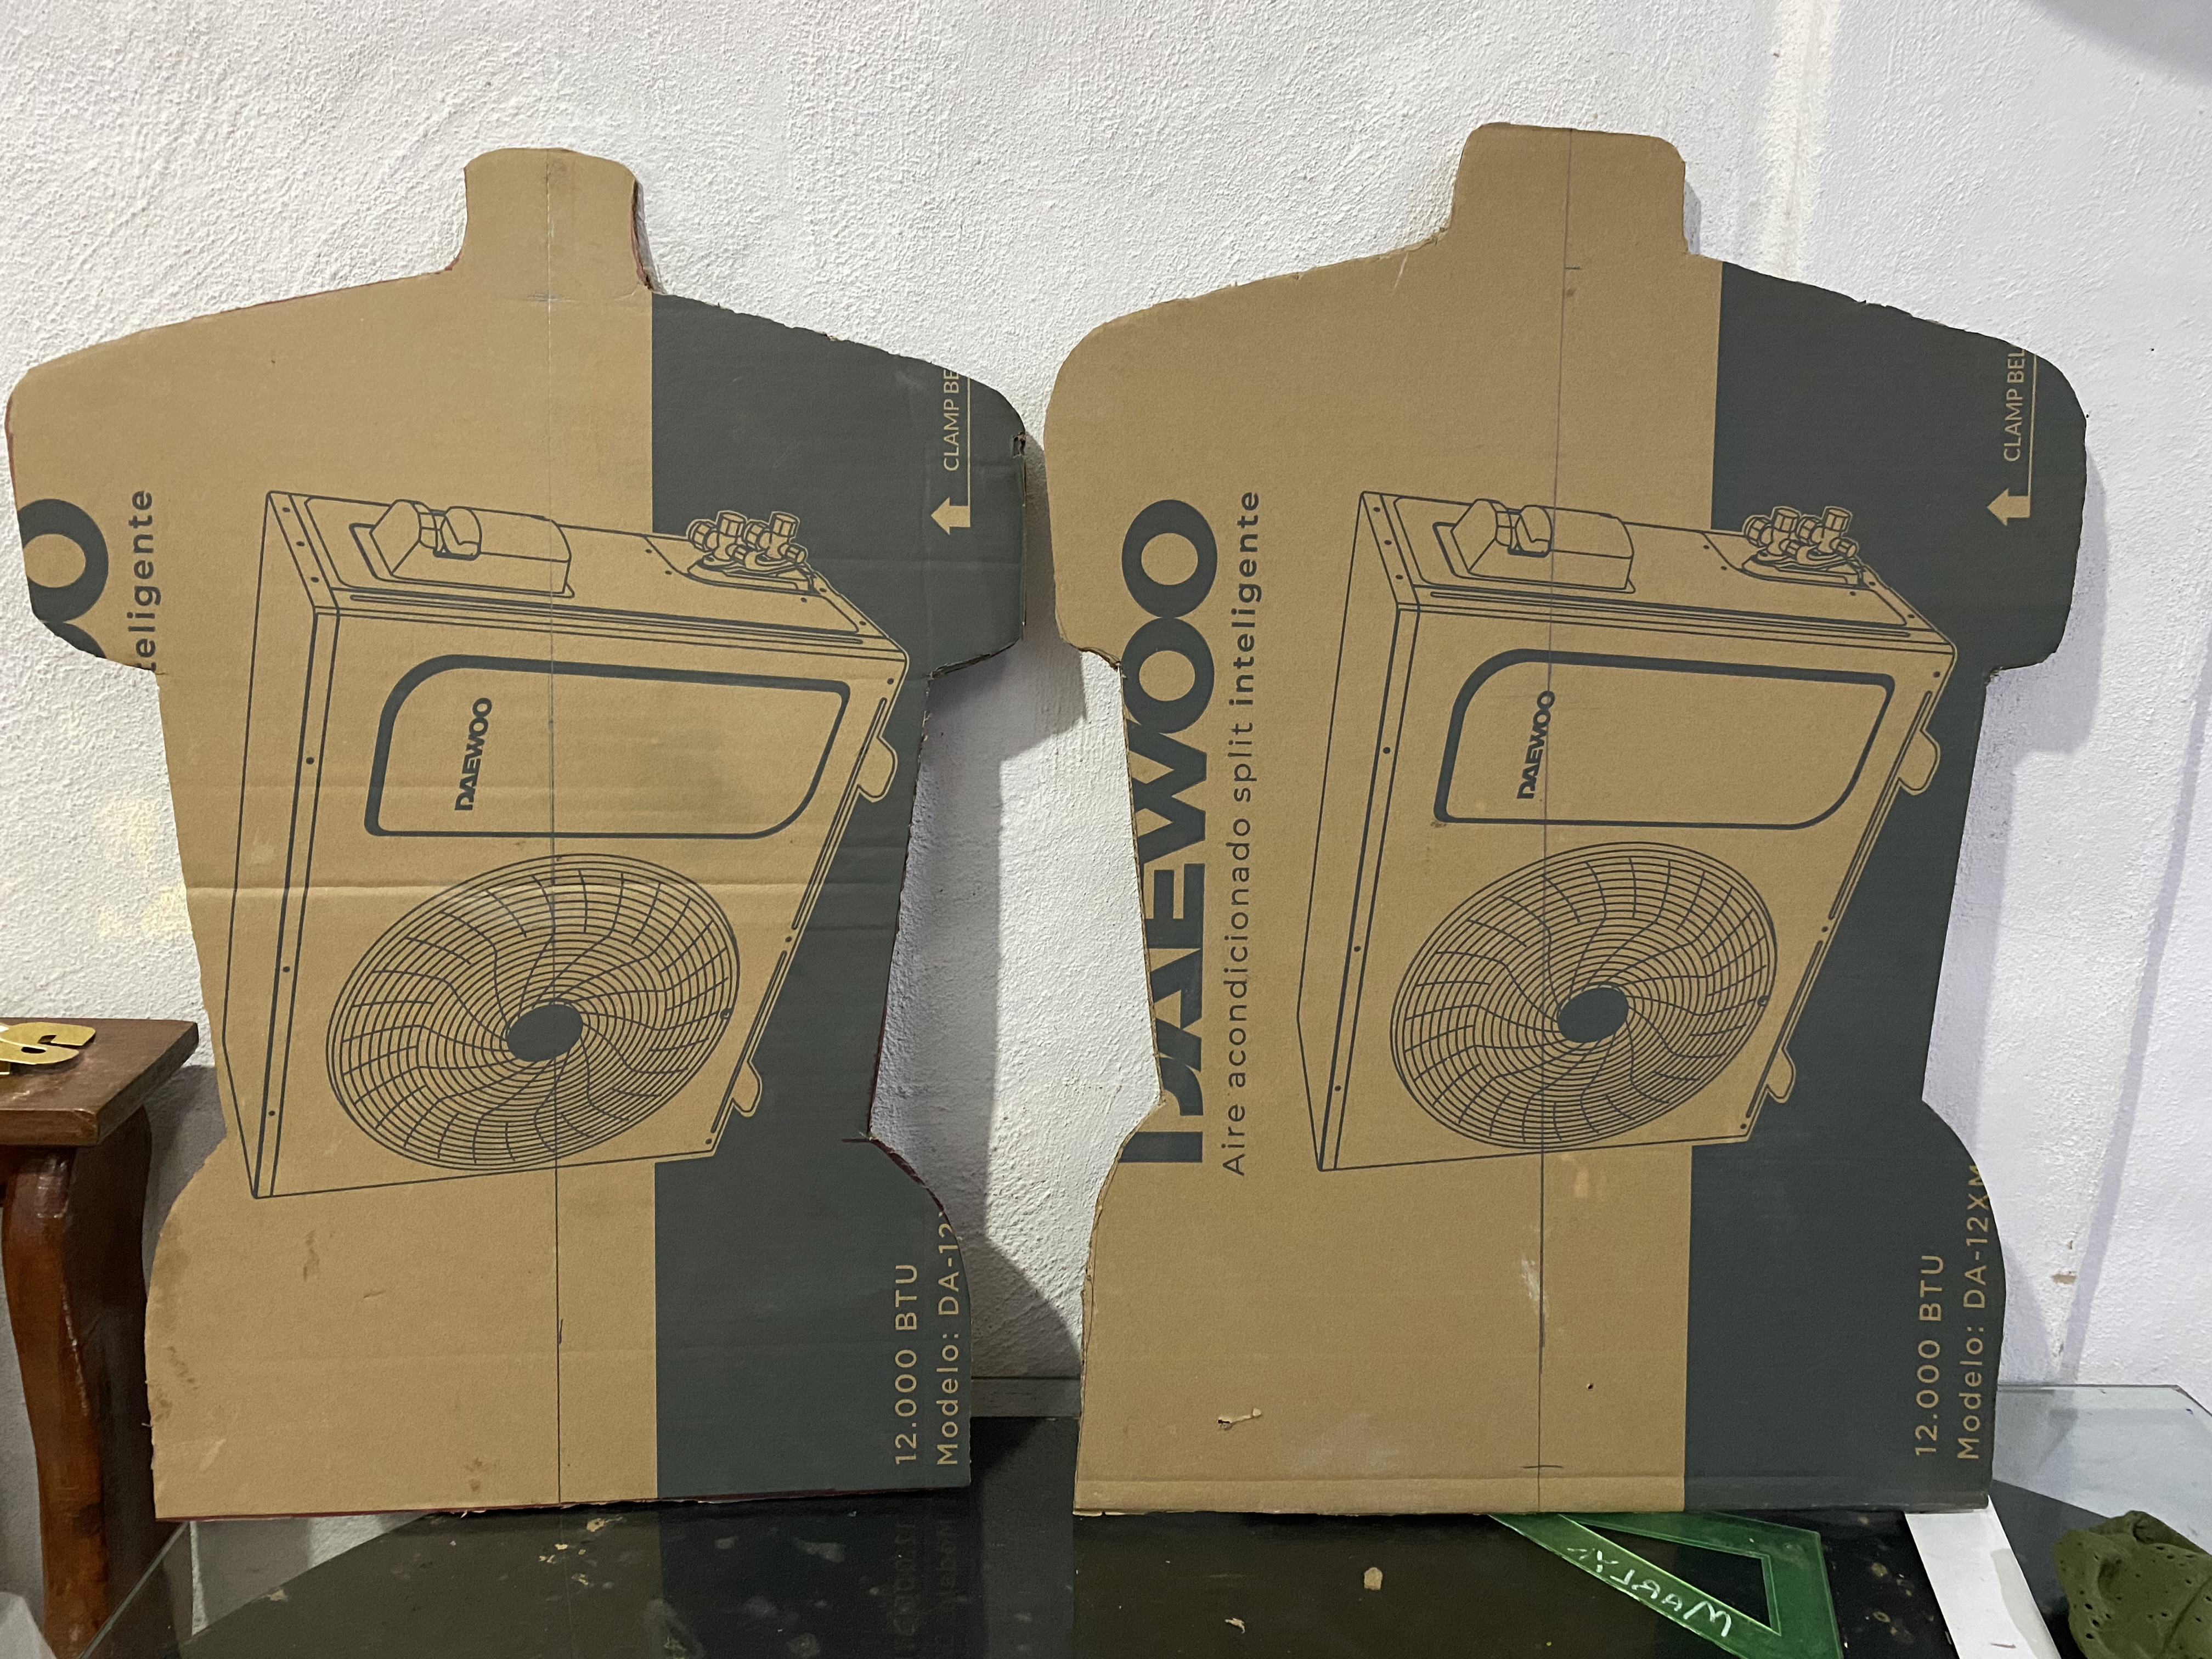
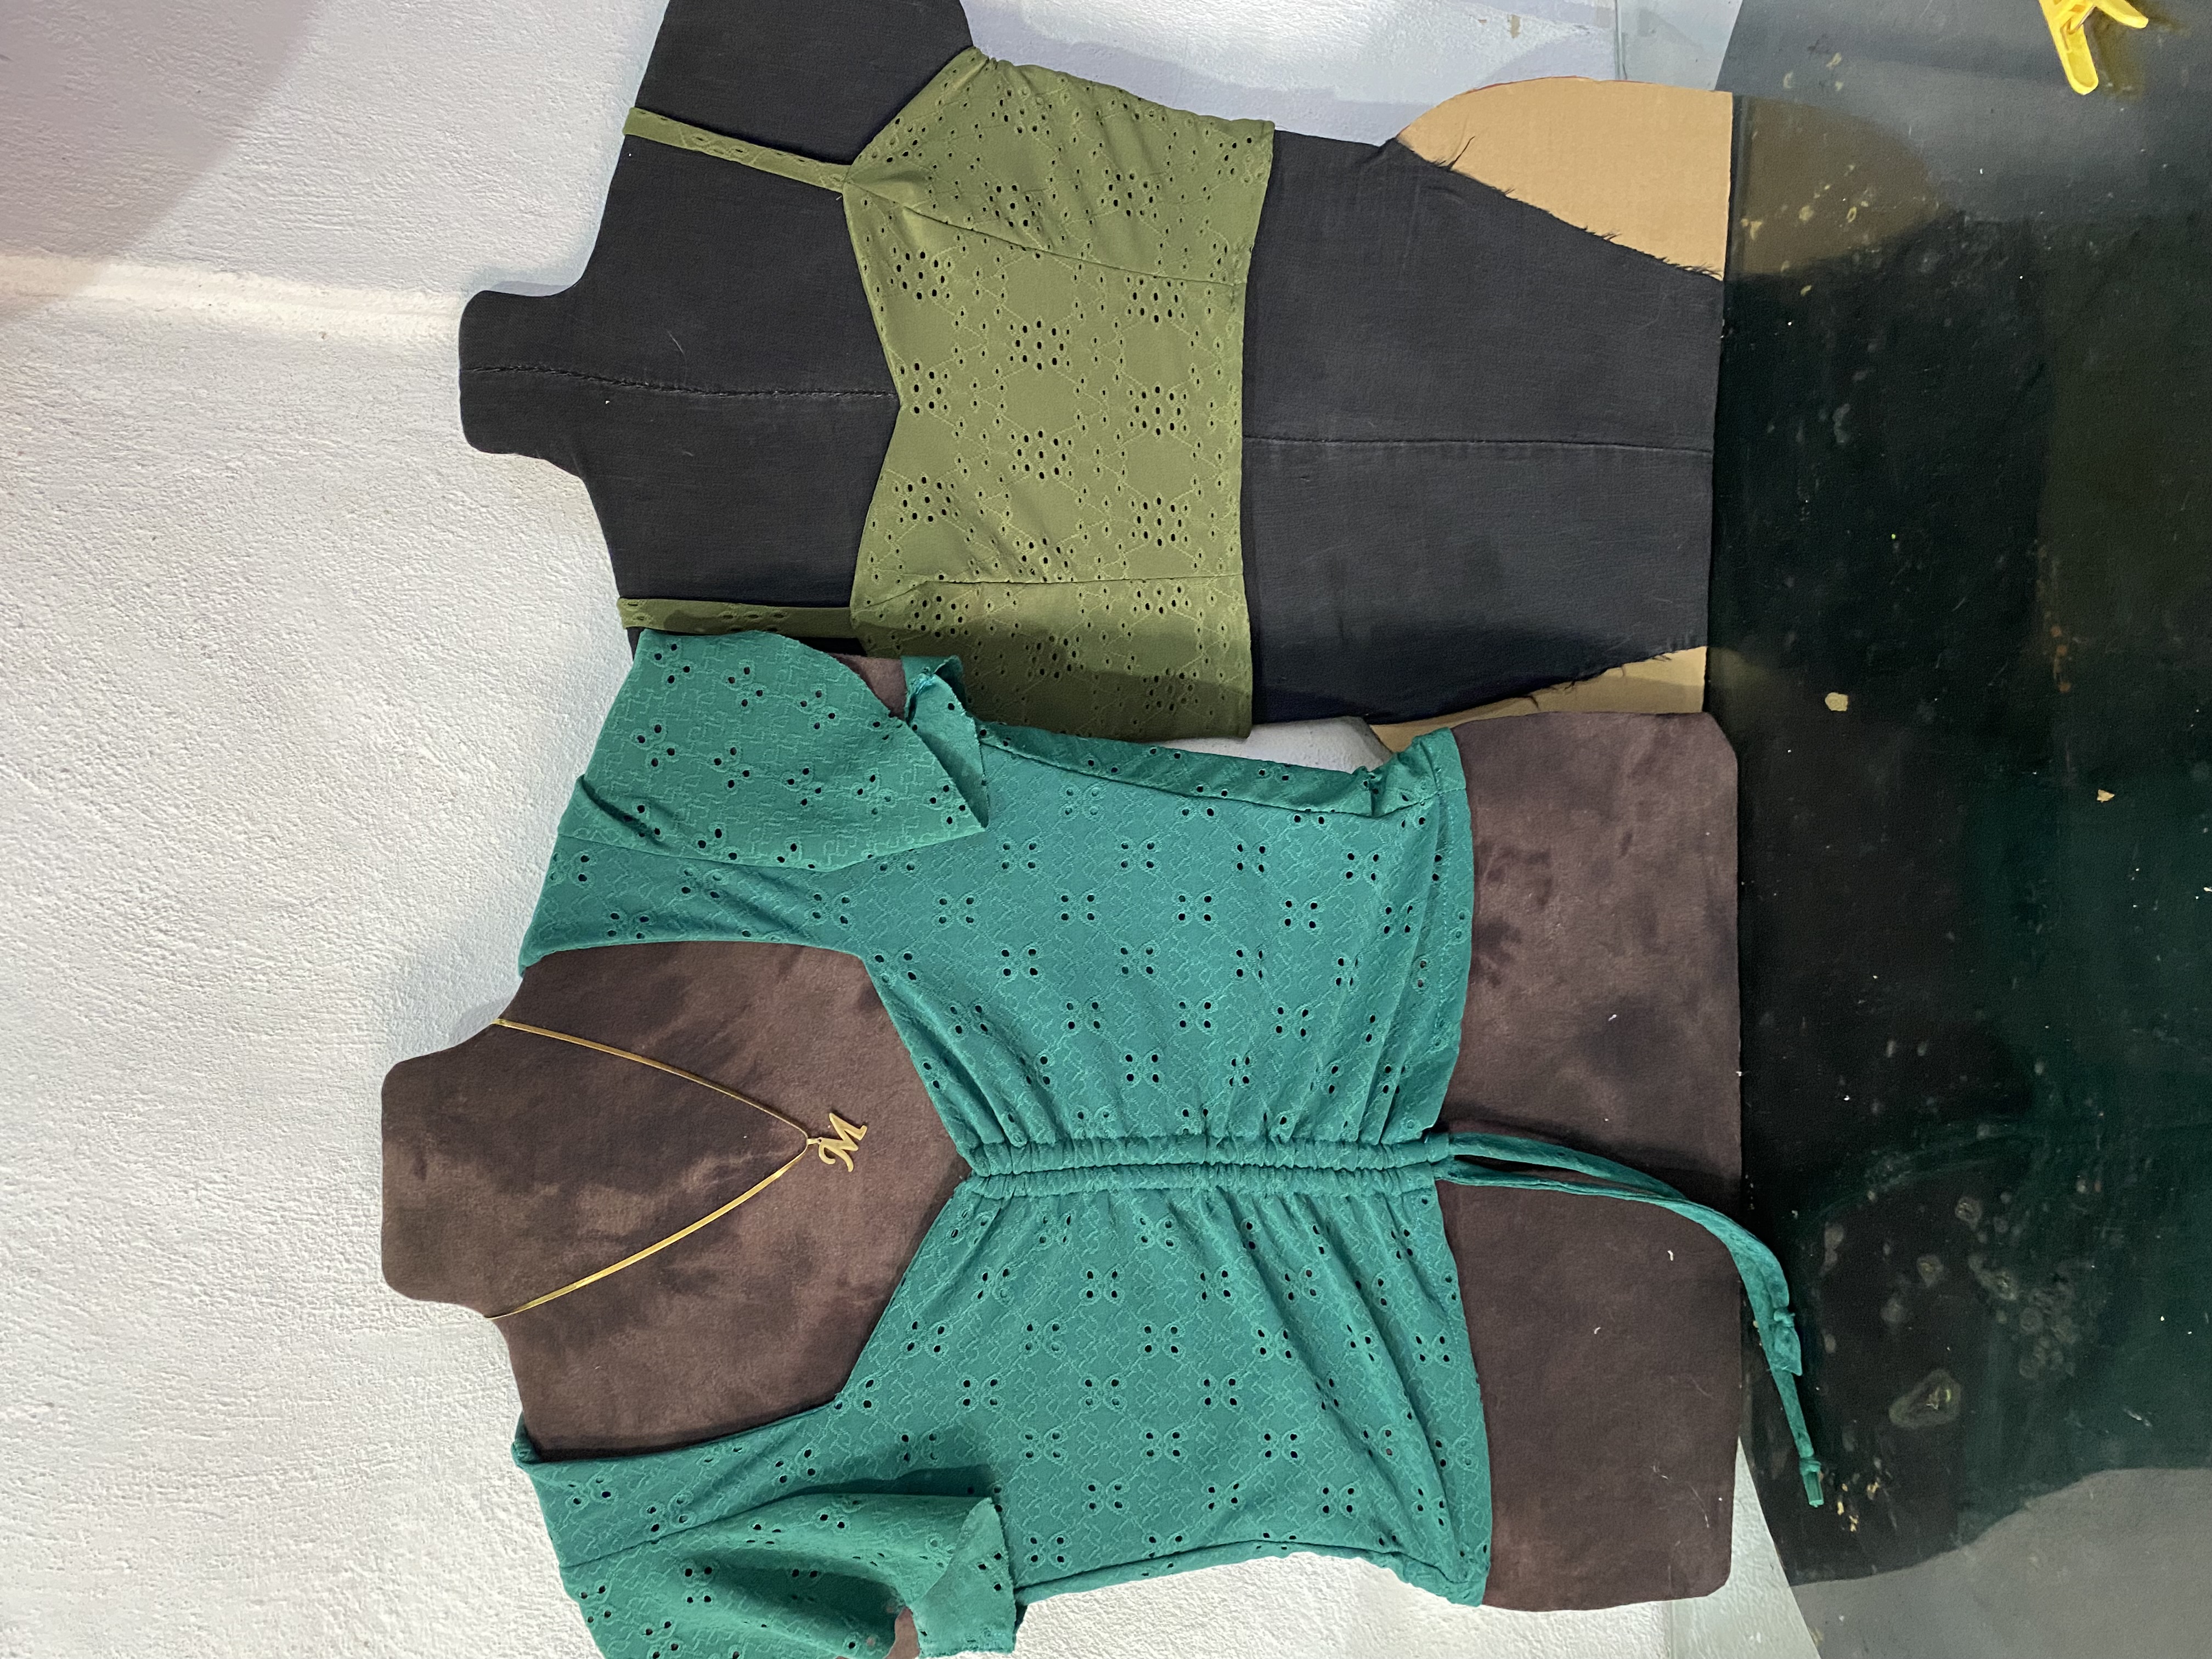
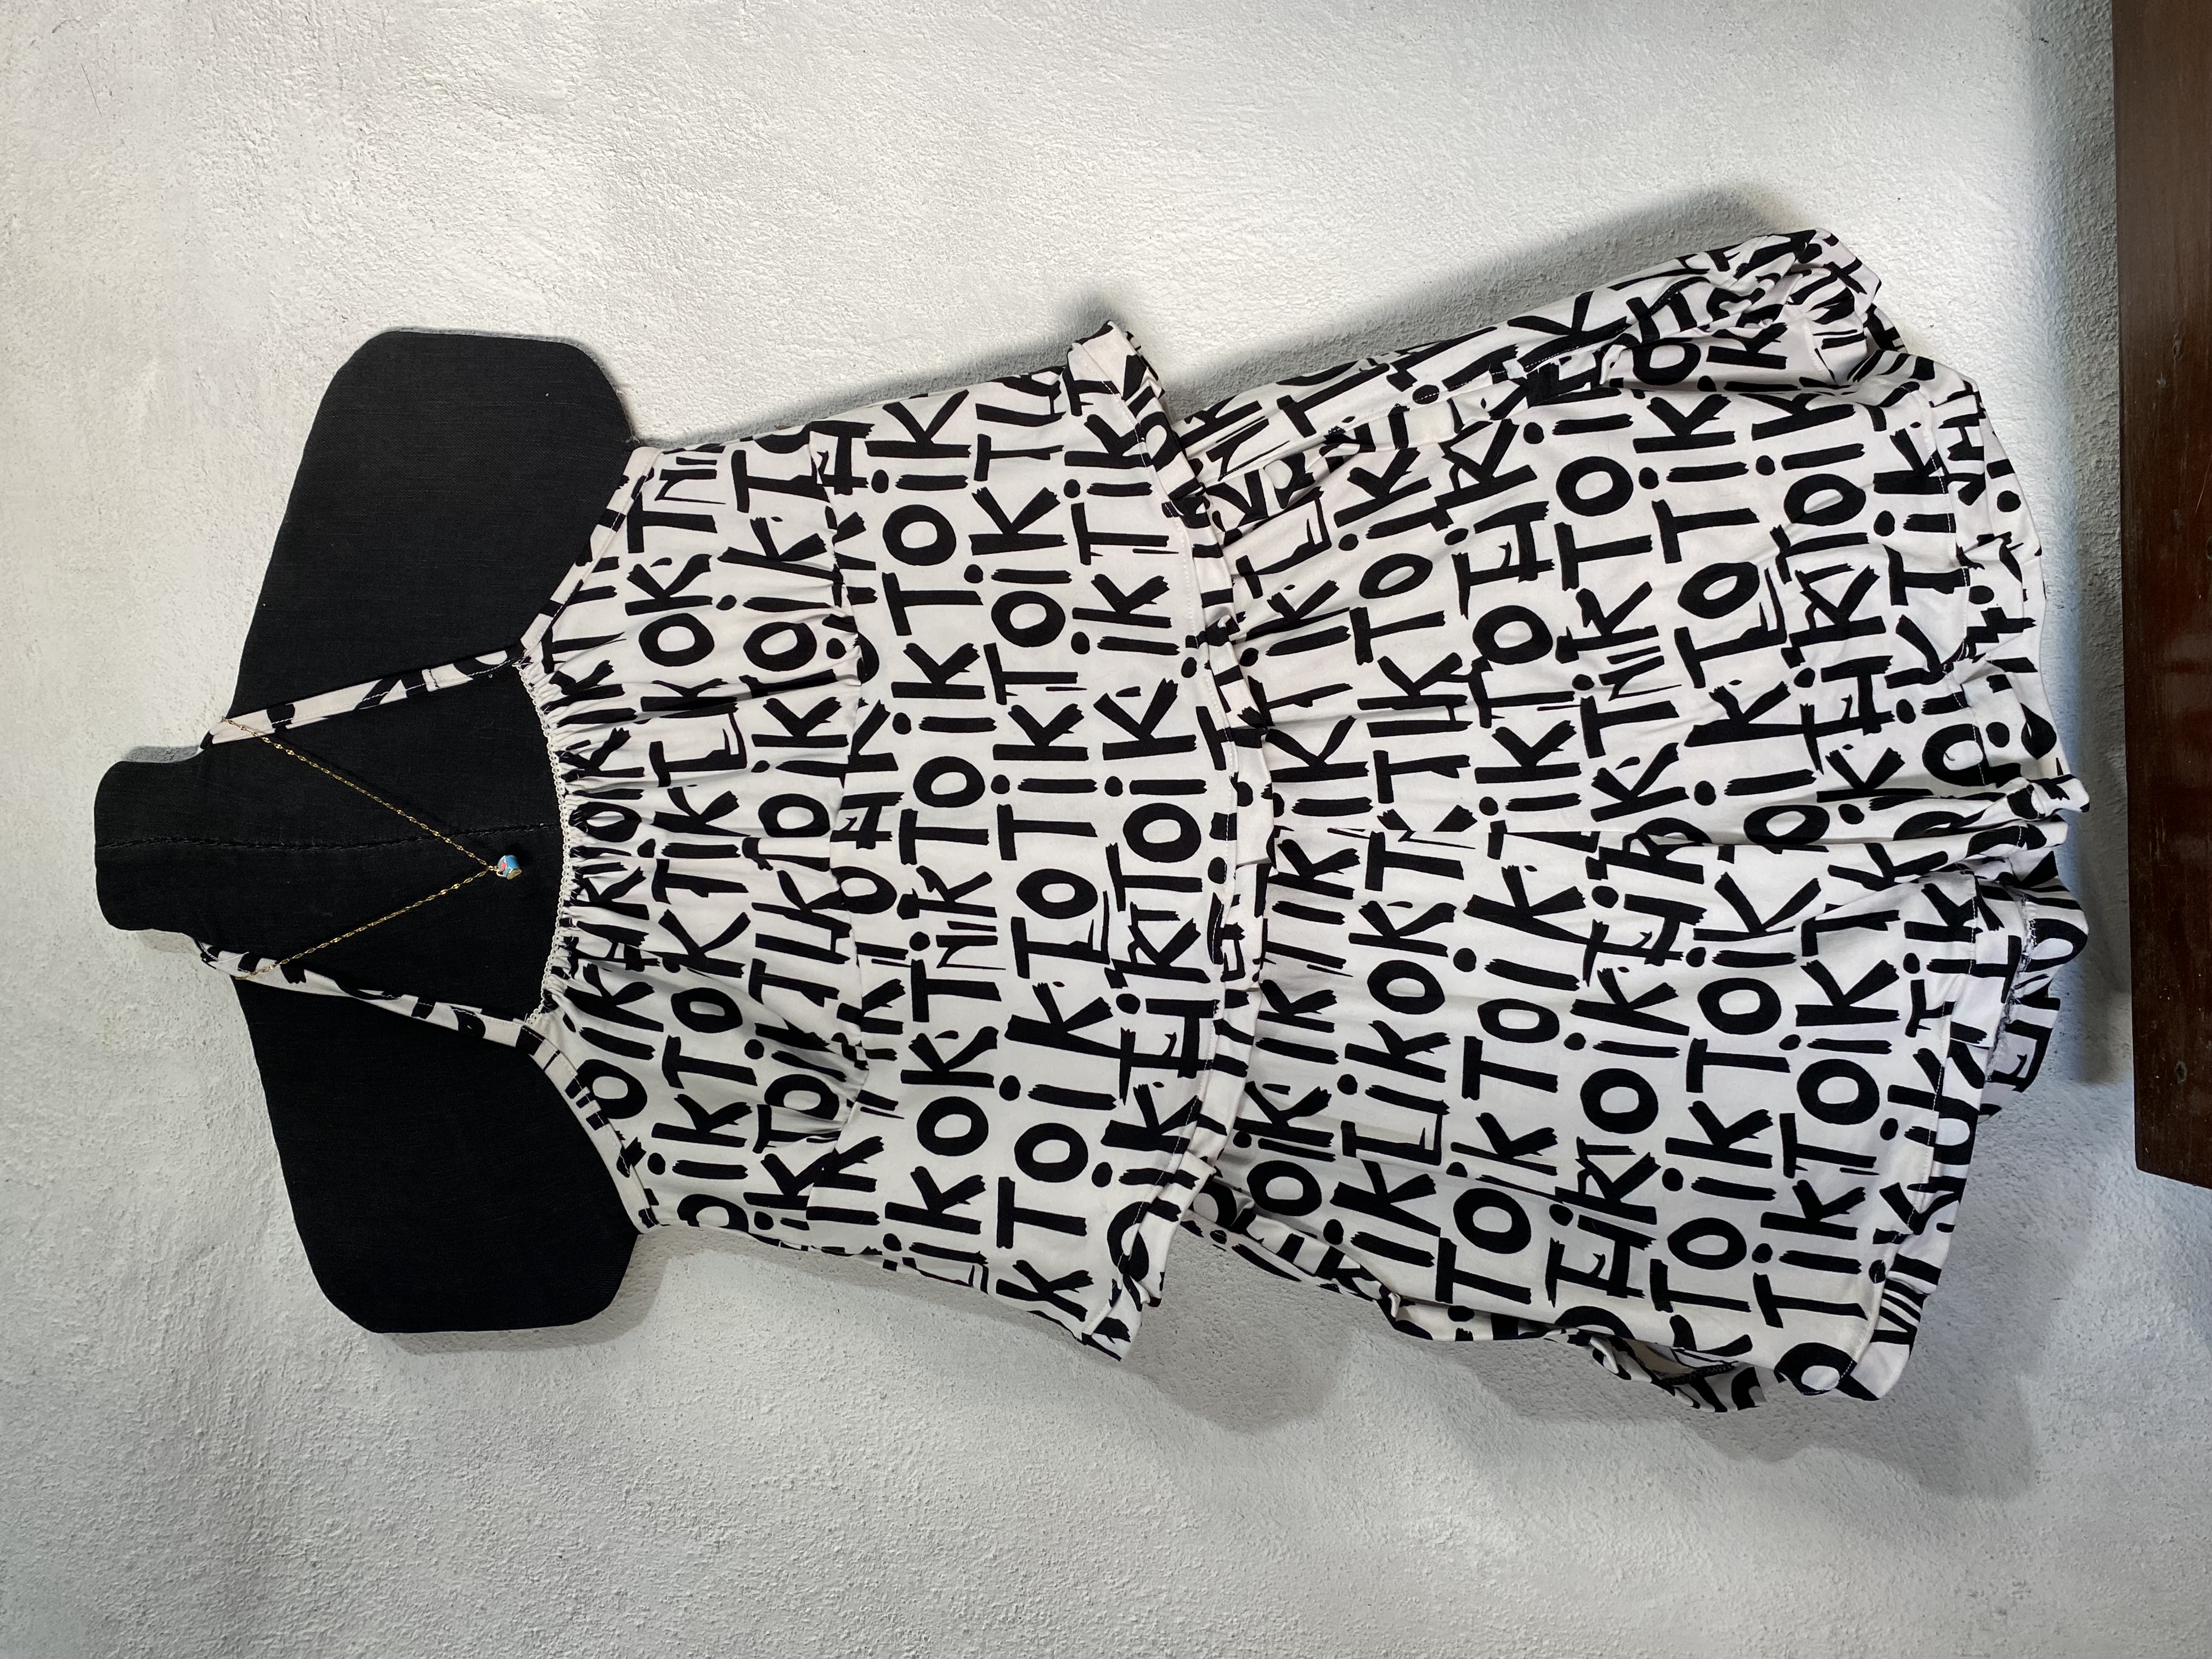
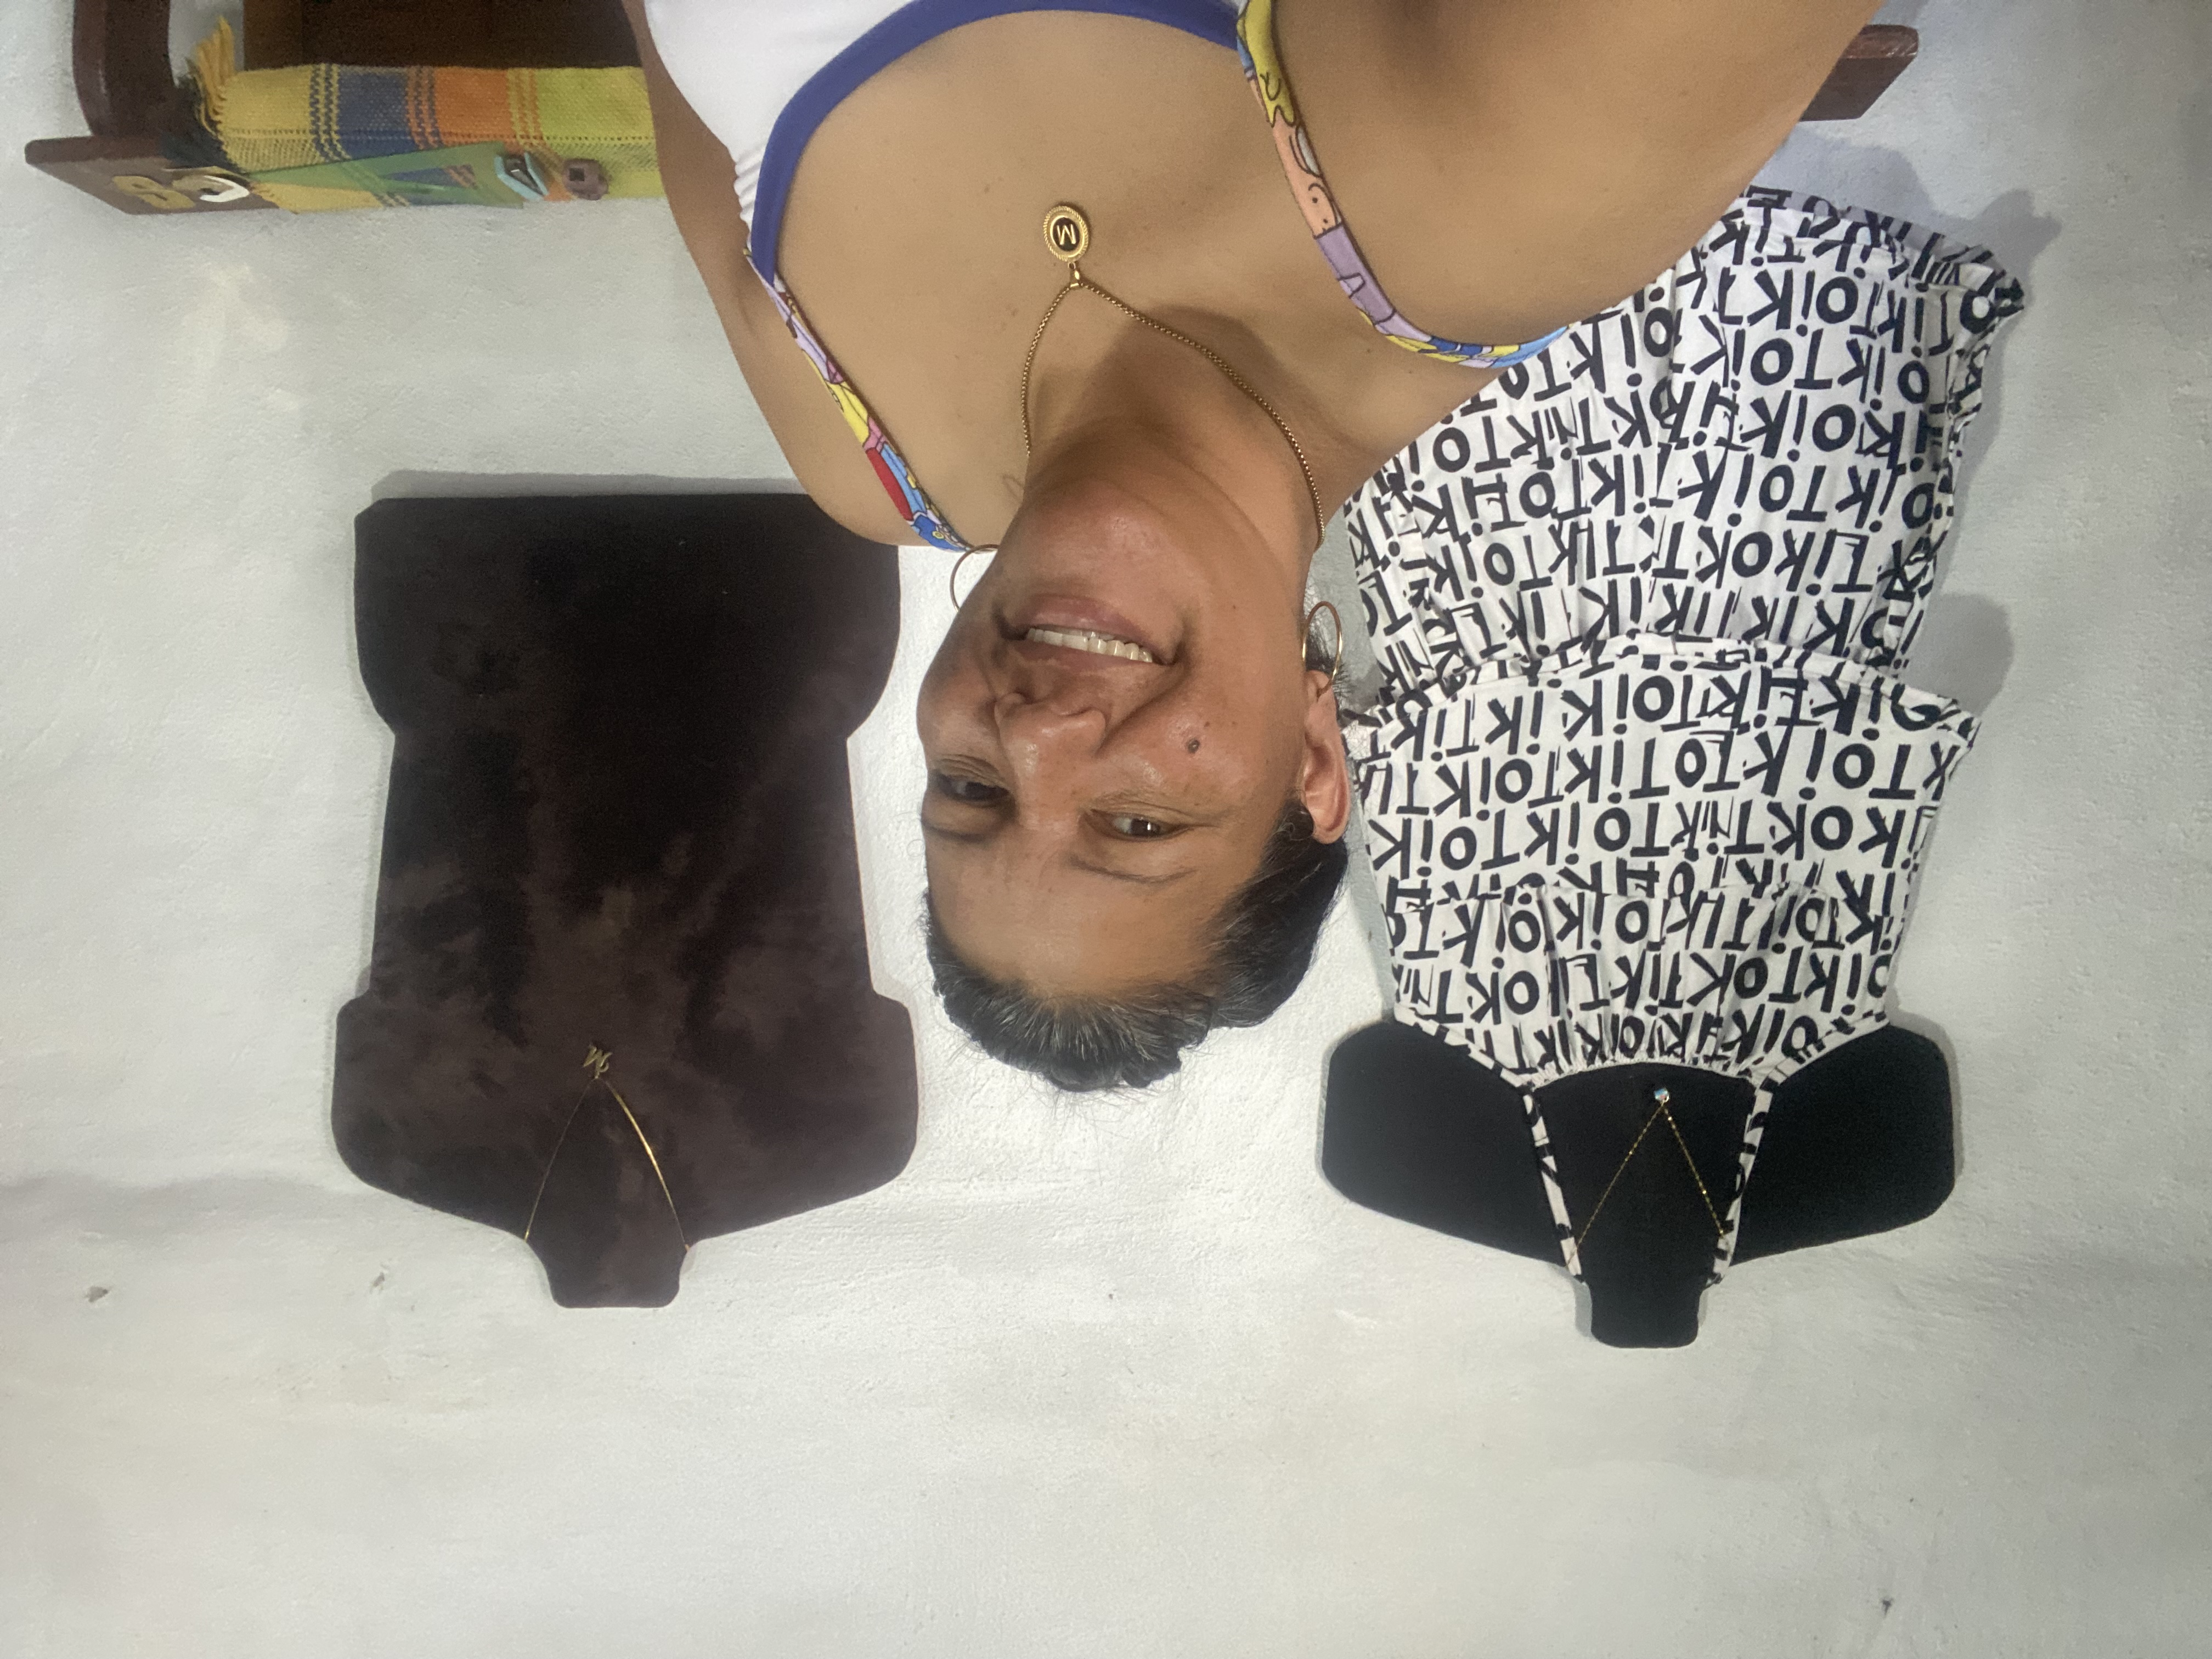
By making our own busts we can make them in all the sizes we want, this is the best thing about creating with our own hands, in my case I loved it because I made them to show several sizes, I can display garments in sizes S, M and also garments in L and XL and perhaps more, I loved the result now I am very happy to show my sewing garments, That is all obviously I say goodbye wishing you much success and blessings
Al hacer nosotros mismos nuestros bustos los podemos hacer de todos los tamaños que queramos, esto es lo mejor de crear con nuestras propias manos, en mi caso me encantó ya que hice para mostrar varias tallas, puedo exhibir prendas en tallas S, M y también prendas en L y XL y quizás más, el resultado me ha encantado ahora estoy muy feliz para mostrar mis prendas de costura, Eso es todo por obvio me despido deseándoles muchos éxitos y bendiciones
 |  |
|---|---|
 |  |

las fotos aquí compartidas son de mi propiedad tomadas con mi teléfono iPhone 11, la edición fue hecha en Canva, para la traducción del inglés utilice el traductor de Google
Has sido votado por
PROYECTO ENLACE
'Conectando Ideas y Comunidades'
PROYECTO ENLACE es un proyecto de curación de habla hispana enfocado en recompensar contenido de calidad y apoyar autores en su proceso de crecimiento en HIVE.
Creemos y apostamos por el futuro de esta gran plataforma, y estamos muy emocionados de poder hacerla crecer junto a esta comunidad. Así que te invitamos a publicar en nuestra COMUNIDAD y estar atento a todas las actividades que tenemos preparadas y que estaremos publicando en breve.
¿QUIERES AUTOMATIZAR TUS GANANCIAS DE CURACIÓN? SE PARTE DEL PROYECTO ENLACE APOYANDO A NUESTRO TRAIL EN HIVE.VOTE INGRESA AQUÍ PARA CONOCER LOS DETALLES.
¿QUIERES INVERTIR ENLACE? DESCUBRE COMO HACERLO Y GENERAR INGRESOS DE FORMA SEMANAL MEDIANTE TU DELEGACIÓN DE HP AQUÍ TE EXPLICAMOS COMO.
Te invitamos a participar en nuestro servidor de Discord: https://discord.gg/3S9y7BbWfS
Atentamente
EQUIPO ENLACE 2025
Realmente un trabajo genial y muy DIY, nada como hacer lo que necesitamos por uno mismo, siempre hay una manera...
!discovery 25
Así es Amiga es mejor hecho con nuestras propias manos, gracias por comentar ❤️
This post was shared and voted inside the discord by the curators team of discovery-it
Join our Community and follow our Curation Trail
Discovery-it is also a Witness, vote for us here
Delegate to us for passive income. Check our 80% fee-back Program
Wow this is so beautiful, useful and very creative
You did a great job
Thank you 🥰
You put in a lot of idea's and energy to the work and it really came out beautiful. I love the finished work.more grace.
Thank you 🥰
You're welcome