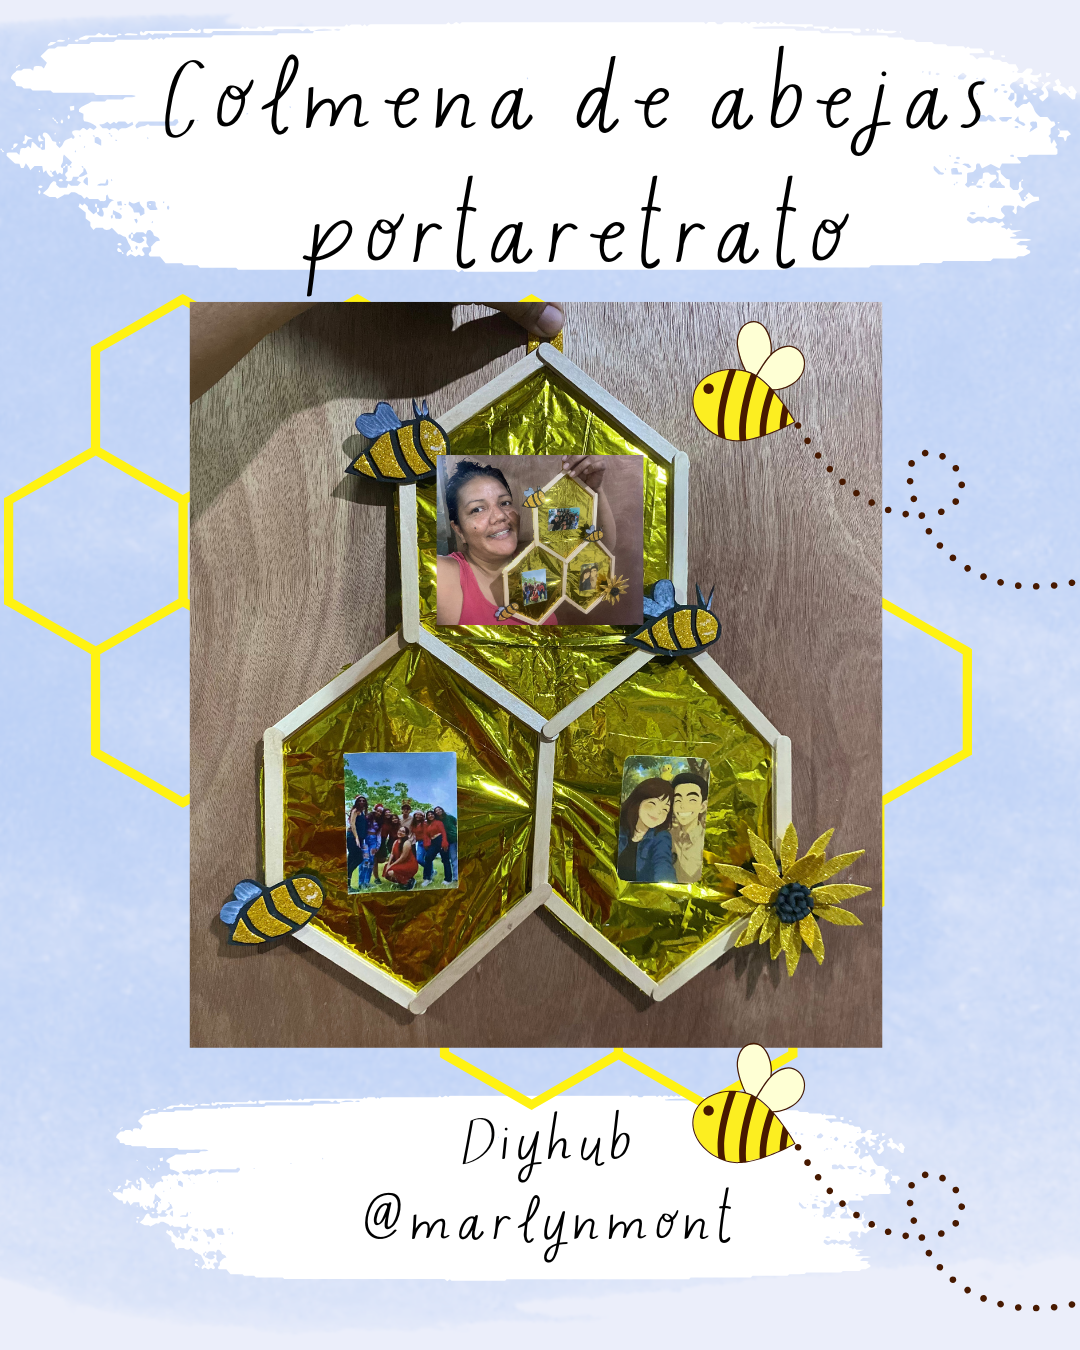
bee hive picture frame 😊🐝🌼❤️ [eng/esp]
Greetings, DIYHUB friends 😊🐝🌼❤️
It's a pleasure to be here again, sharing some of my crafts. Today I'm making my second entry in the August contest: "intern. Honeybee day 🐝." I want to share with you the idea for making a cute picture frame in the shape of a bee hive and embracing this beautiful and important insect. For this lovely craft, we're going to use recycled materials and pallets. Join me as I share the step-by-step instructions:
Saludos amigos de DIYHUB 😊🐝🌼❤️
Es un gusto estar por acá nuevamente compartiendo parte de mis manualidades, hoy quiero hacer mi segunda participación en el Concurso del mes de agosto: “ intern. Honeybee day 🐝 ”, y quiero compartir con ustedes la idea para hacer un lindo porta retrato con la forma de colmena de abeja y así homenajear este lindo e importante insecto, para esta linda manualidad vamos a utilizar materiales de reciclaje y paletas, acompáñame y te comparto el paso a paso:
MATERIALES
MATERIALS
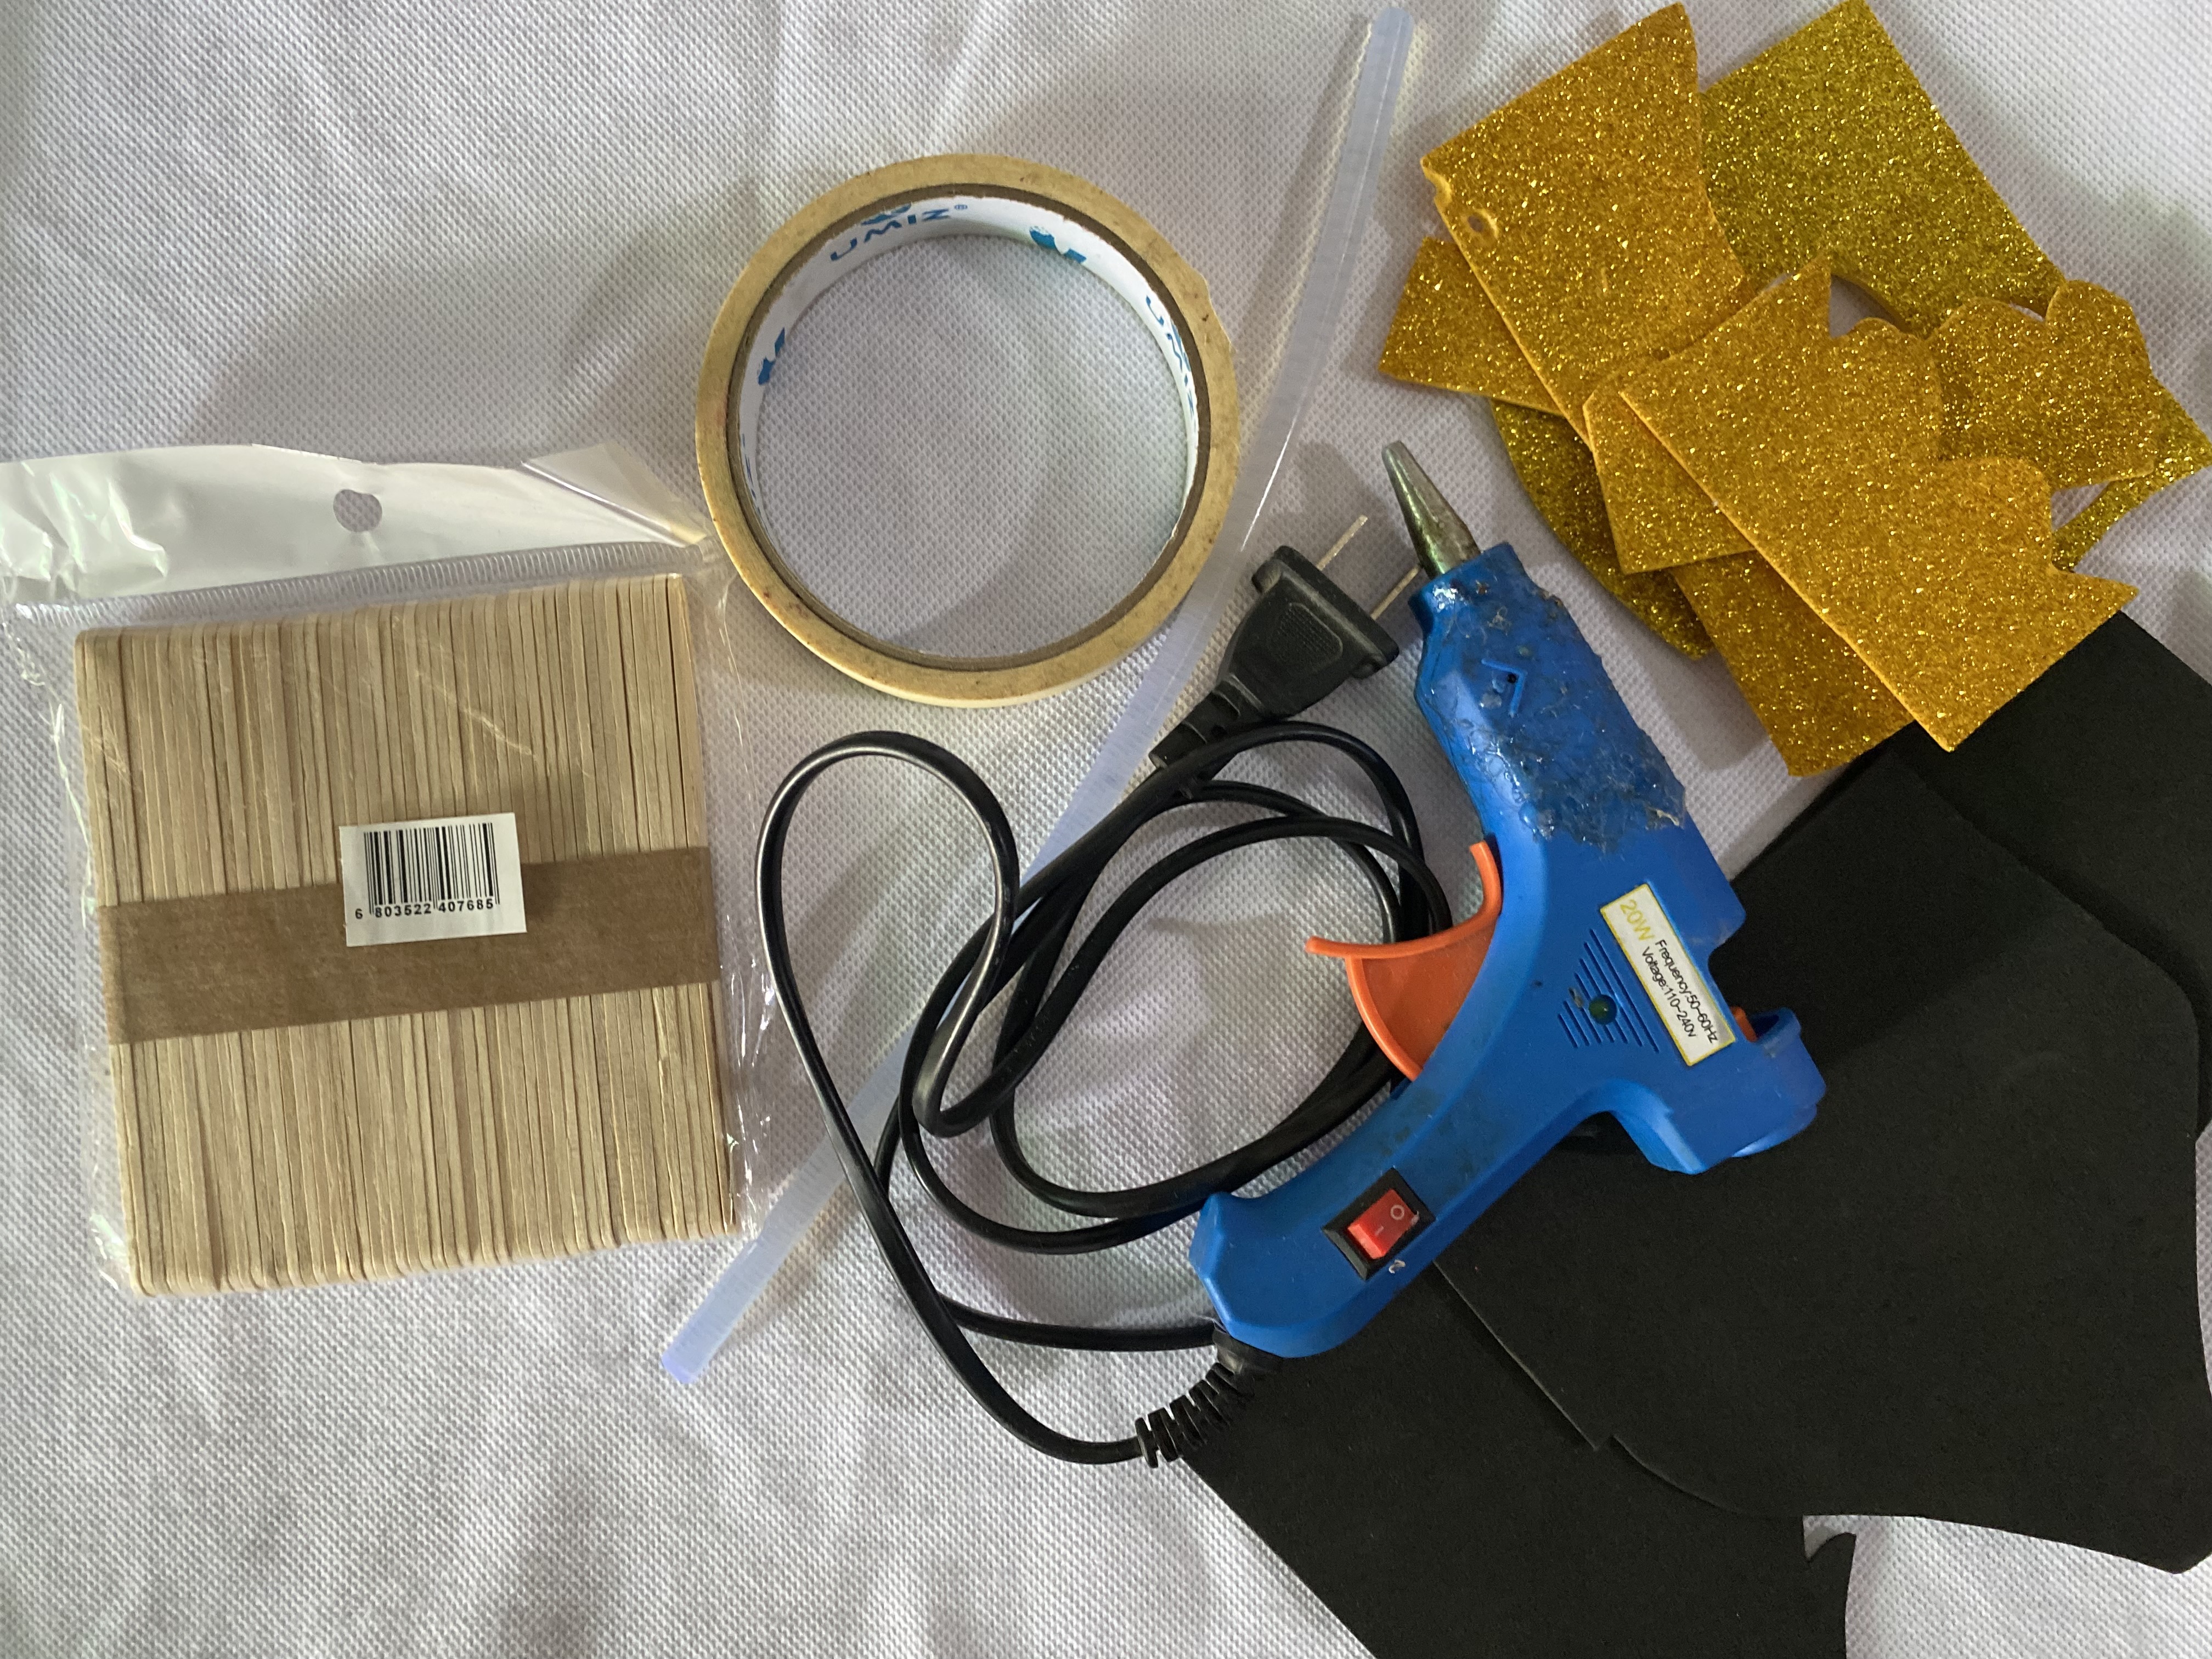
I've always loved taking photographs and decorating parts of my home with them. These days, we can easily print photos, and the best thing about crafting is that we can make our own picture frames and display them. This cute picture frame was inspired by this month's contest, so I liked the idea of giving it the shape of a bee hive. One of the materials I'll use is an old birthday balloon, which I wanted to give a second life. Here's the list of materials:
- Wooden palettes
- Used gold balloon
- Hot glue
- Yellow and black foam rubber
- Scissors
- Marker or white paint
Siempre me ha gustado mucho tomar fotografías y decorar con ellas parte de mi hogar, en la actualidad tenemos mucha facilidad para imprimir fotografías y lo mejor de hacer manualidades es que podemos hacer nuestros propios portarretratos y exhibirlas nuestras fotos, este lindo porta retrato está inspirado en el concurso de este mes, así que me gustó la idea de darle la forma de colmena de abeja , aparte uno de los materiales a utilizar es un viejo globo de cumpleaños, el cual quise darle una segunda oportunidad, aquí les dejo la lista de materiales a utilizar:
- paletas de madera
- Globo dorado usado
- Silicon caliente
- Foami amarillo y negro
- Tijeras
- marcador o pintura blanca
PASO A PASO
STEP BY STEP
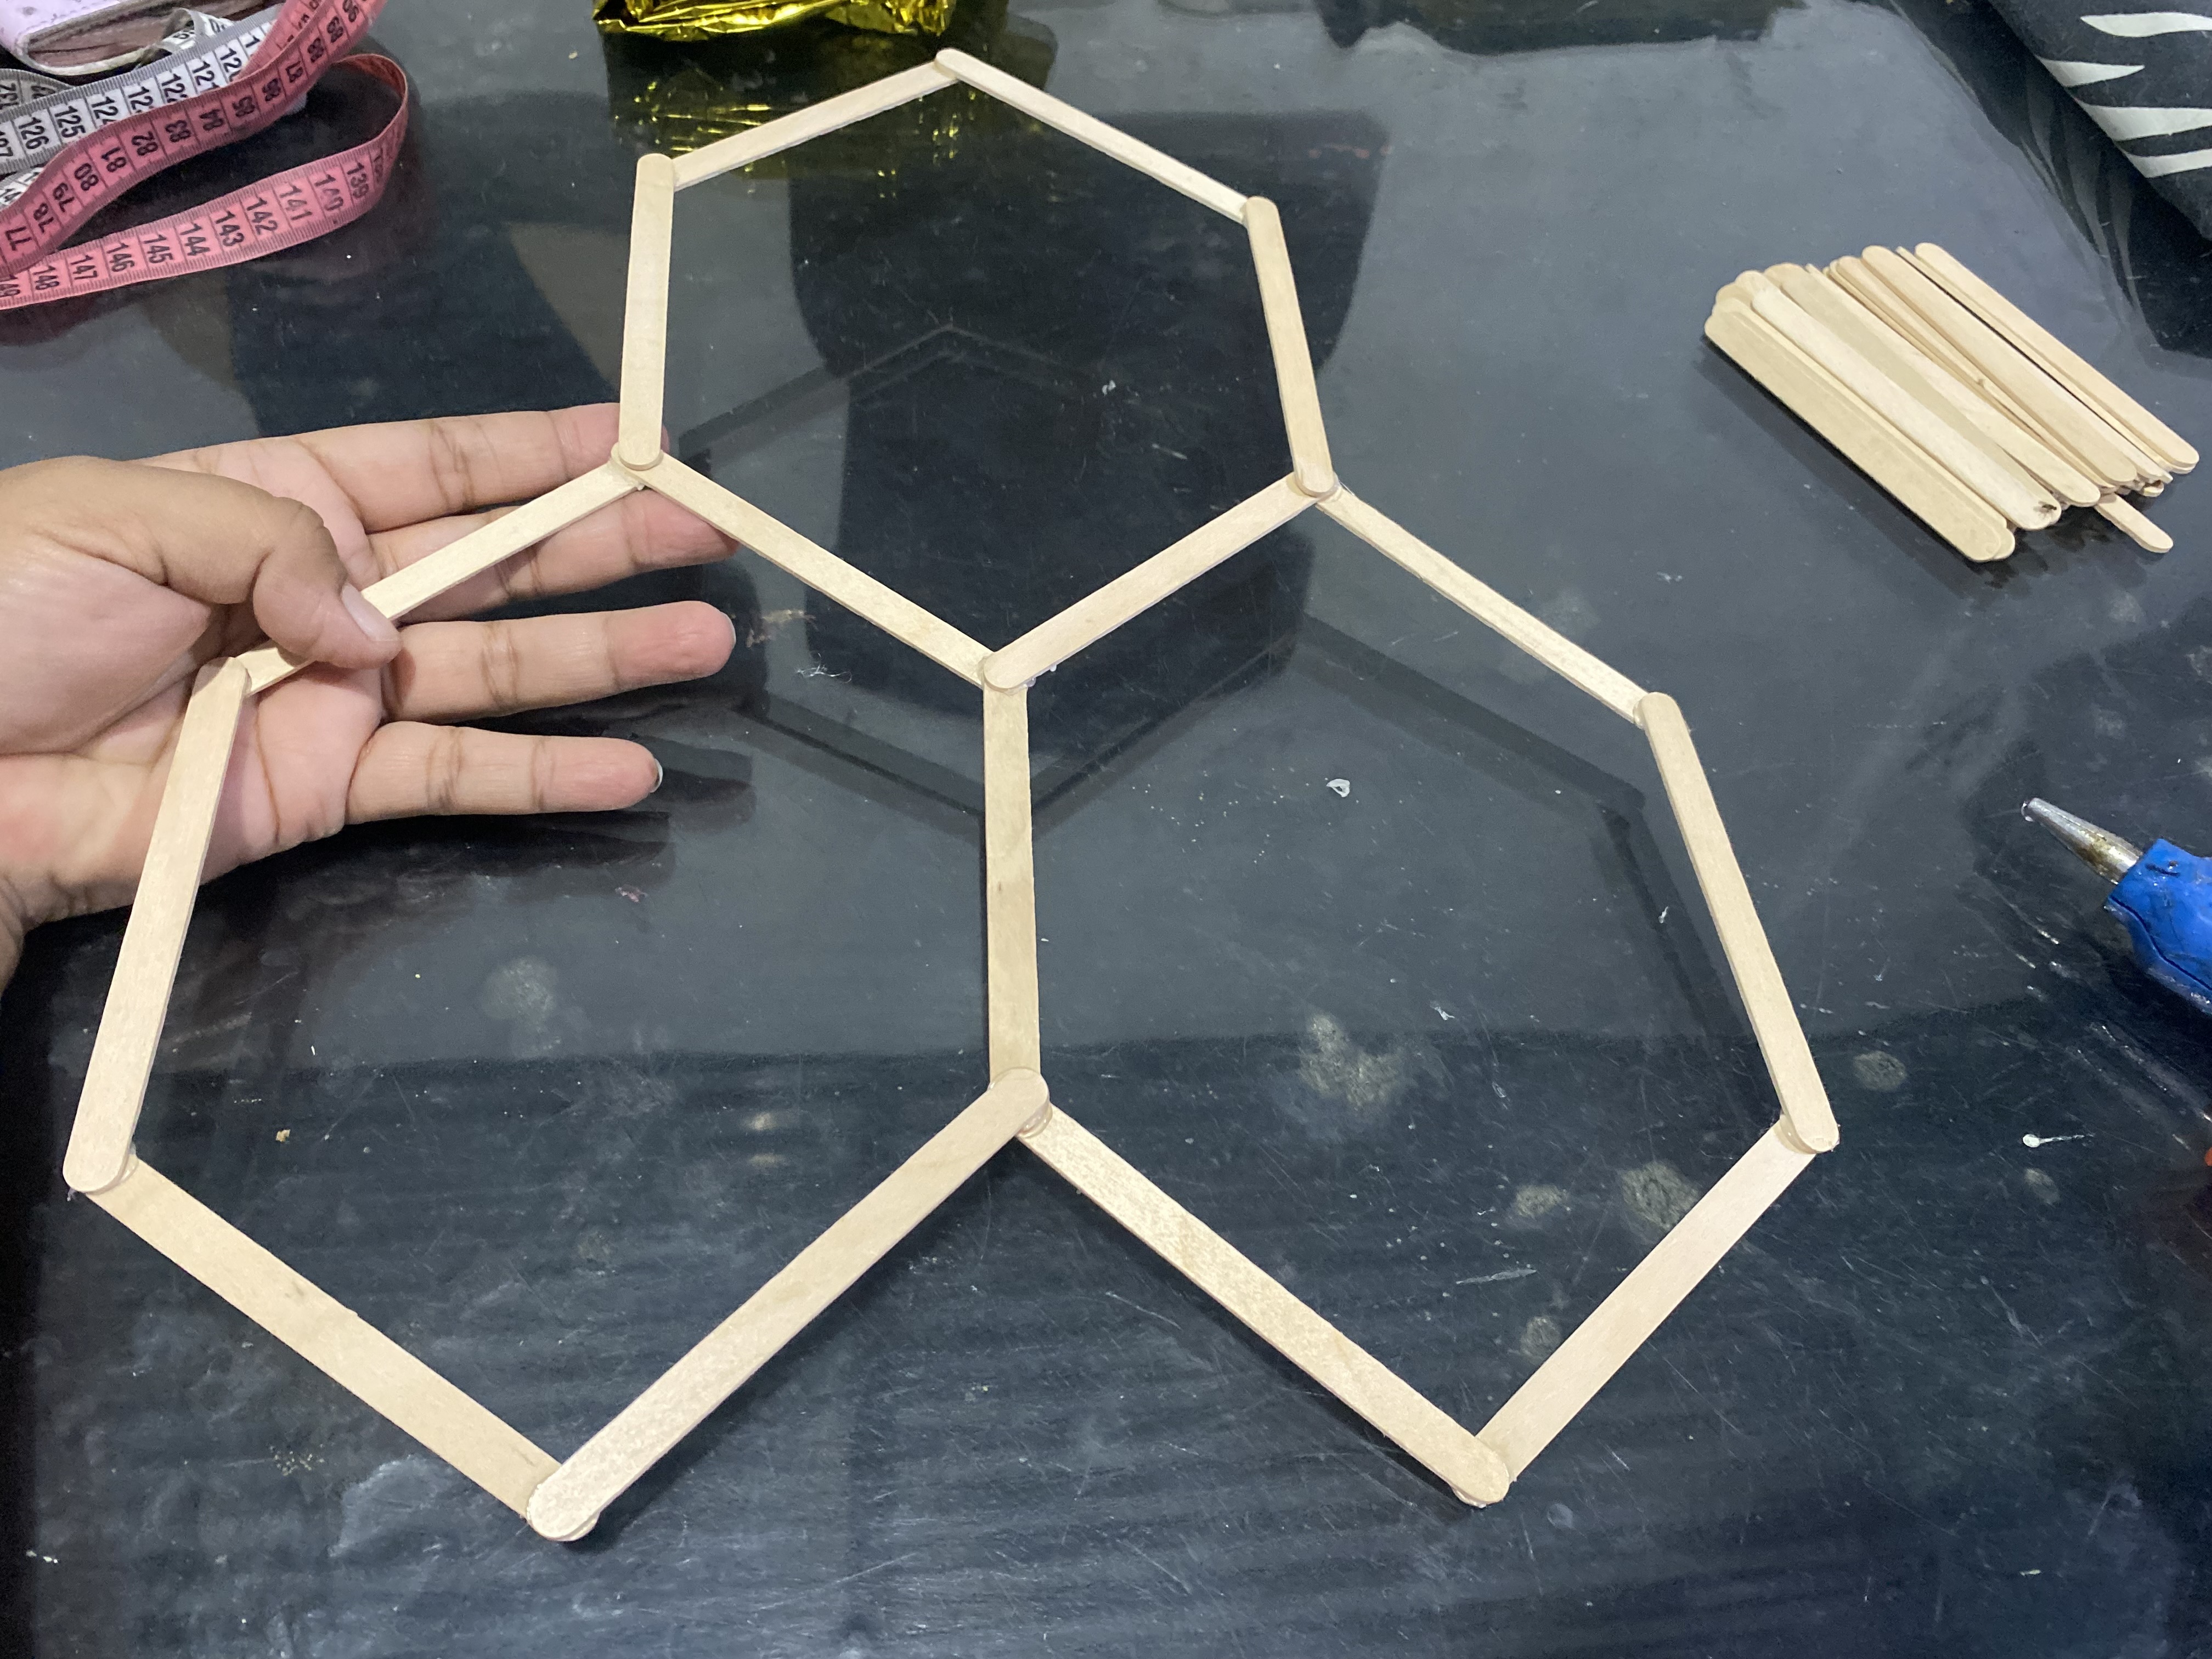
STEP 1
PASO 1
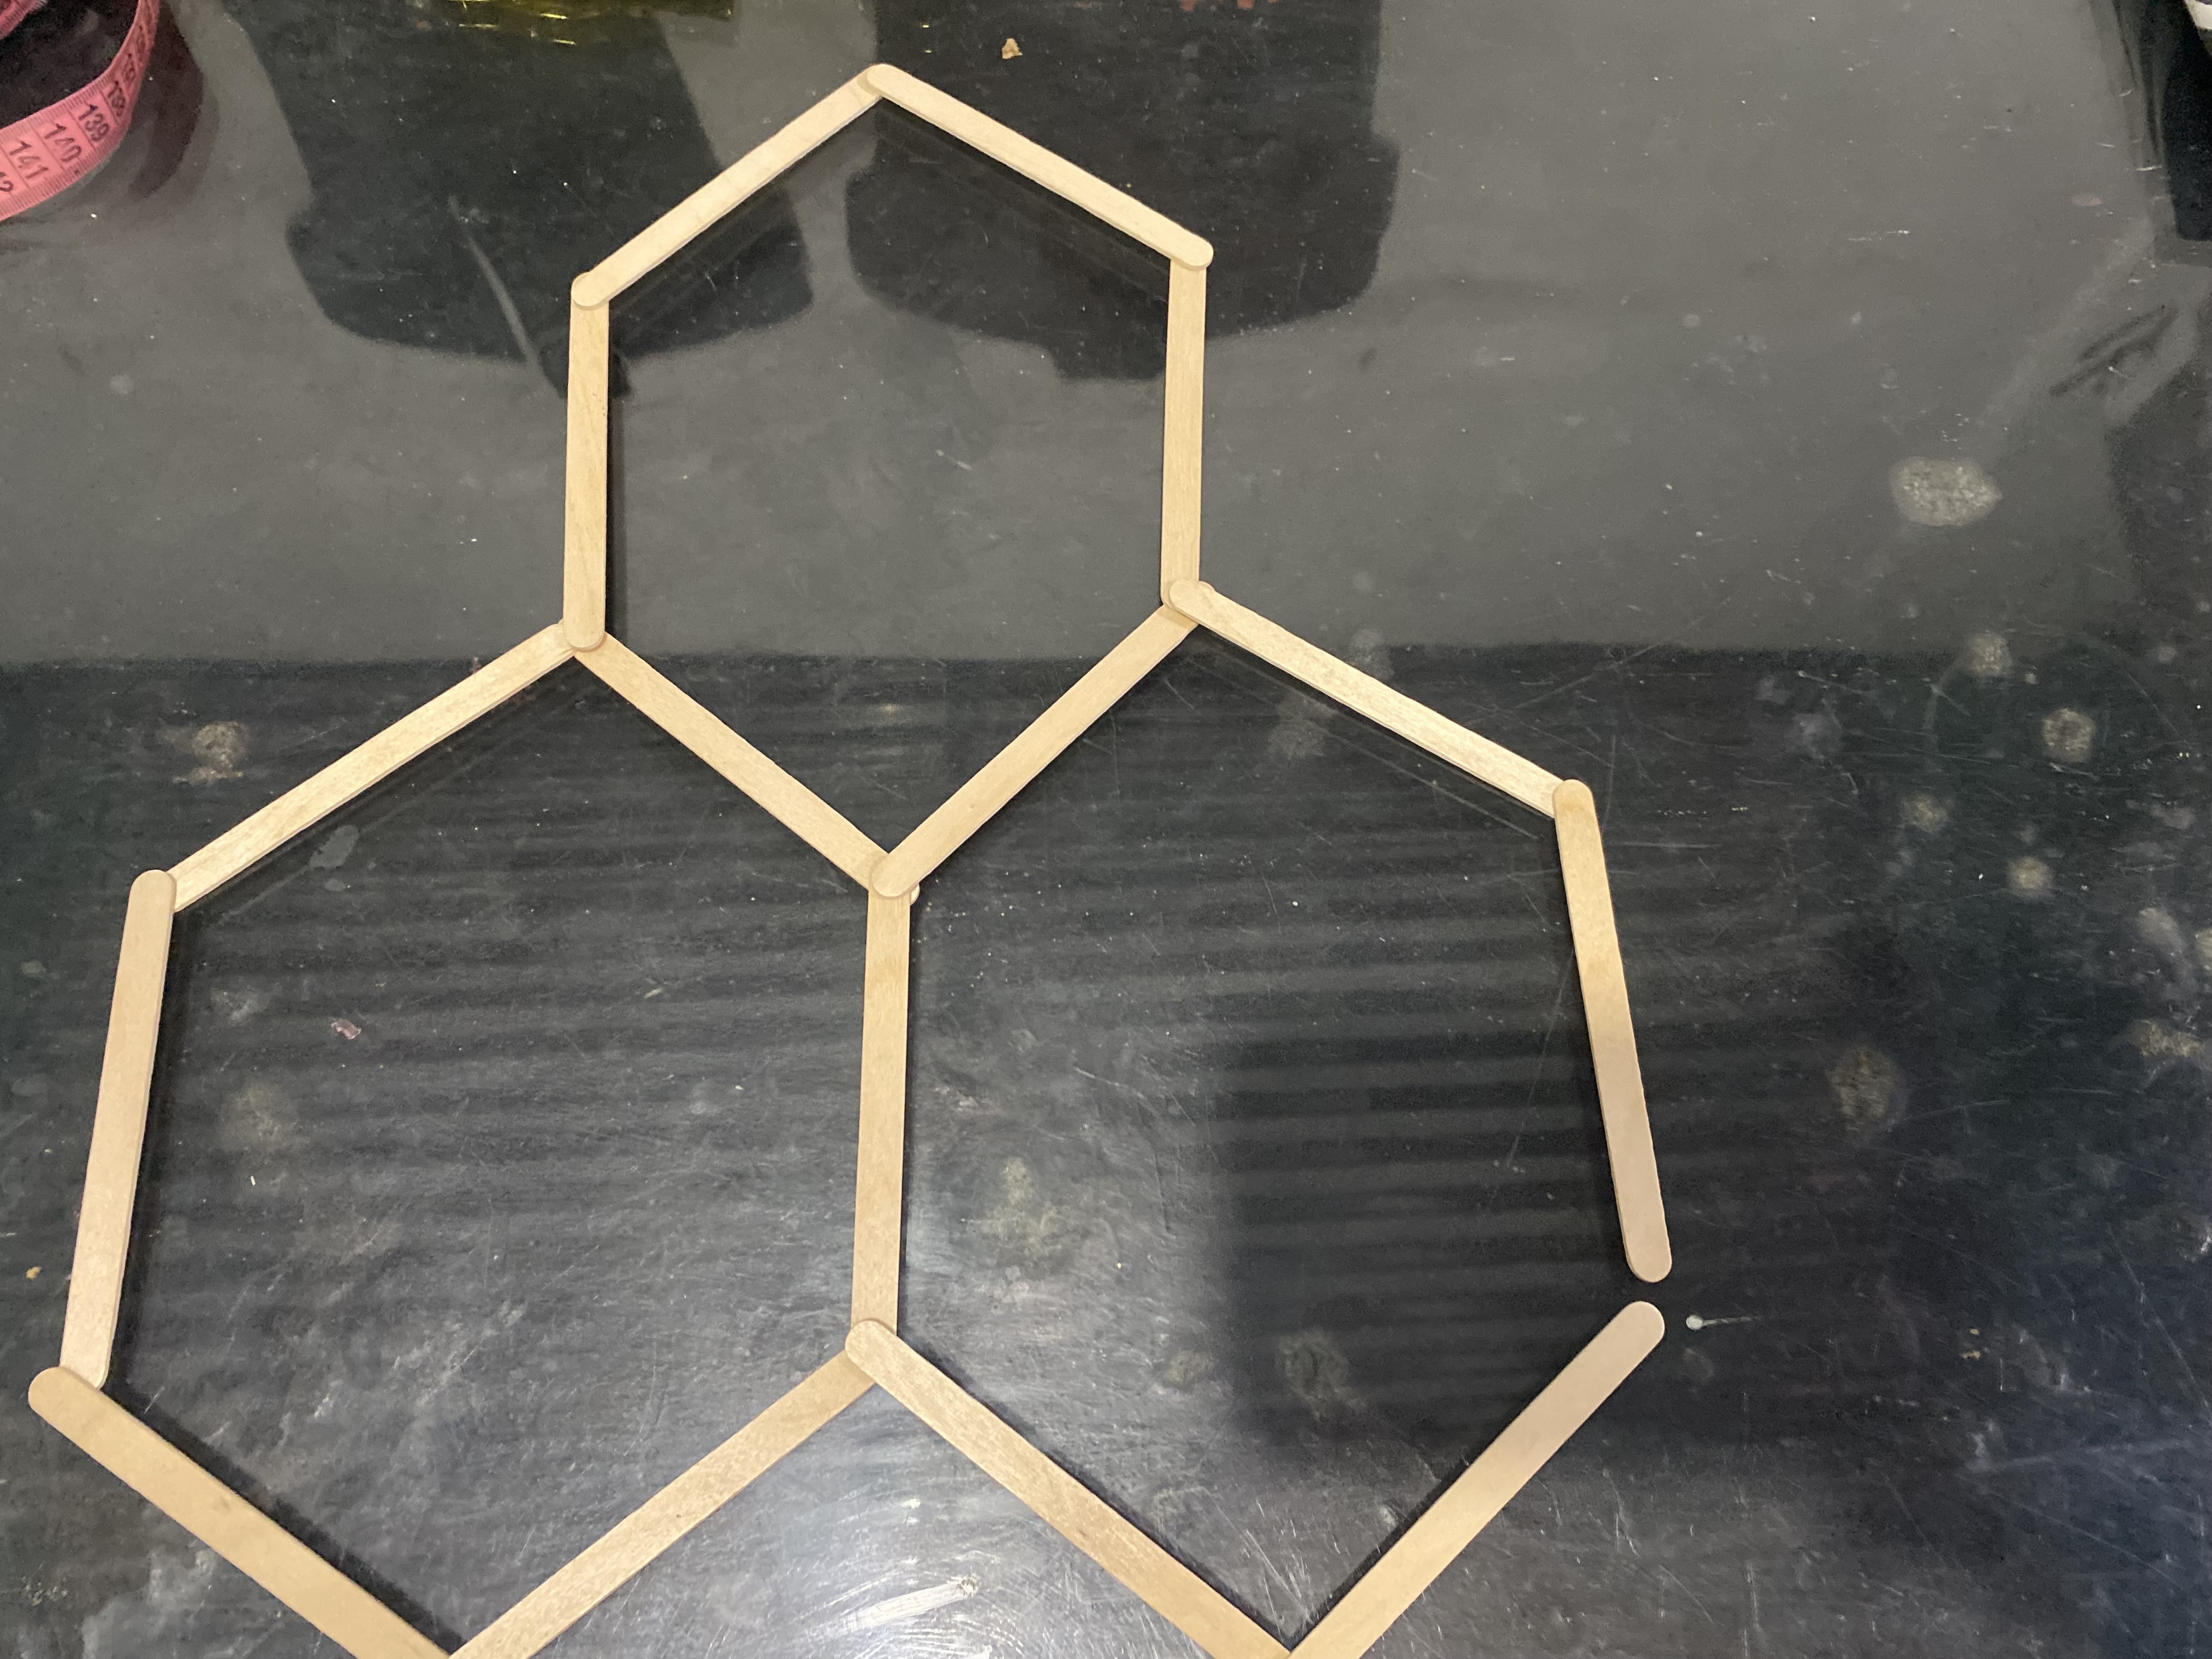
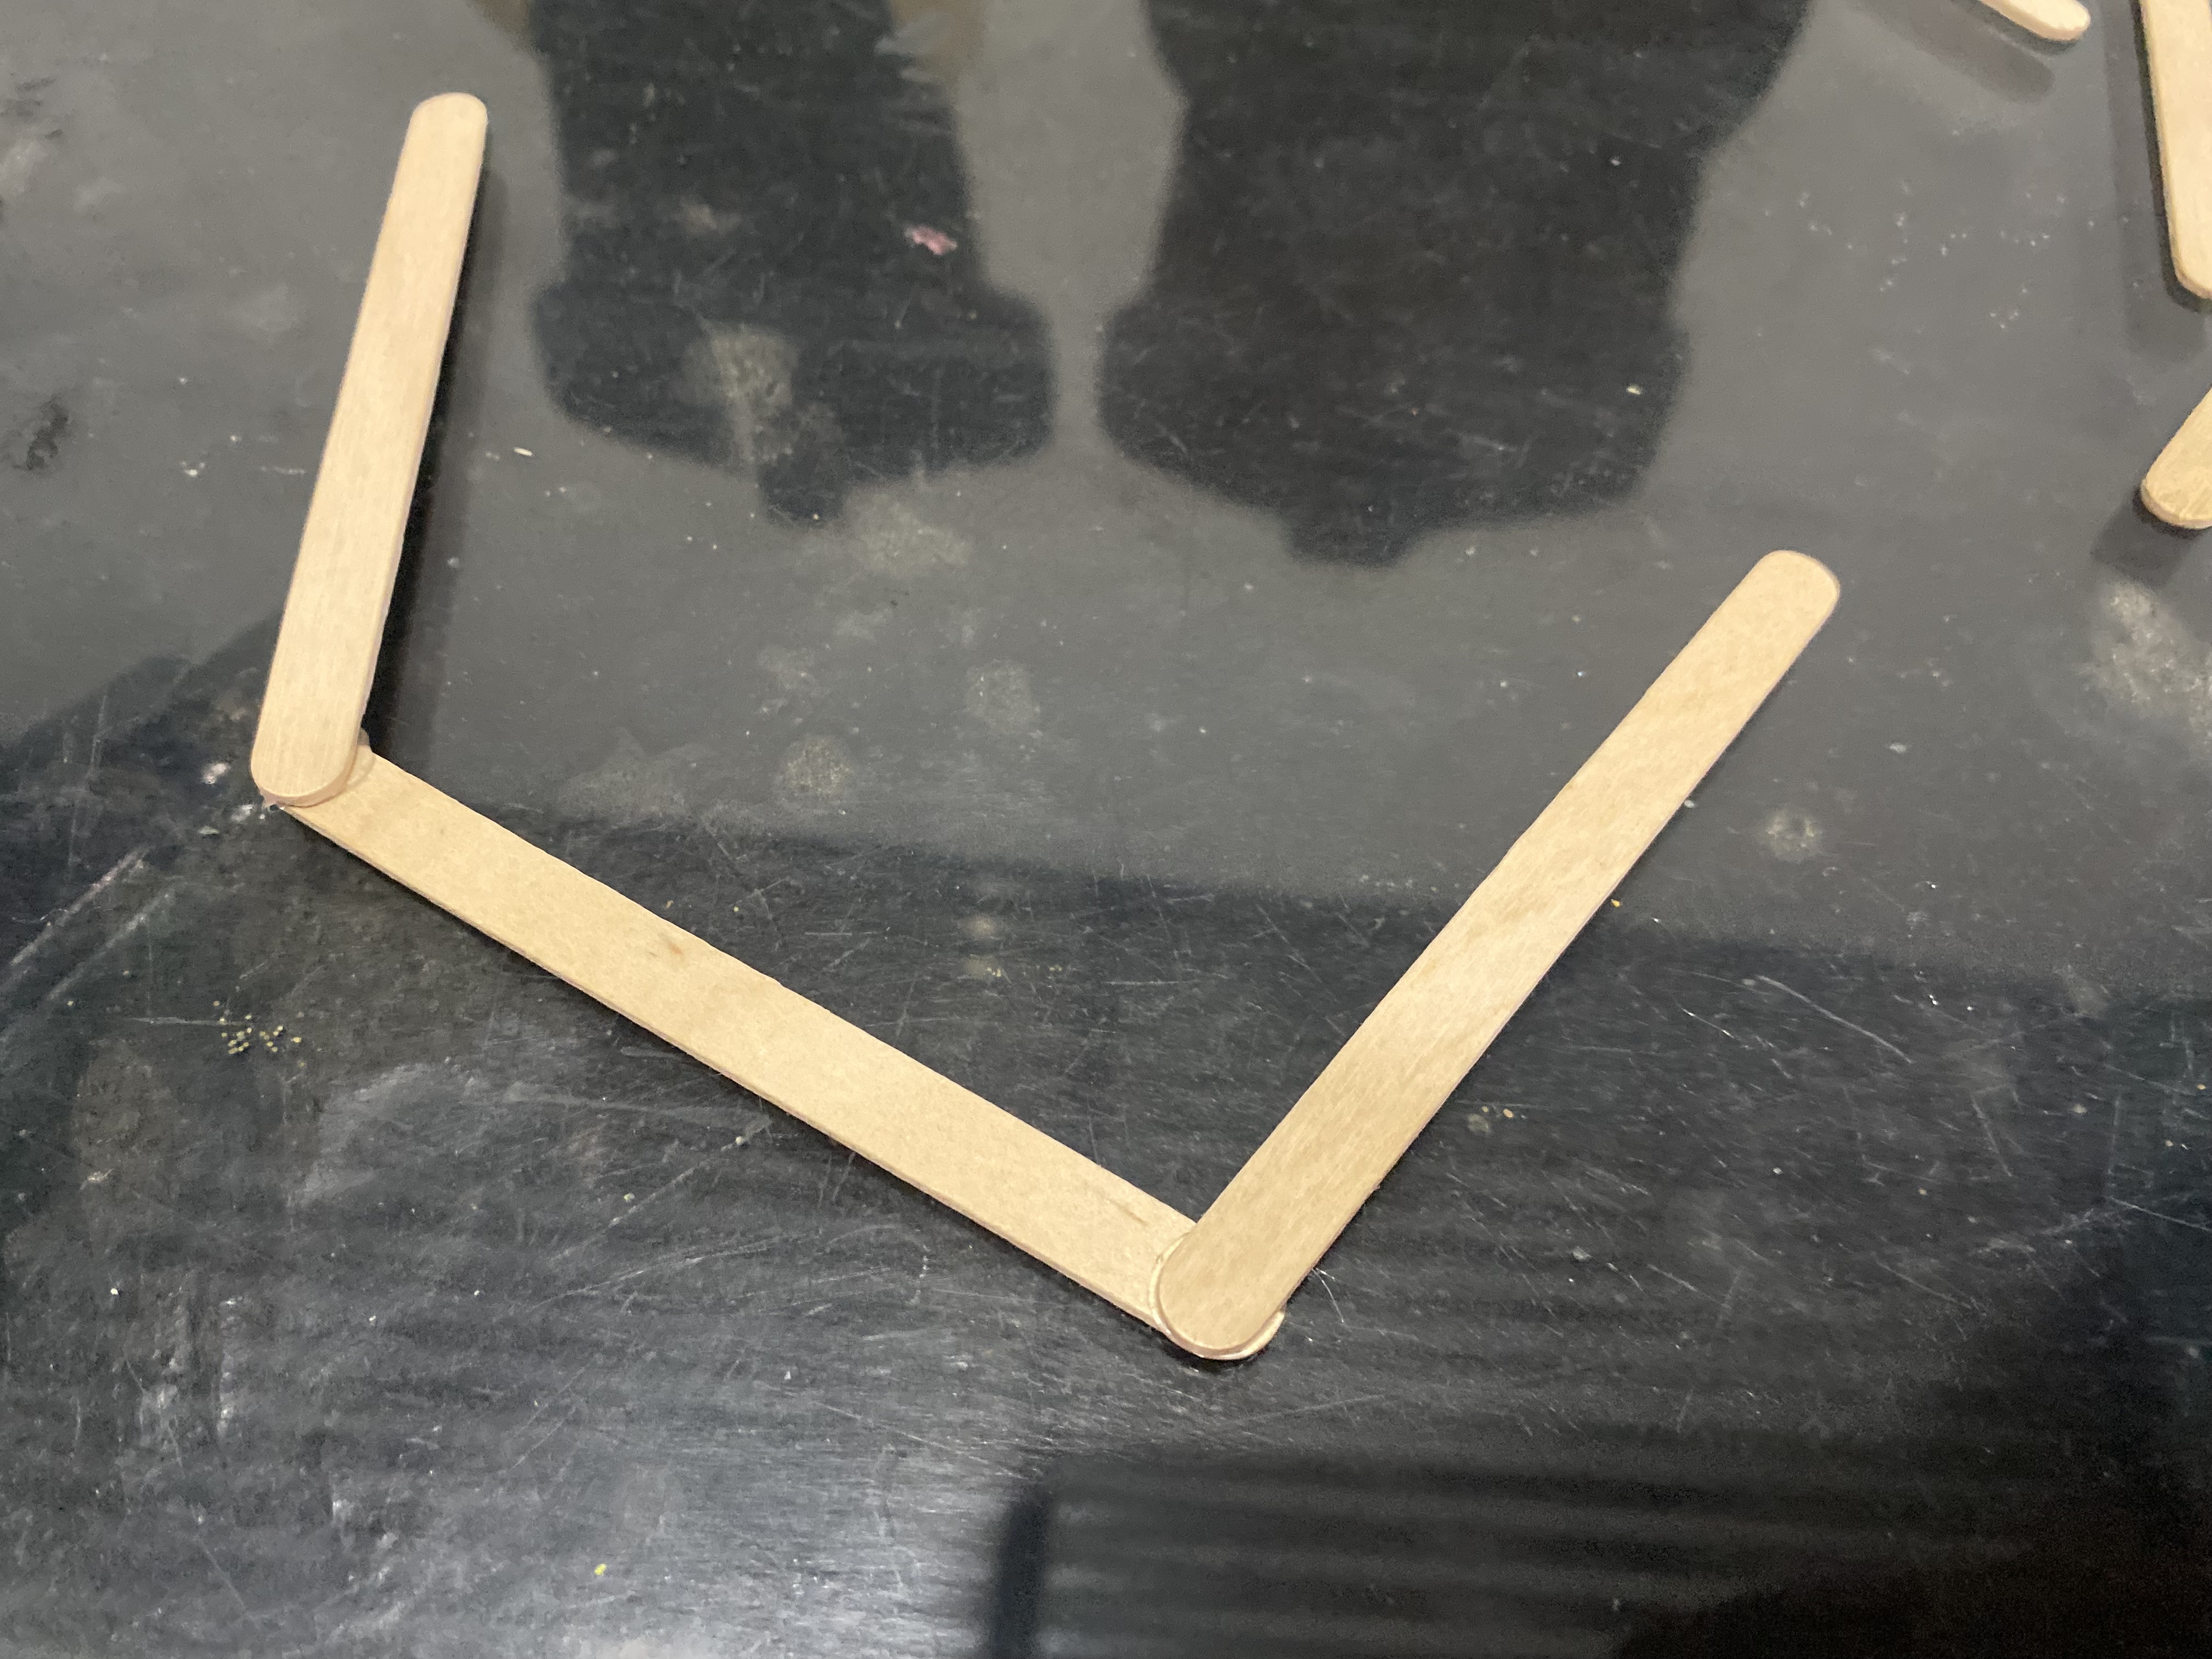
We are going to start by giving it the shape with the palettes, we put it in the position we want and then we are going to glue one by one with hot Silicon, I liked the idea of giving it the shape of three hives, two below and one on top, for this we can make infinite figures and the amount of hives you want
Vamos a comenzar dándole la forma con las paletas, ponemos en la posición en la que queramos y luego vamos a ir pegando una a una con Silicon caliente, me gustó la idea de darle la forma de tres colmenas dos abajo y una en la parte superior, para esto podemos hacer infinidad de figuras y la cantidad de colmenas que desees
 |  |
|---|---|
 |
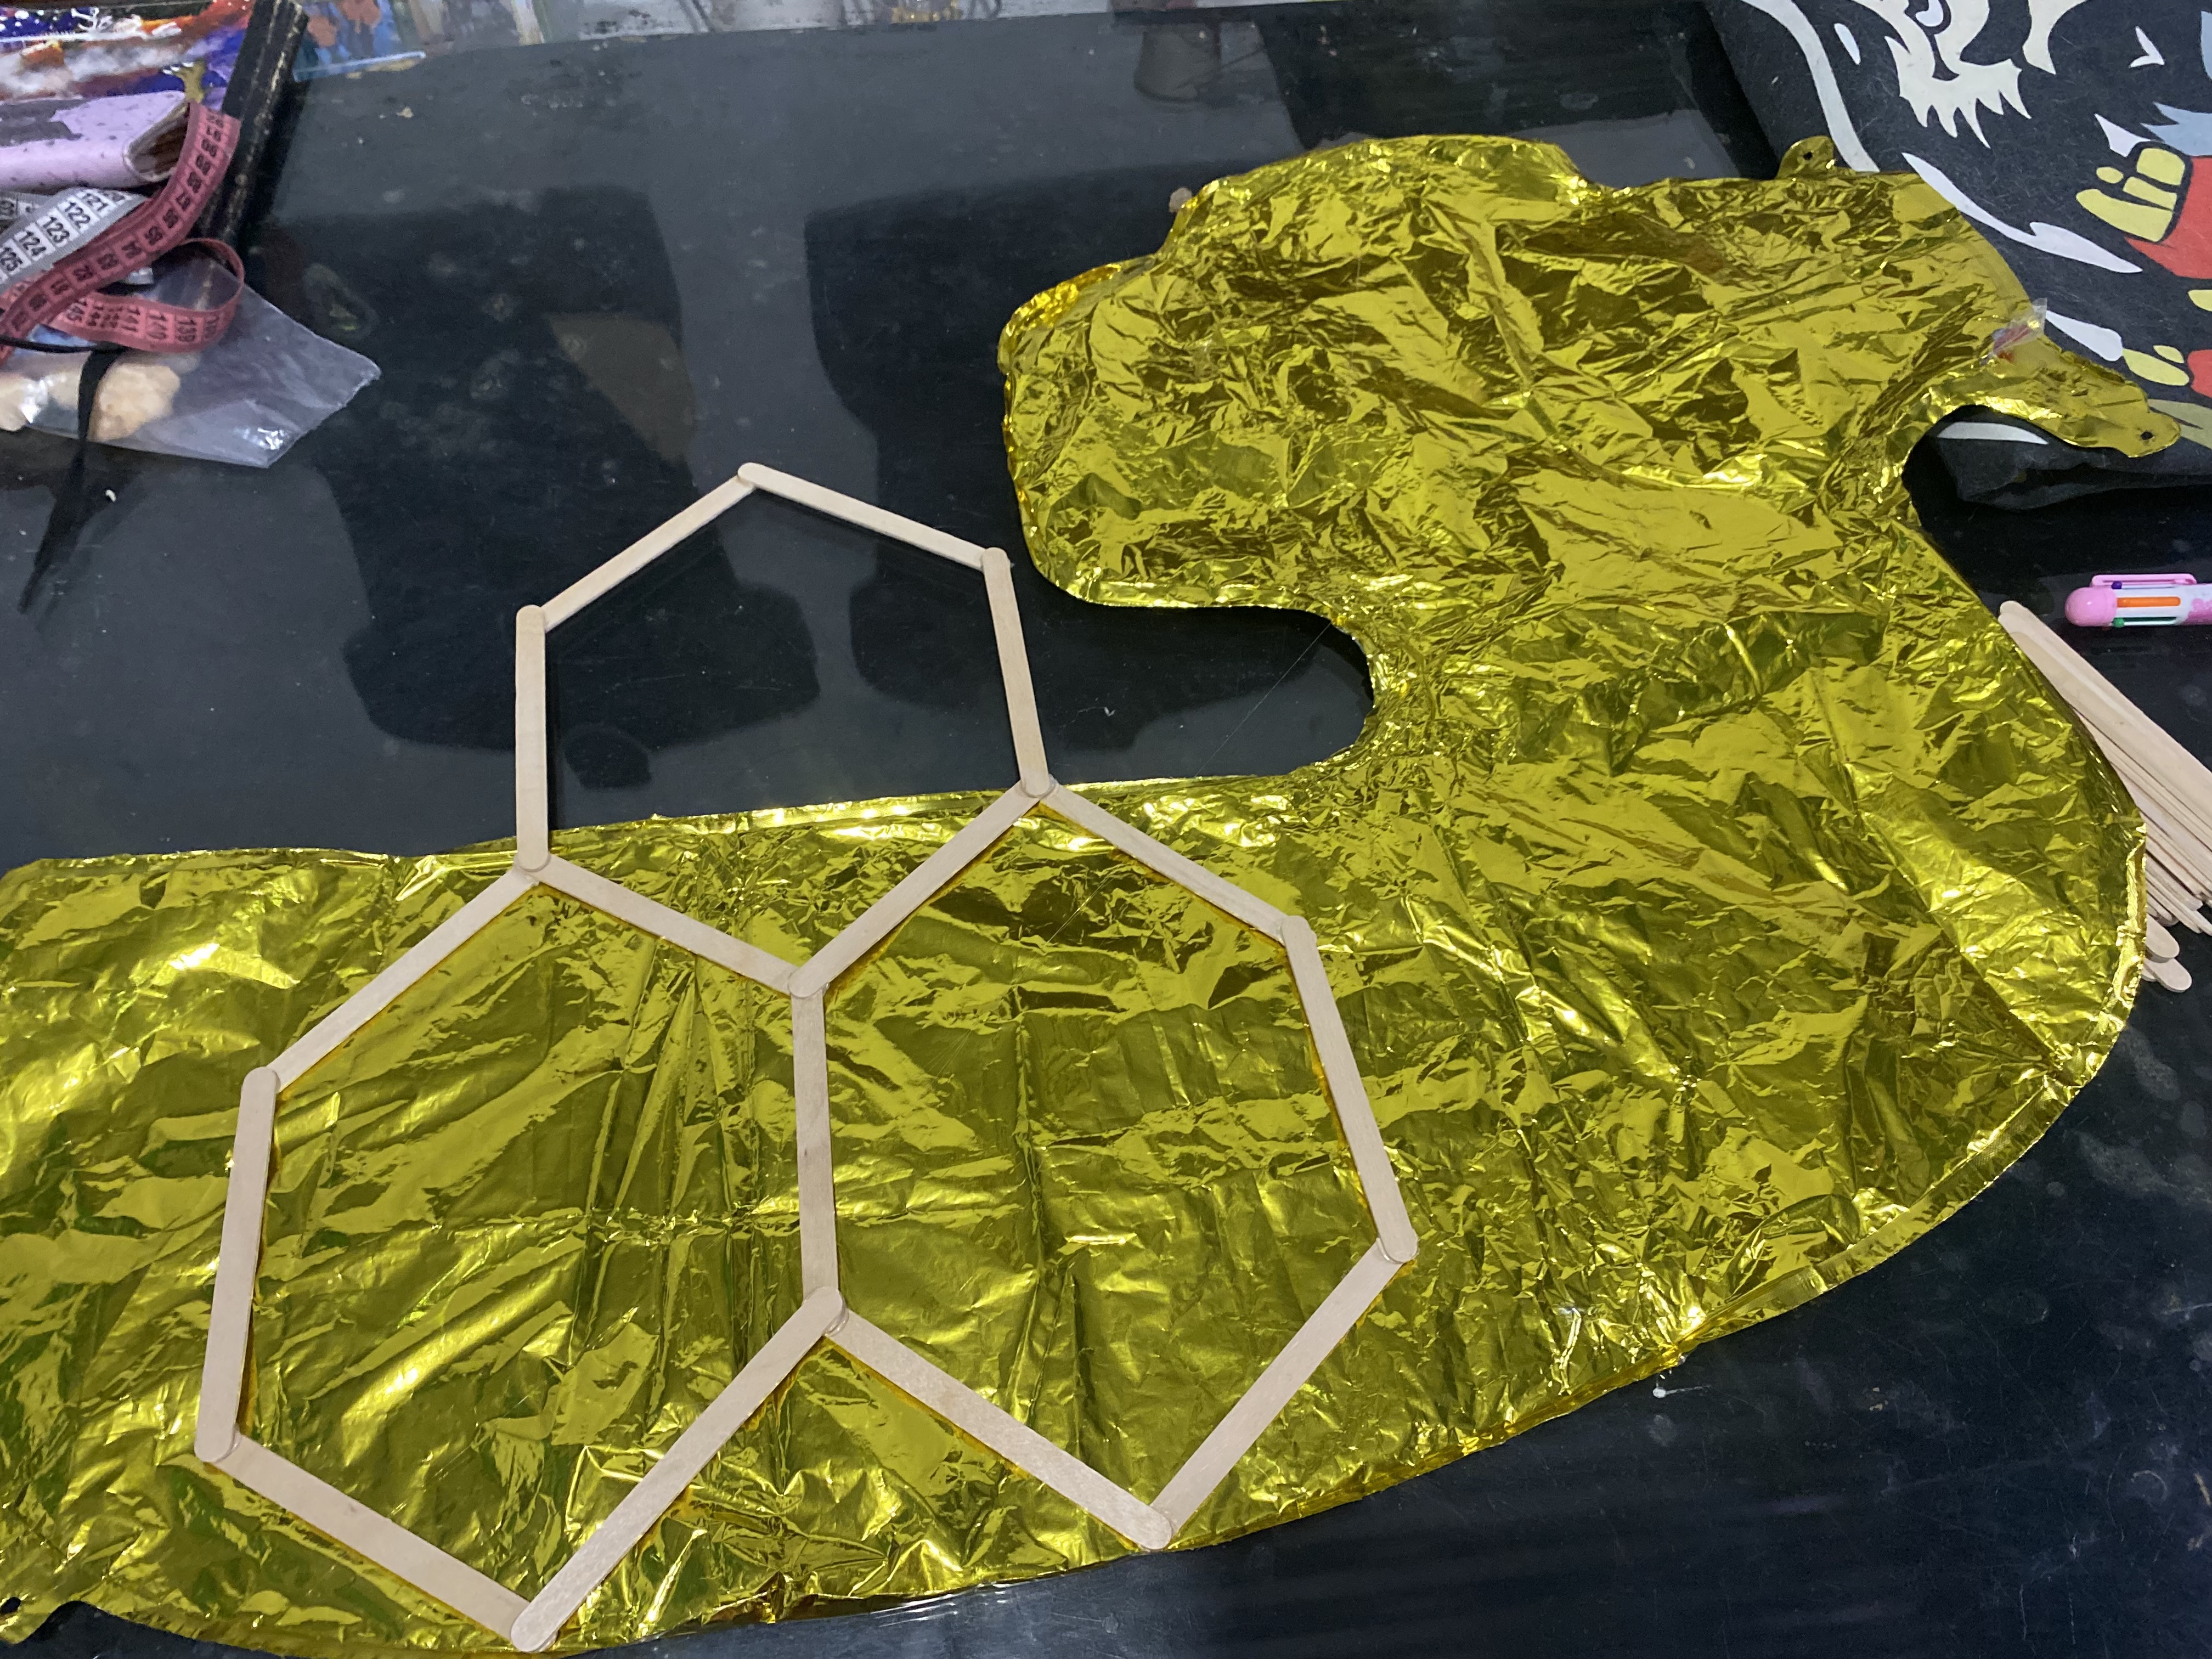
STEP 2
PASO 2
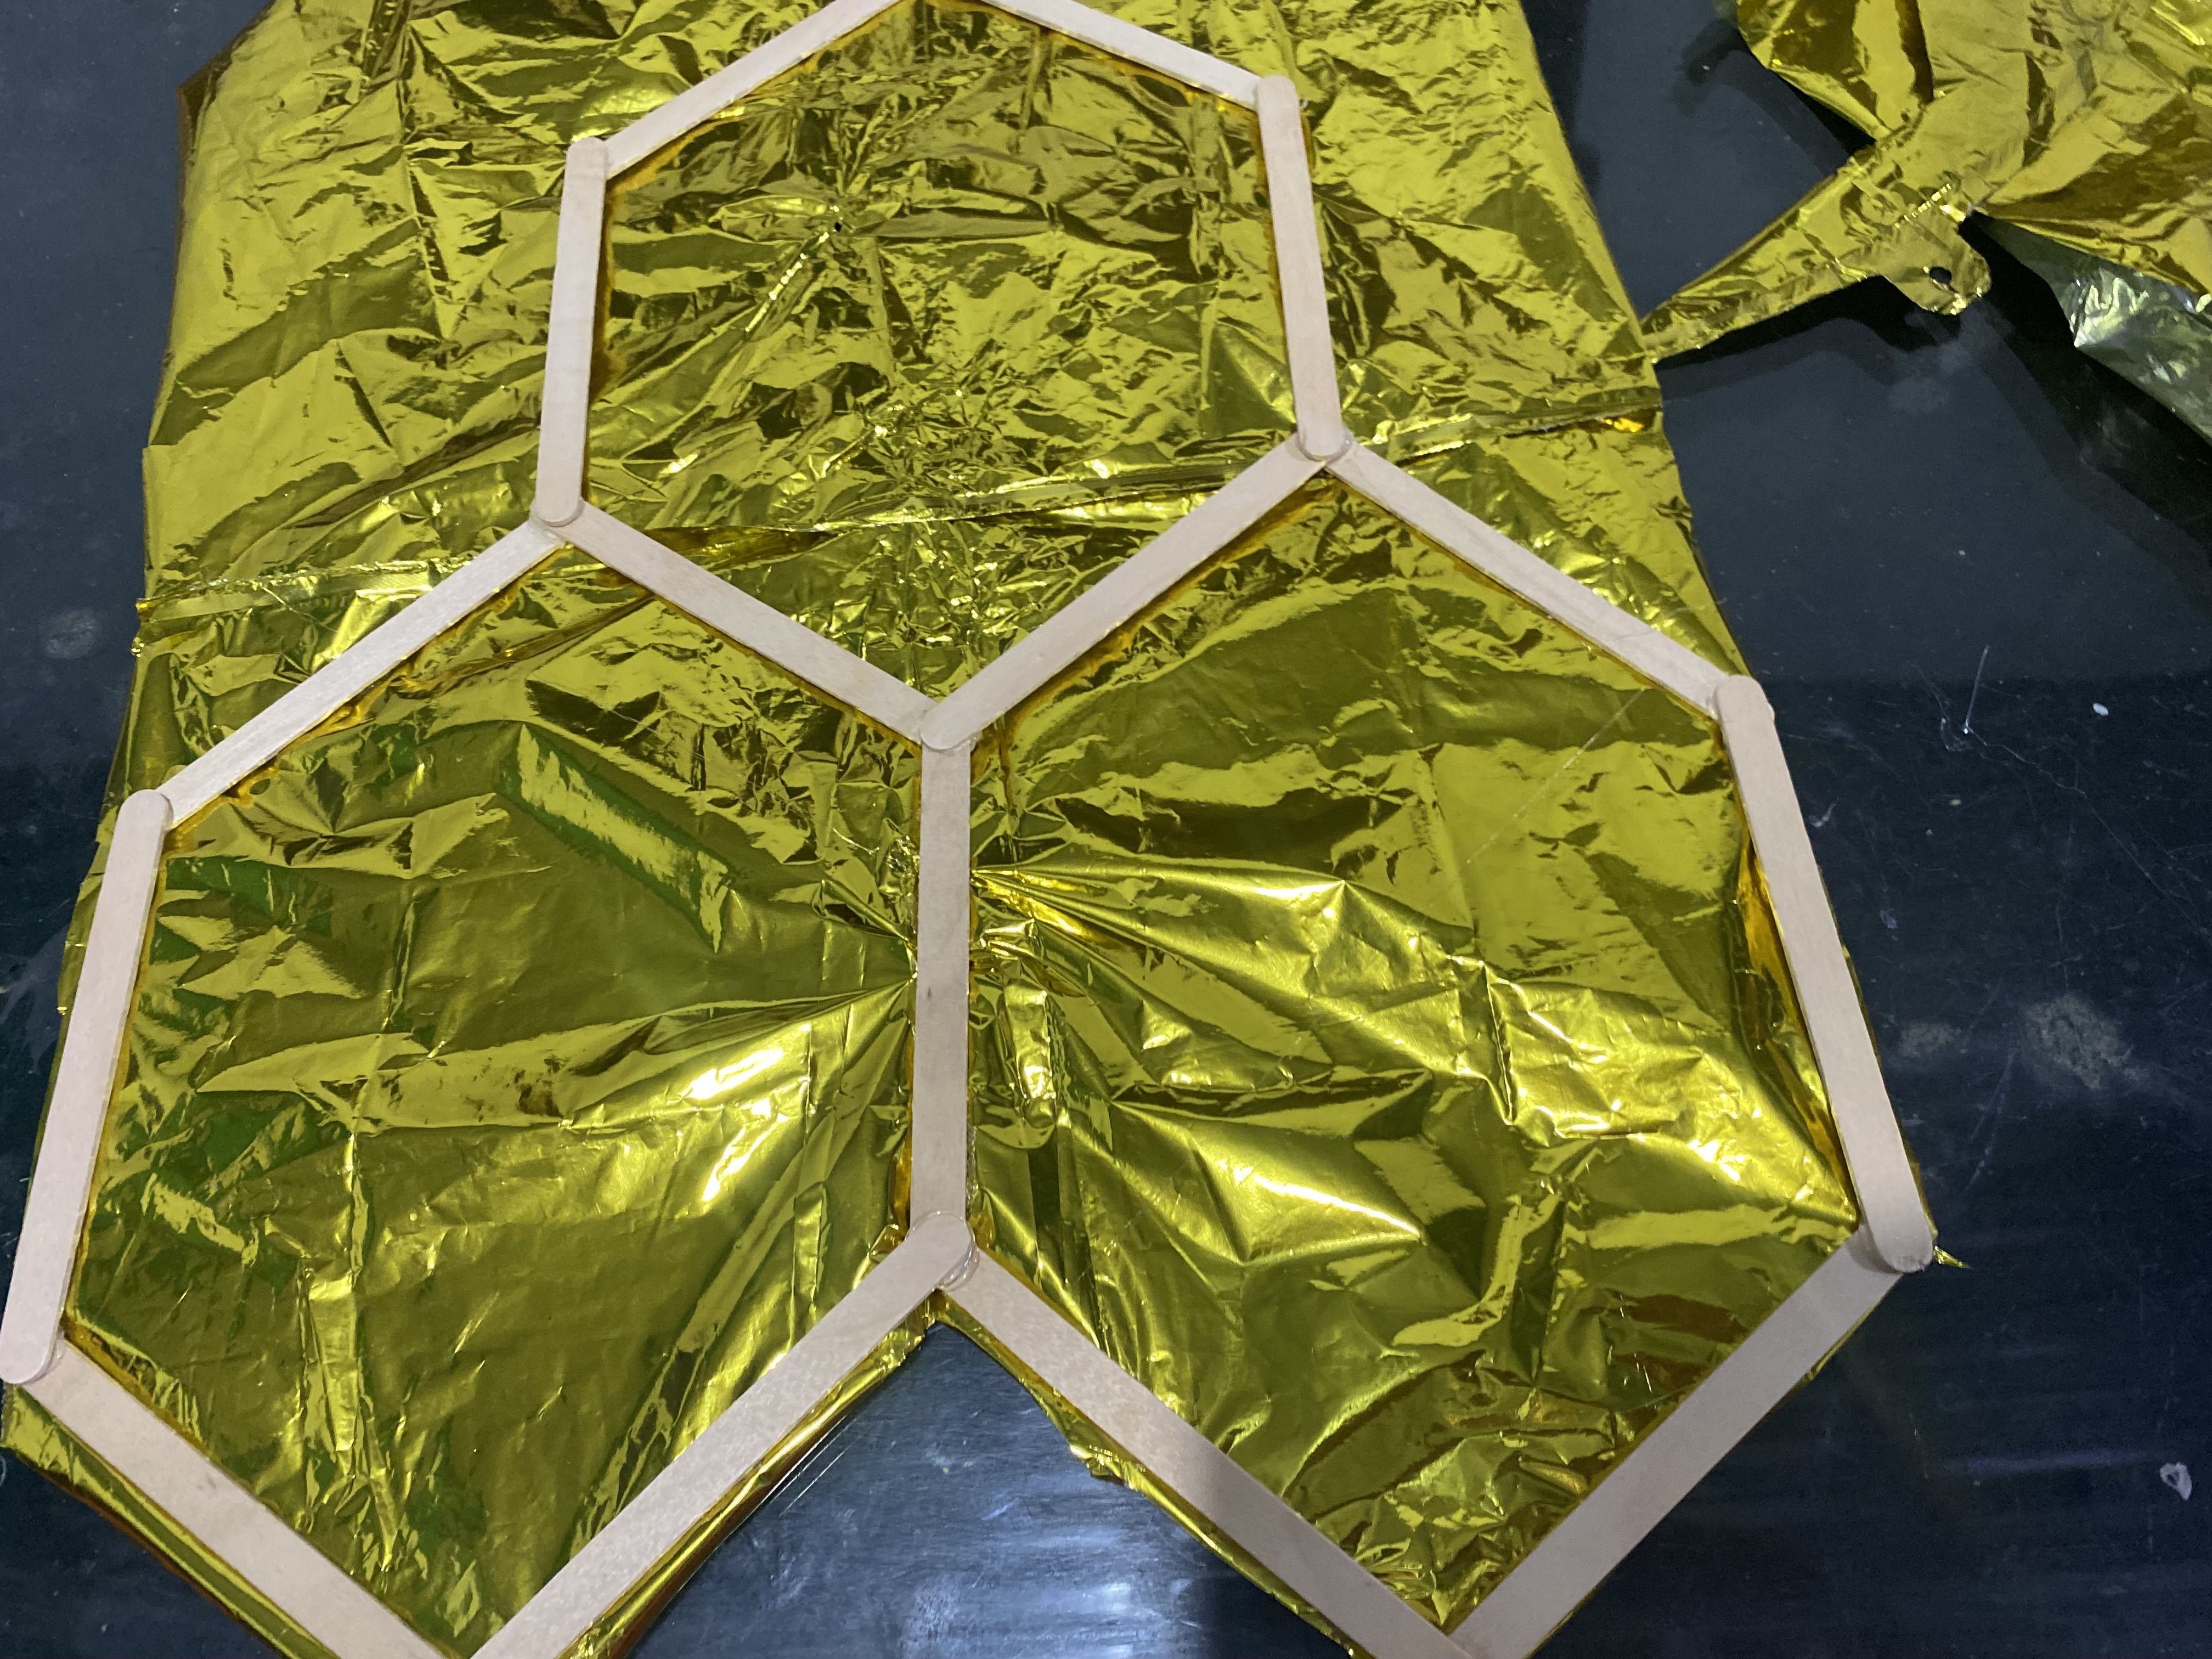
In our second step we are going to use the used balloon, this one was a pretty big number 4 in gold color, we are going to stick it on the back of our lollipop shape that we already made, we place it on the widest part of the balloon, then we fix it with a little Silicon and carefully cut along the bottom edge to unfold the whole balloon and be able to cover our whole picture frame, then we stick it along all the edges and cut off the excess
En nuestro segundo paso vamos a utilizar el globo usado, éste era un número 4 bastante grande en color dorado, lo vamos a pegar por la parte de atrás de nuestra forma de paletas que ya hicimos, ubicamos en la parte más ancha del globo, luego fijamos con un poco con Silicon y cortamos cuidadosamente por la orilla inferior para desplegar todo el globo y poder cubrir todo nuestro porta retrato, luego vamos pegando por todas las orillas y cortamos el excedente
 |  |
|---|---|
 |
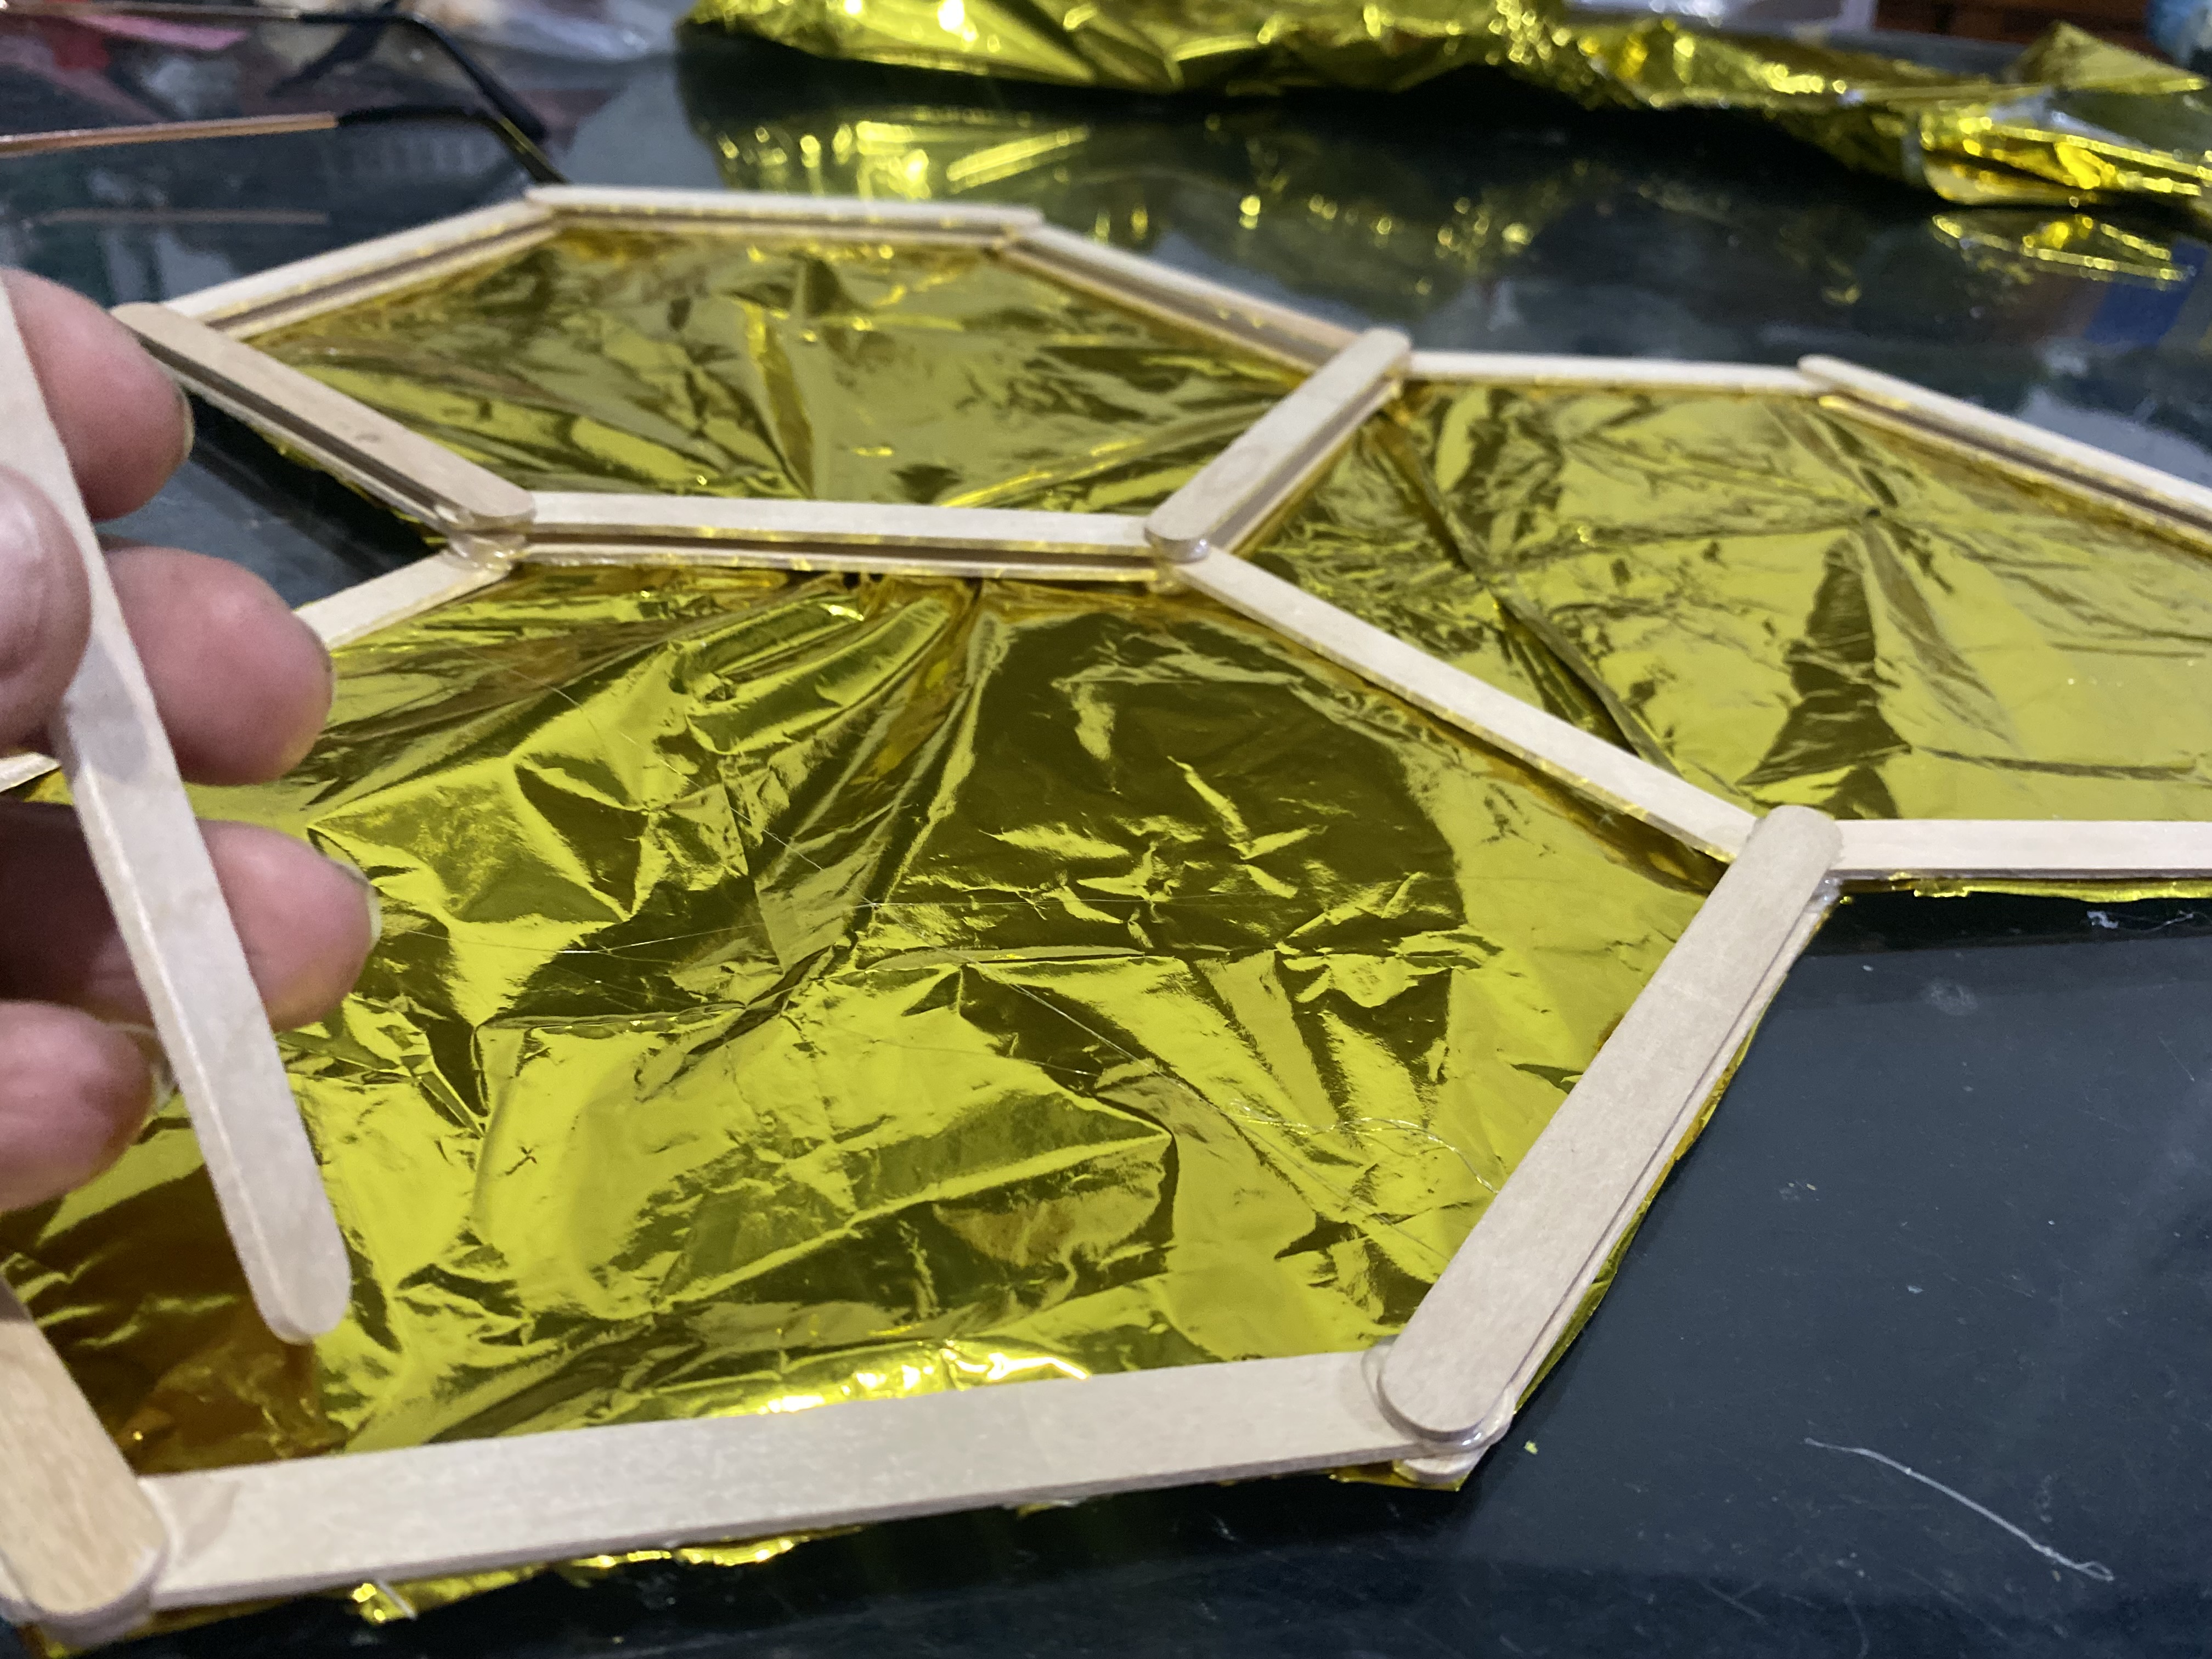
STEP 3
PASO 3
I really liked the idea of reusing this balloon, it was a good idea to save it, now for this third step we are going to glue additional sticks, with this we will achieve that our picture frame gives a little more weight since if we hang it like this it is very fragile and with the breeze it will move, we are going to glue each stick in each position that we gave it so that they all remain double.
Me gustó mucho la idea de reutilizar este globo, fue buena idea guardarlo, ahora para este tercer paso vamos a pegarle paletas adicionales, con esto lograremos que nuestro porta retrato que dé un poquito más pesado ya que si lo guindamos así es muy frágil y con la brisa se moverá, vamos pegando cada paleta en cada posición que le dimos de manera que todas nos queden dobles.
STEP 4
PASO 4
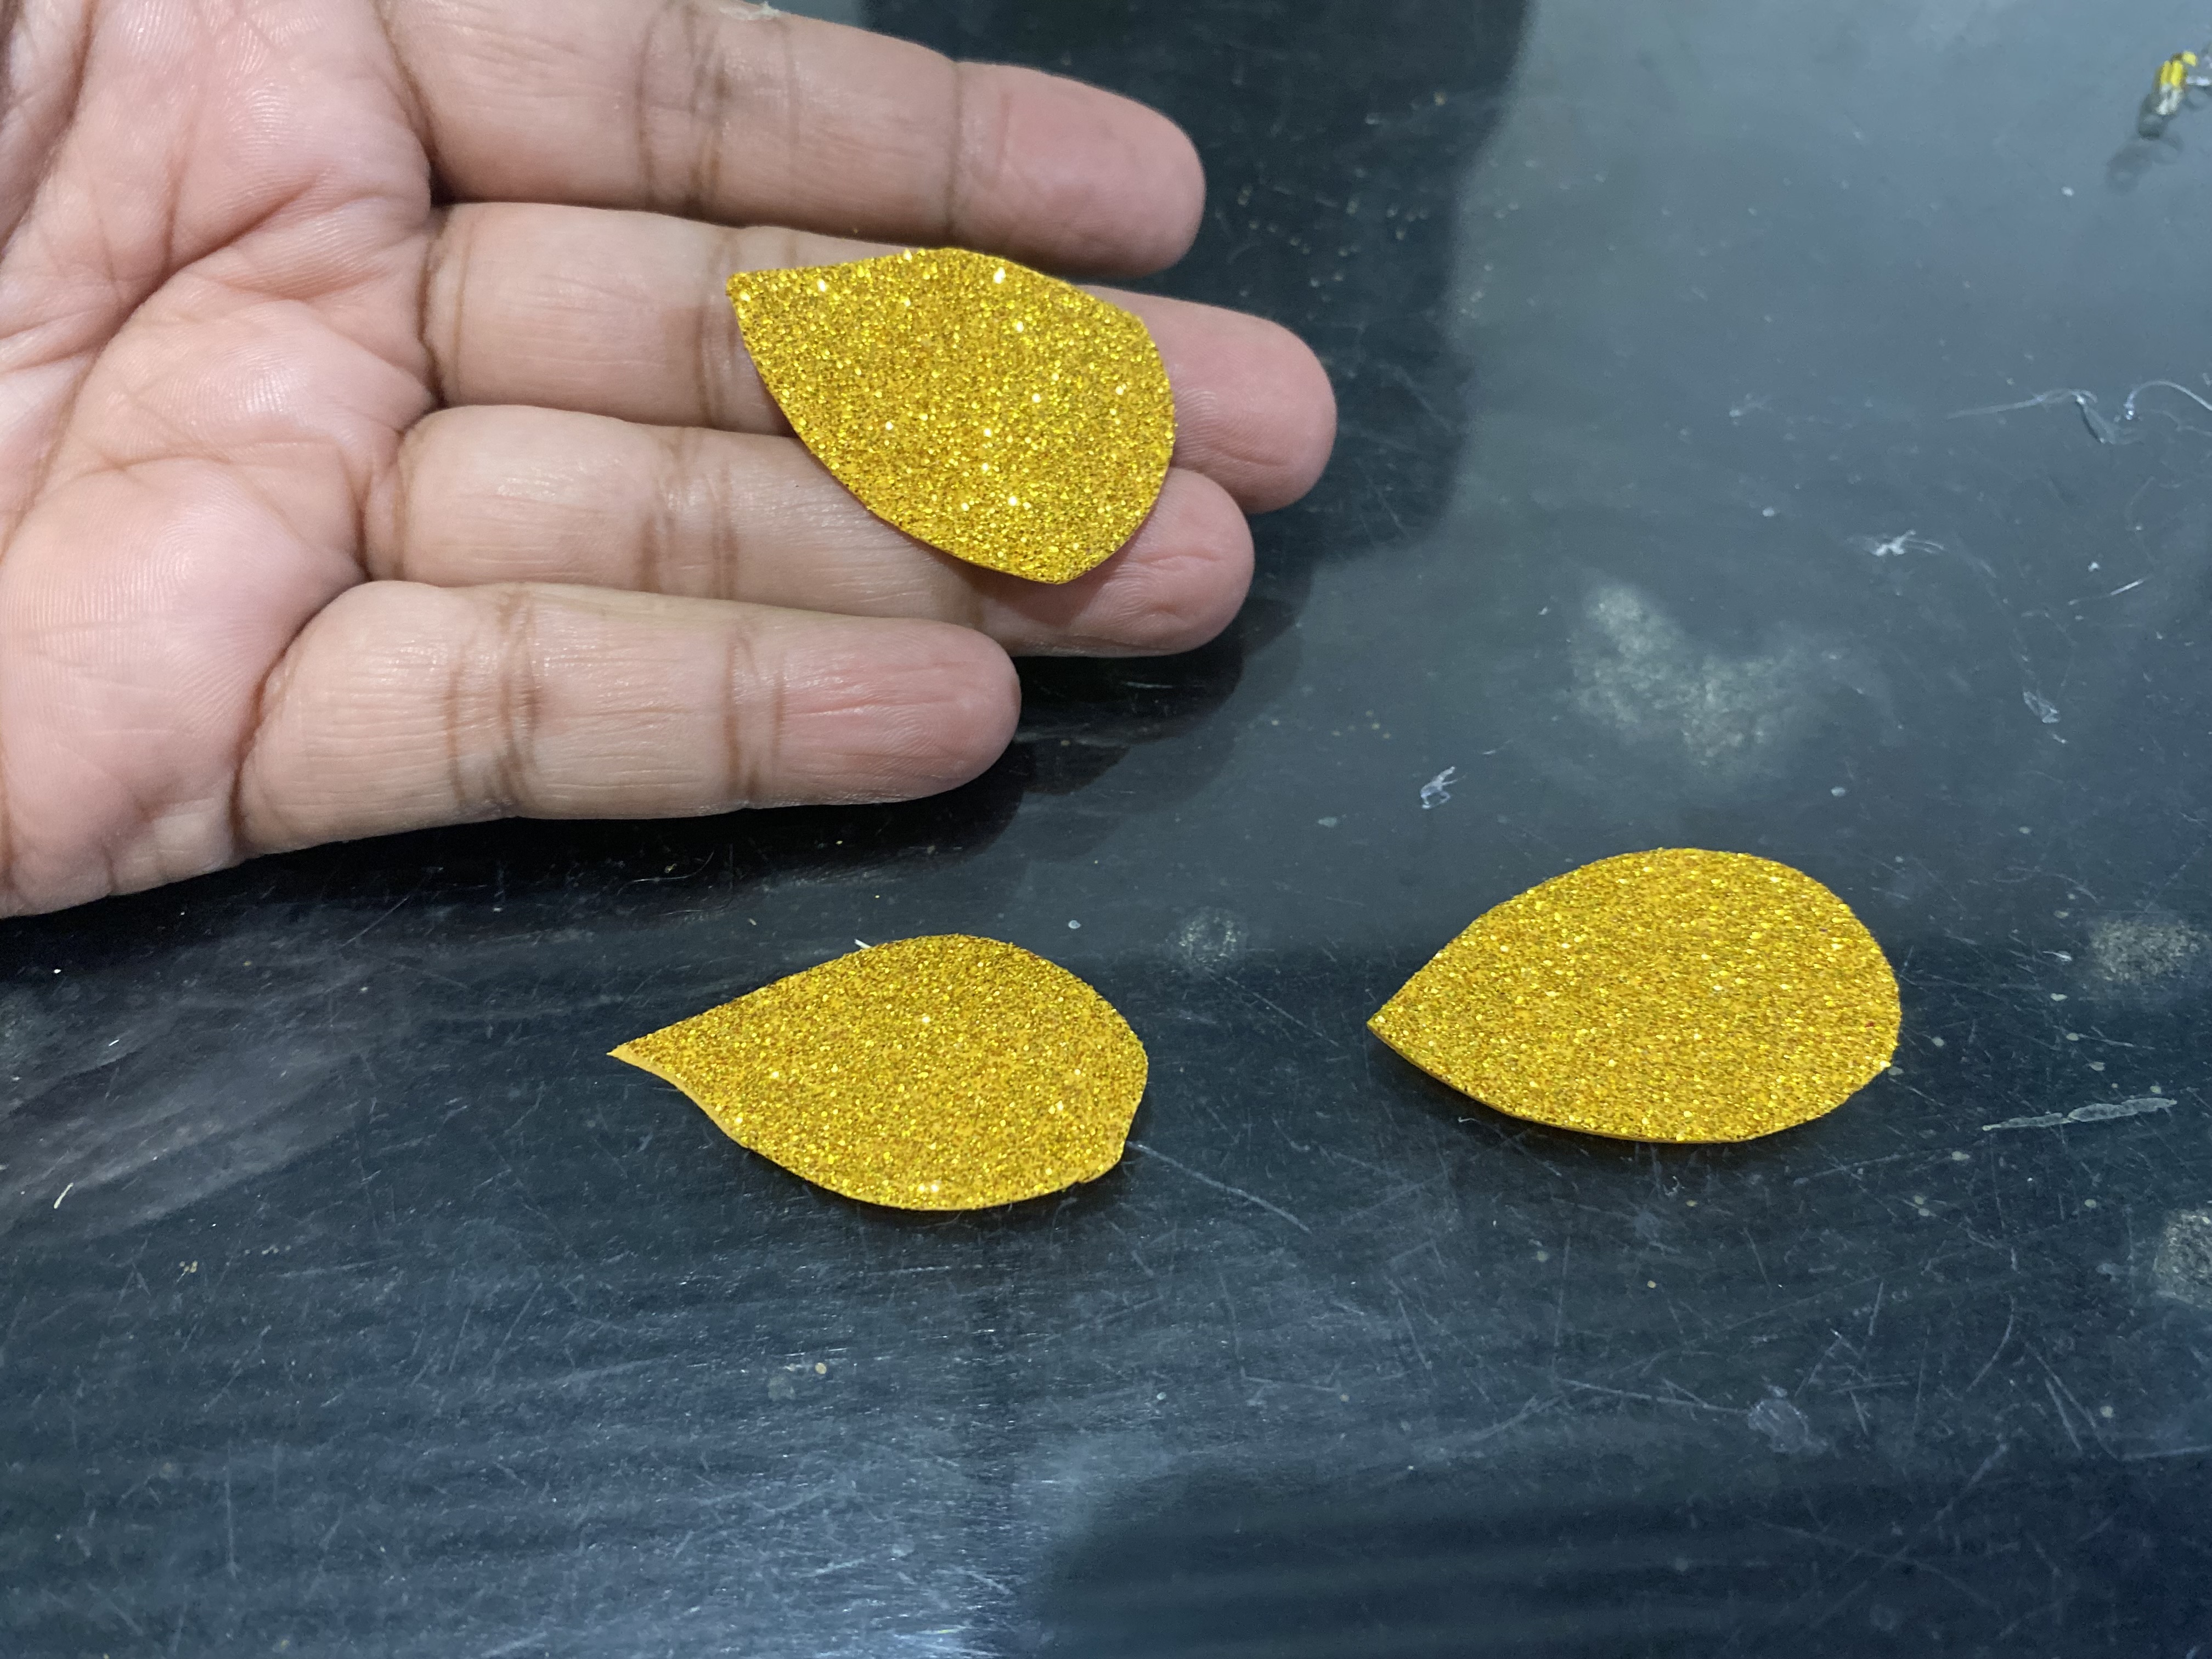
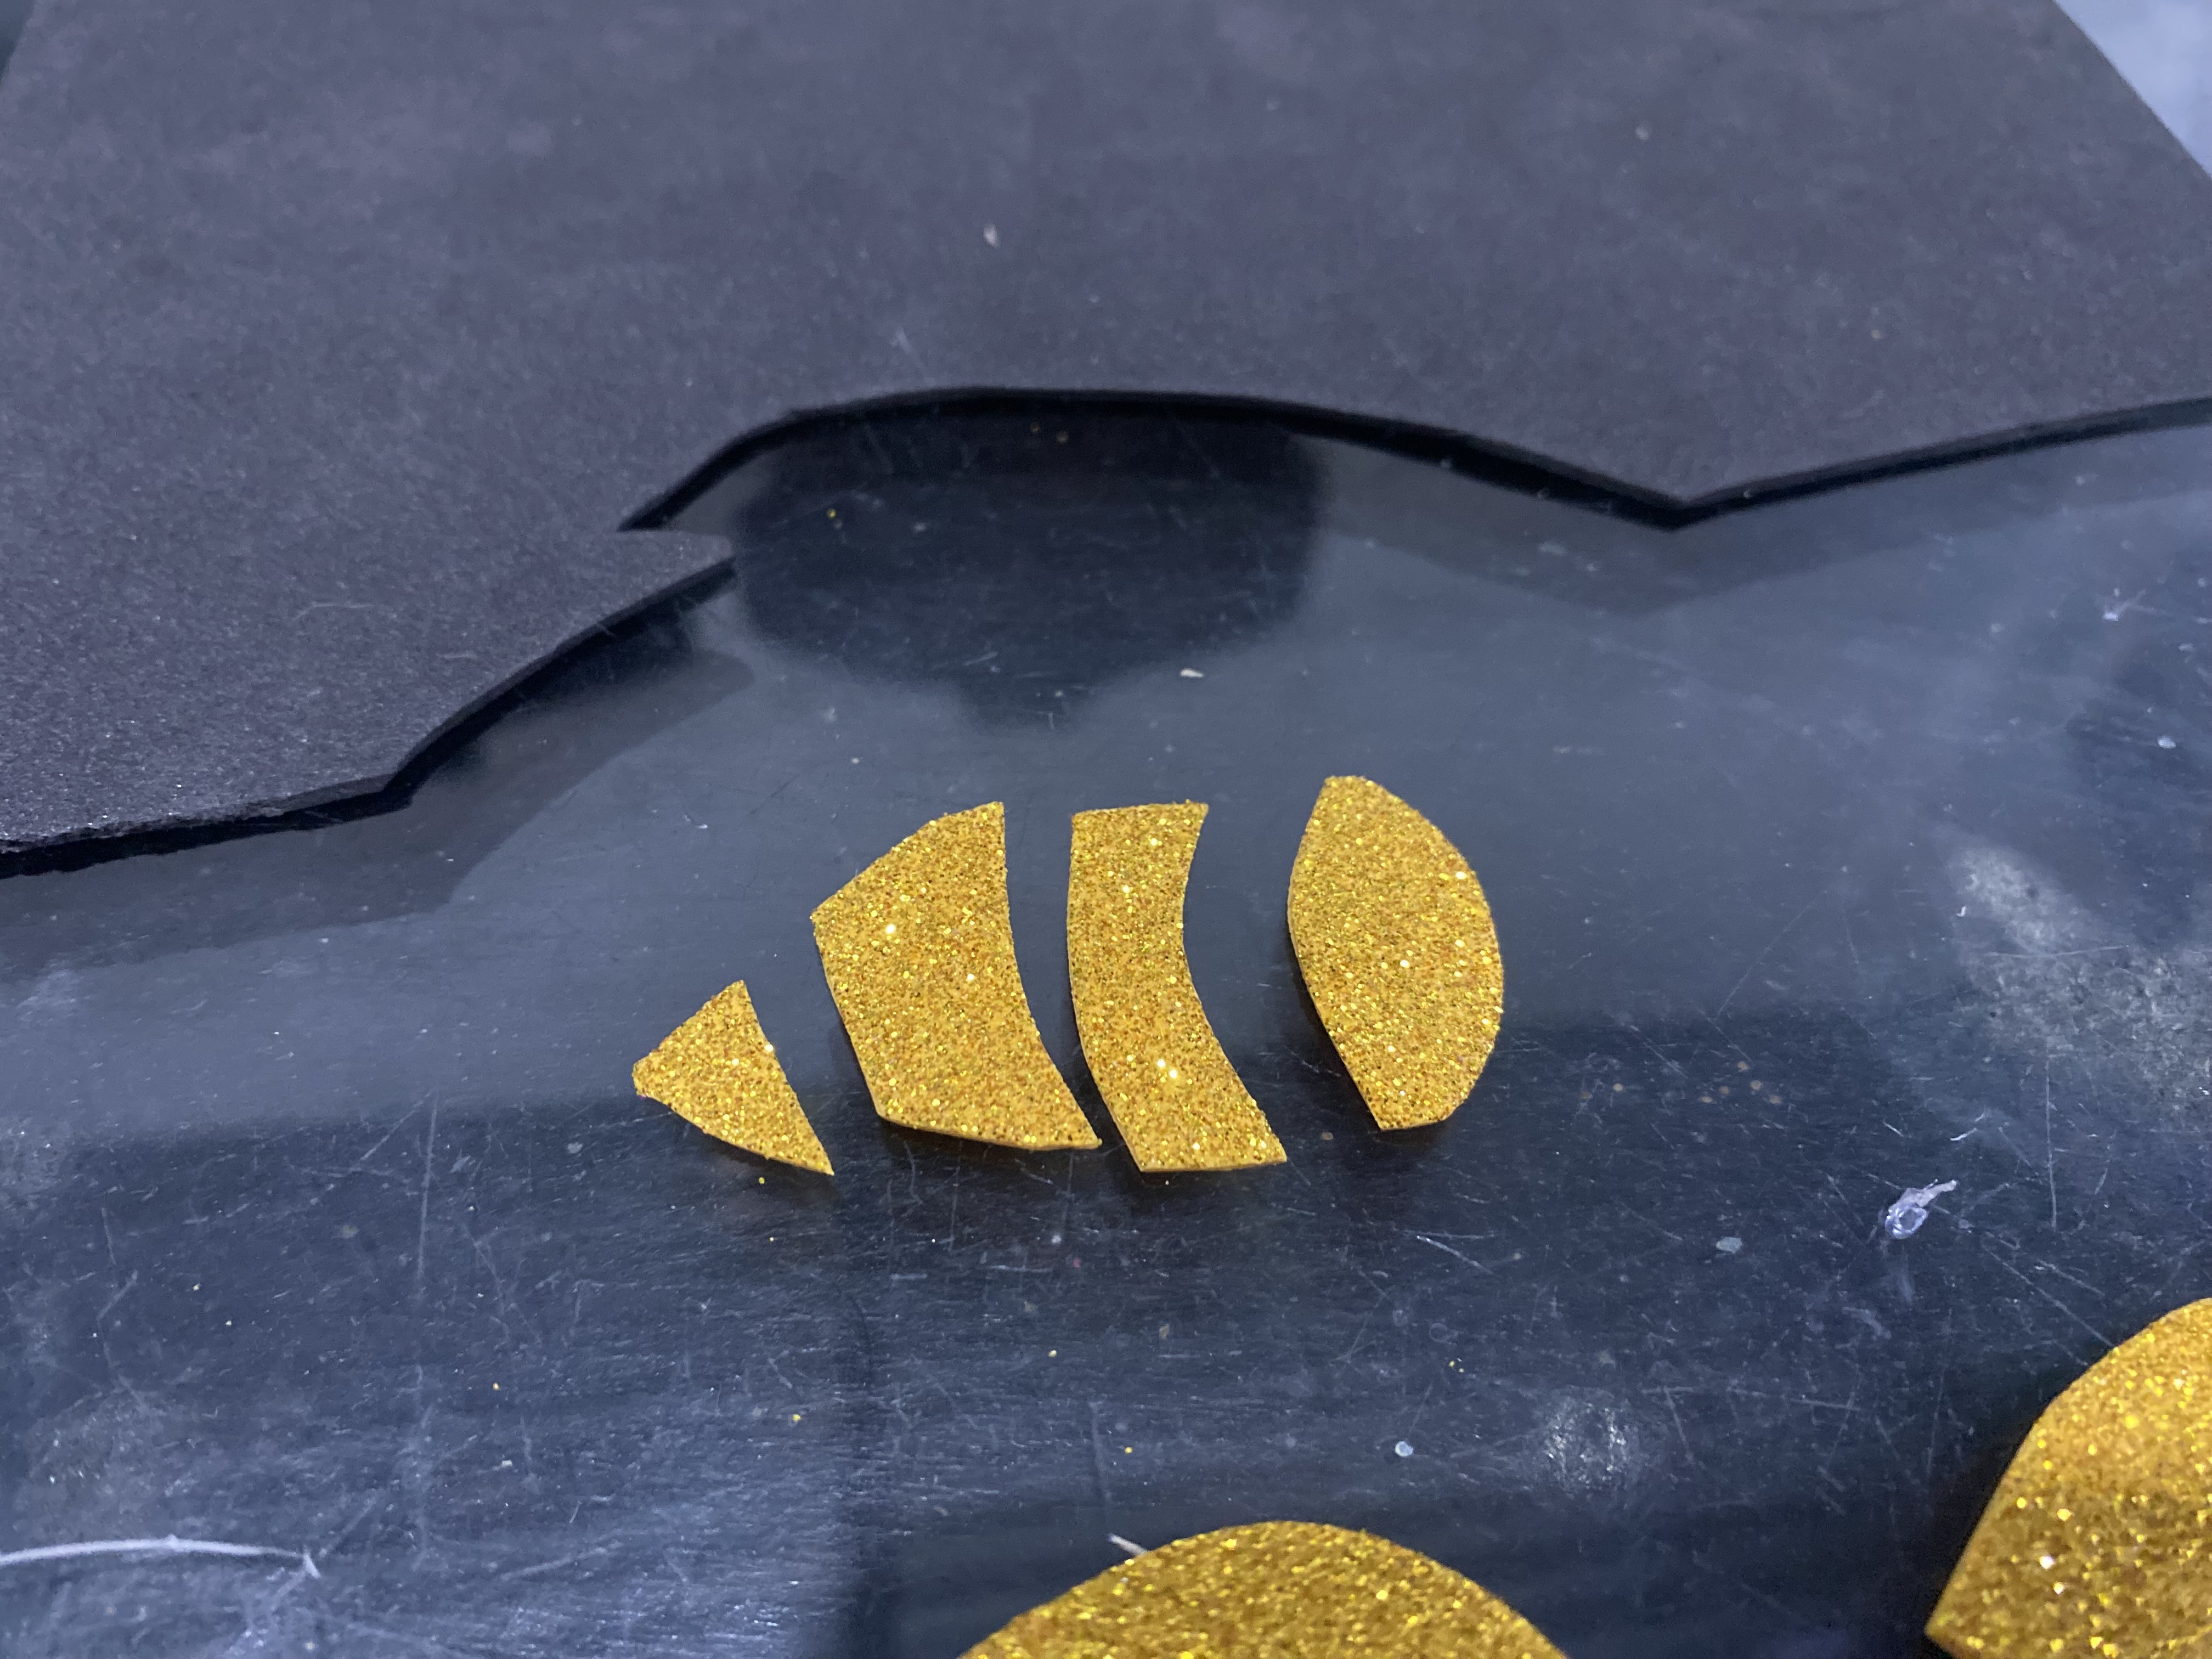
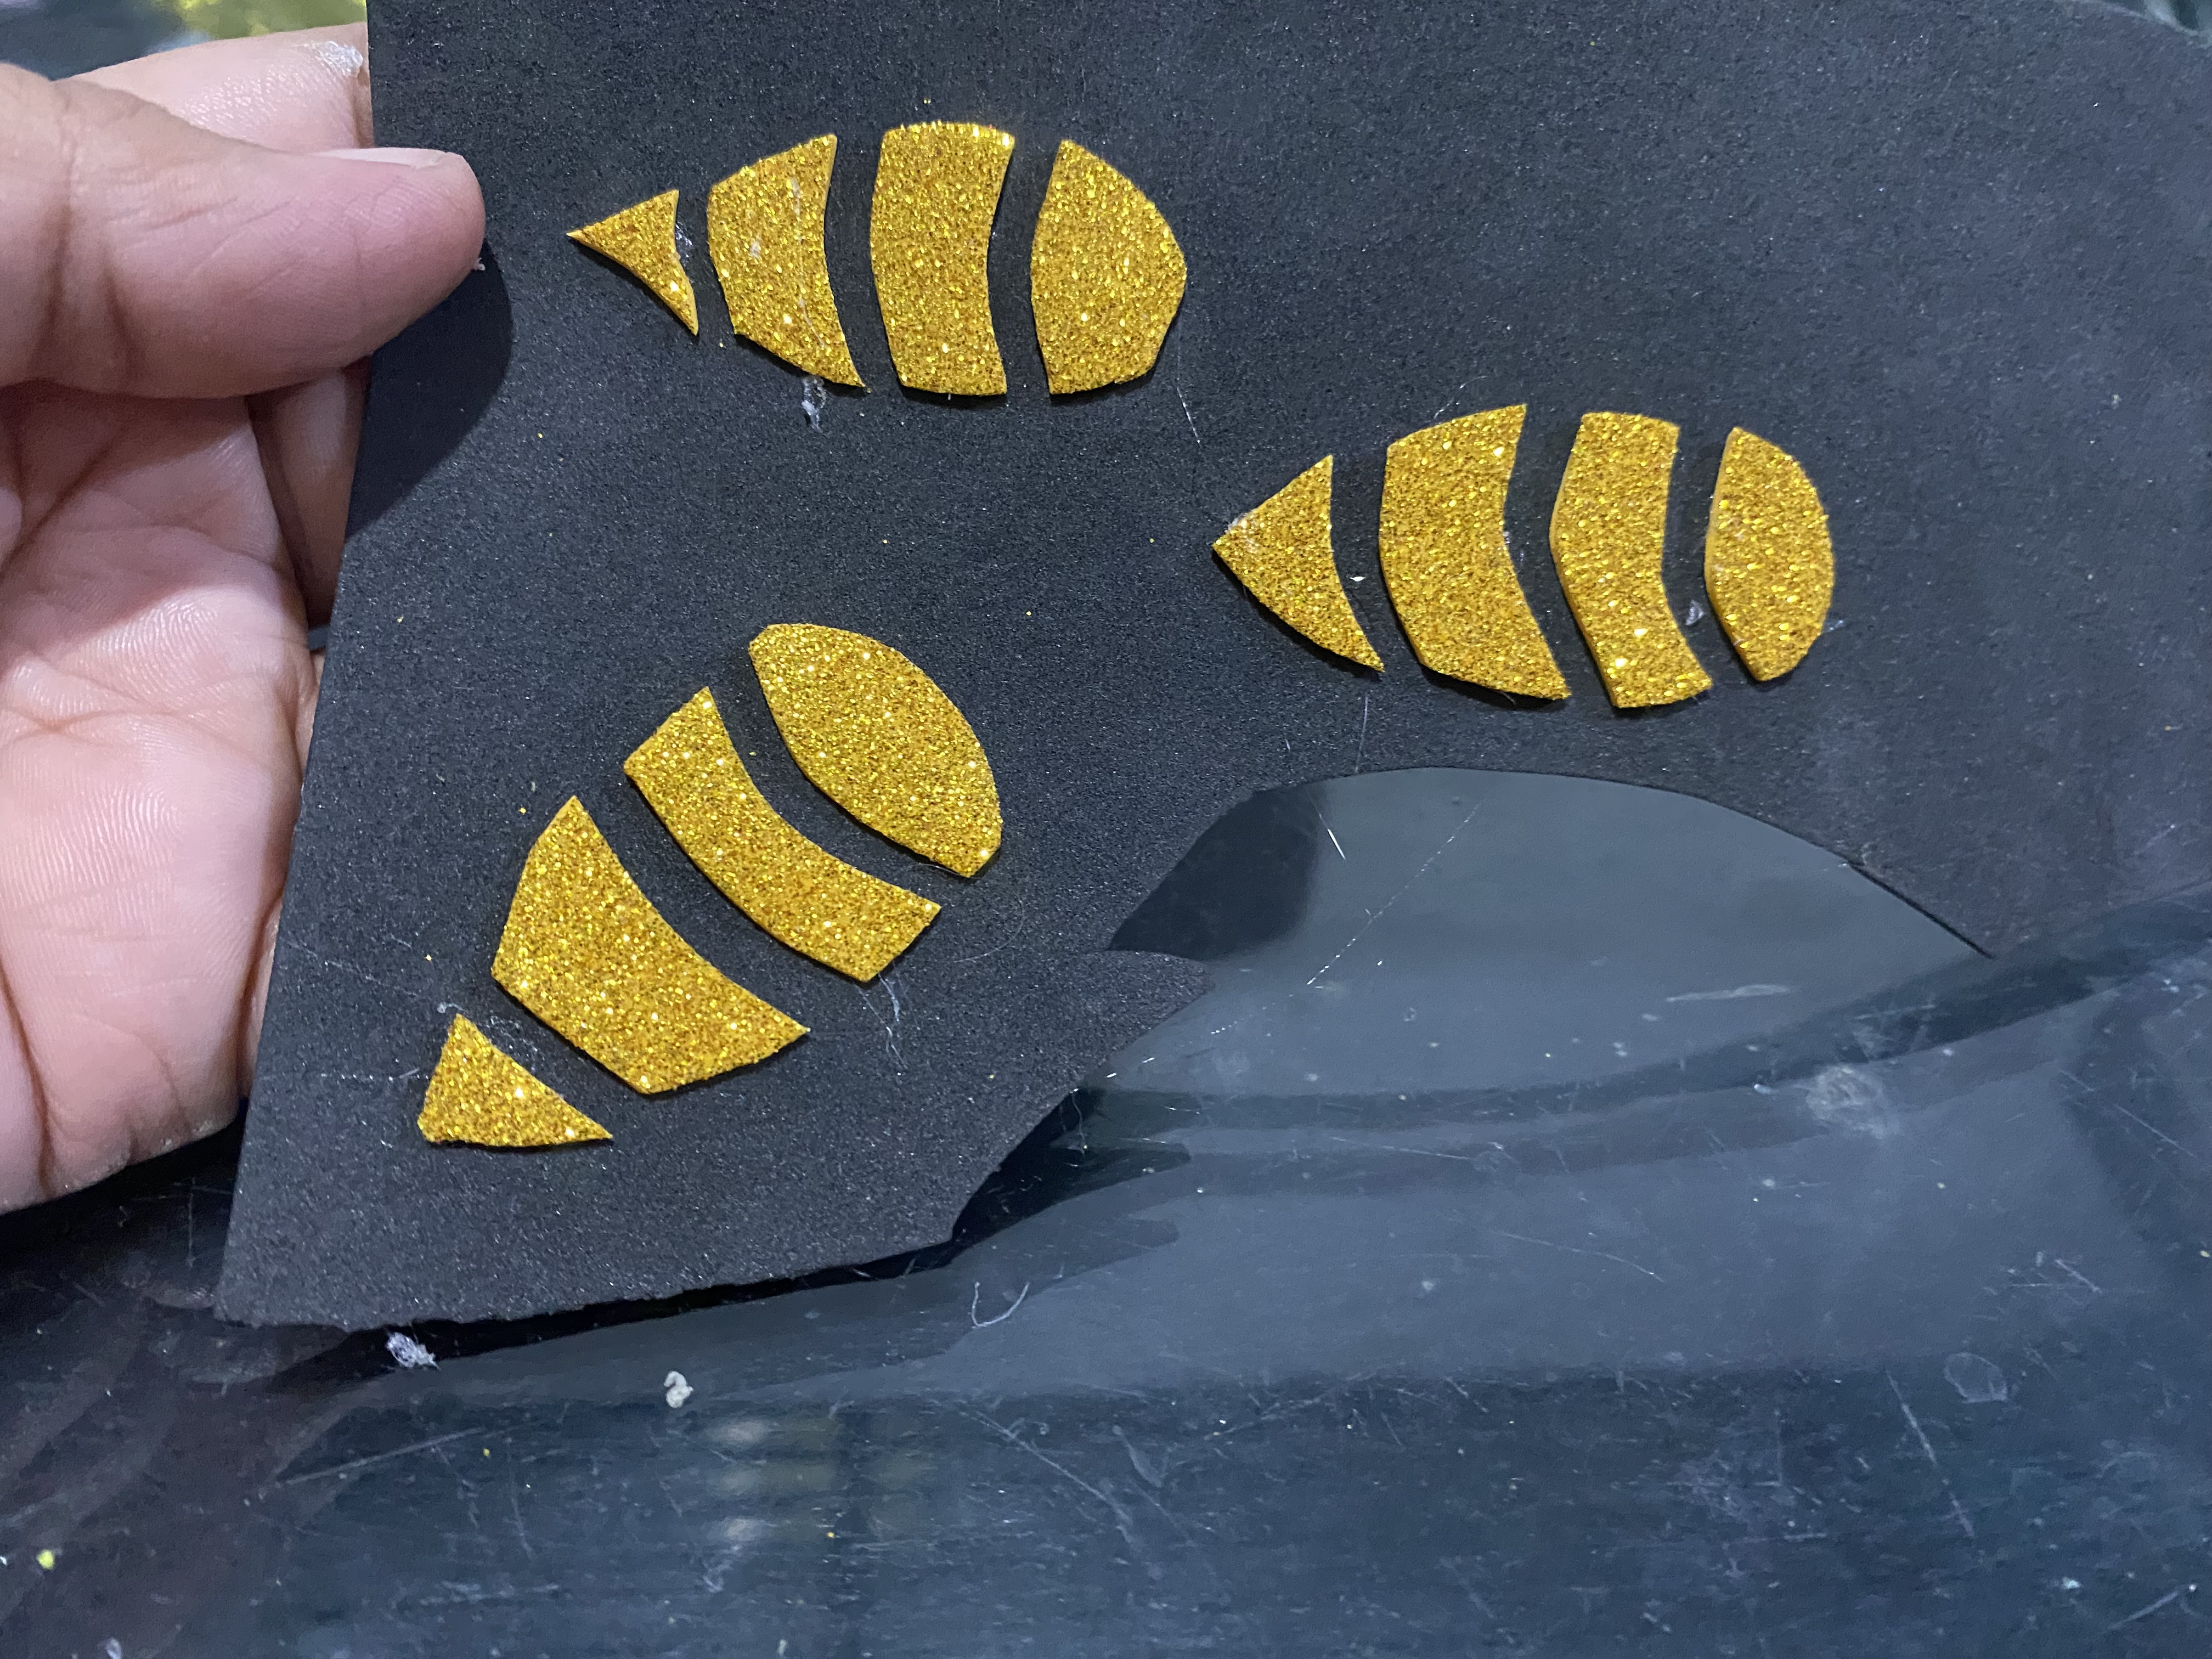
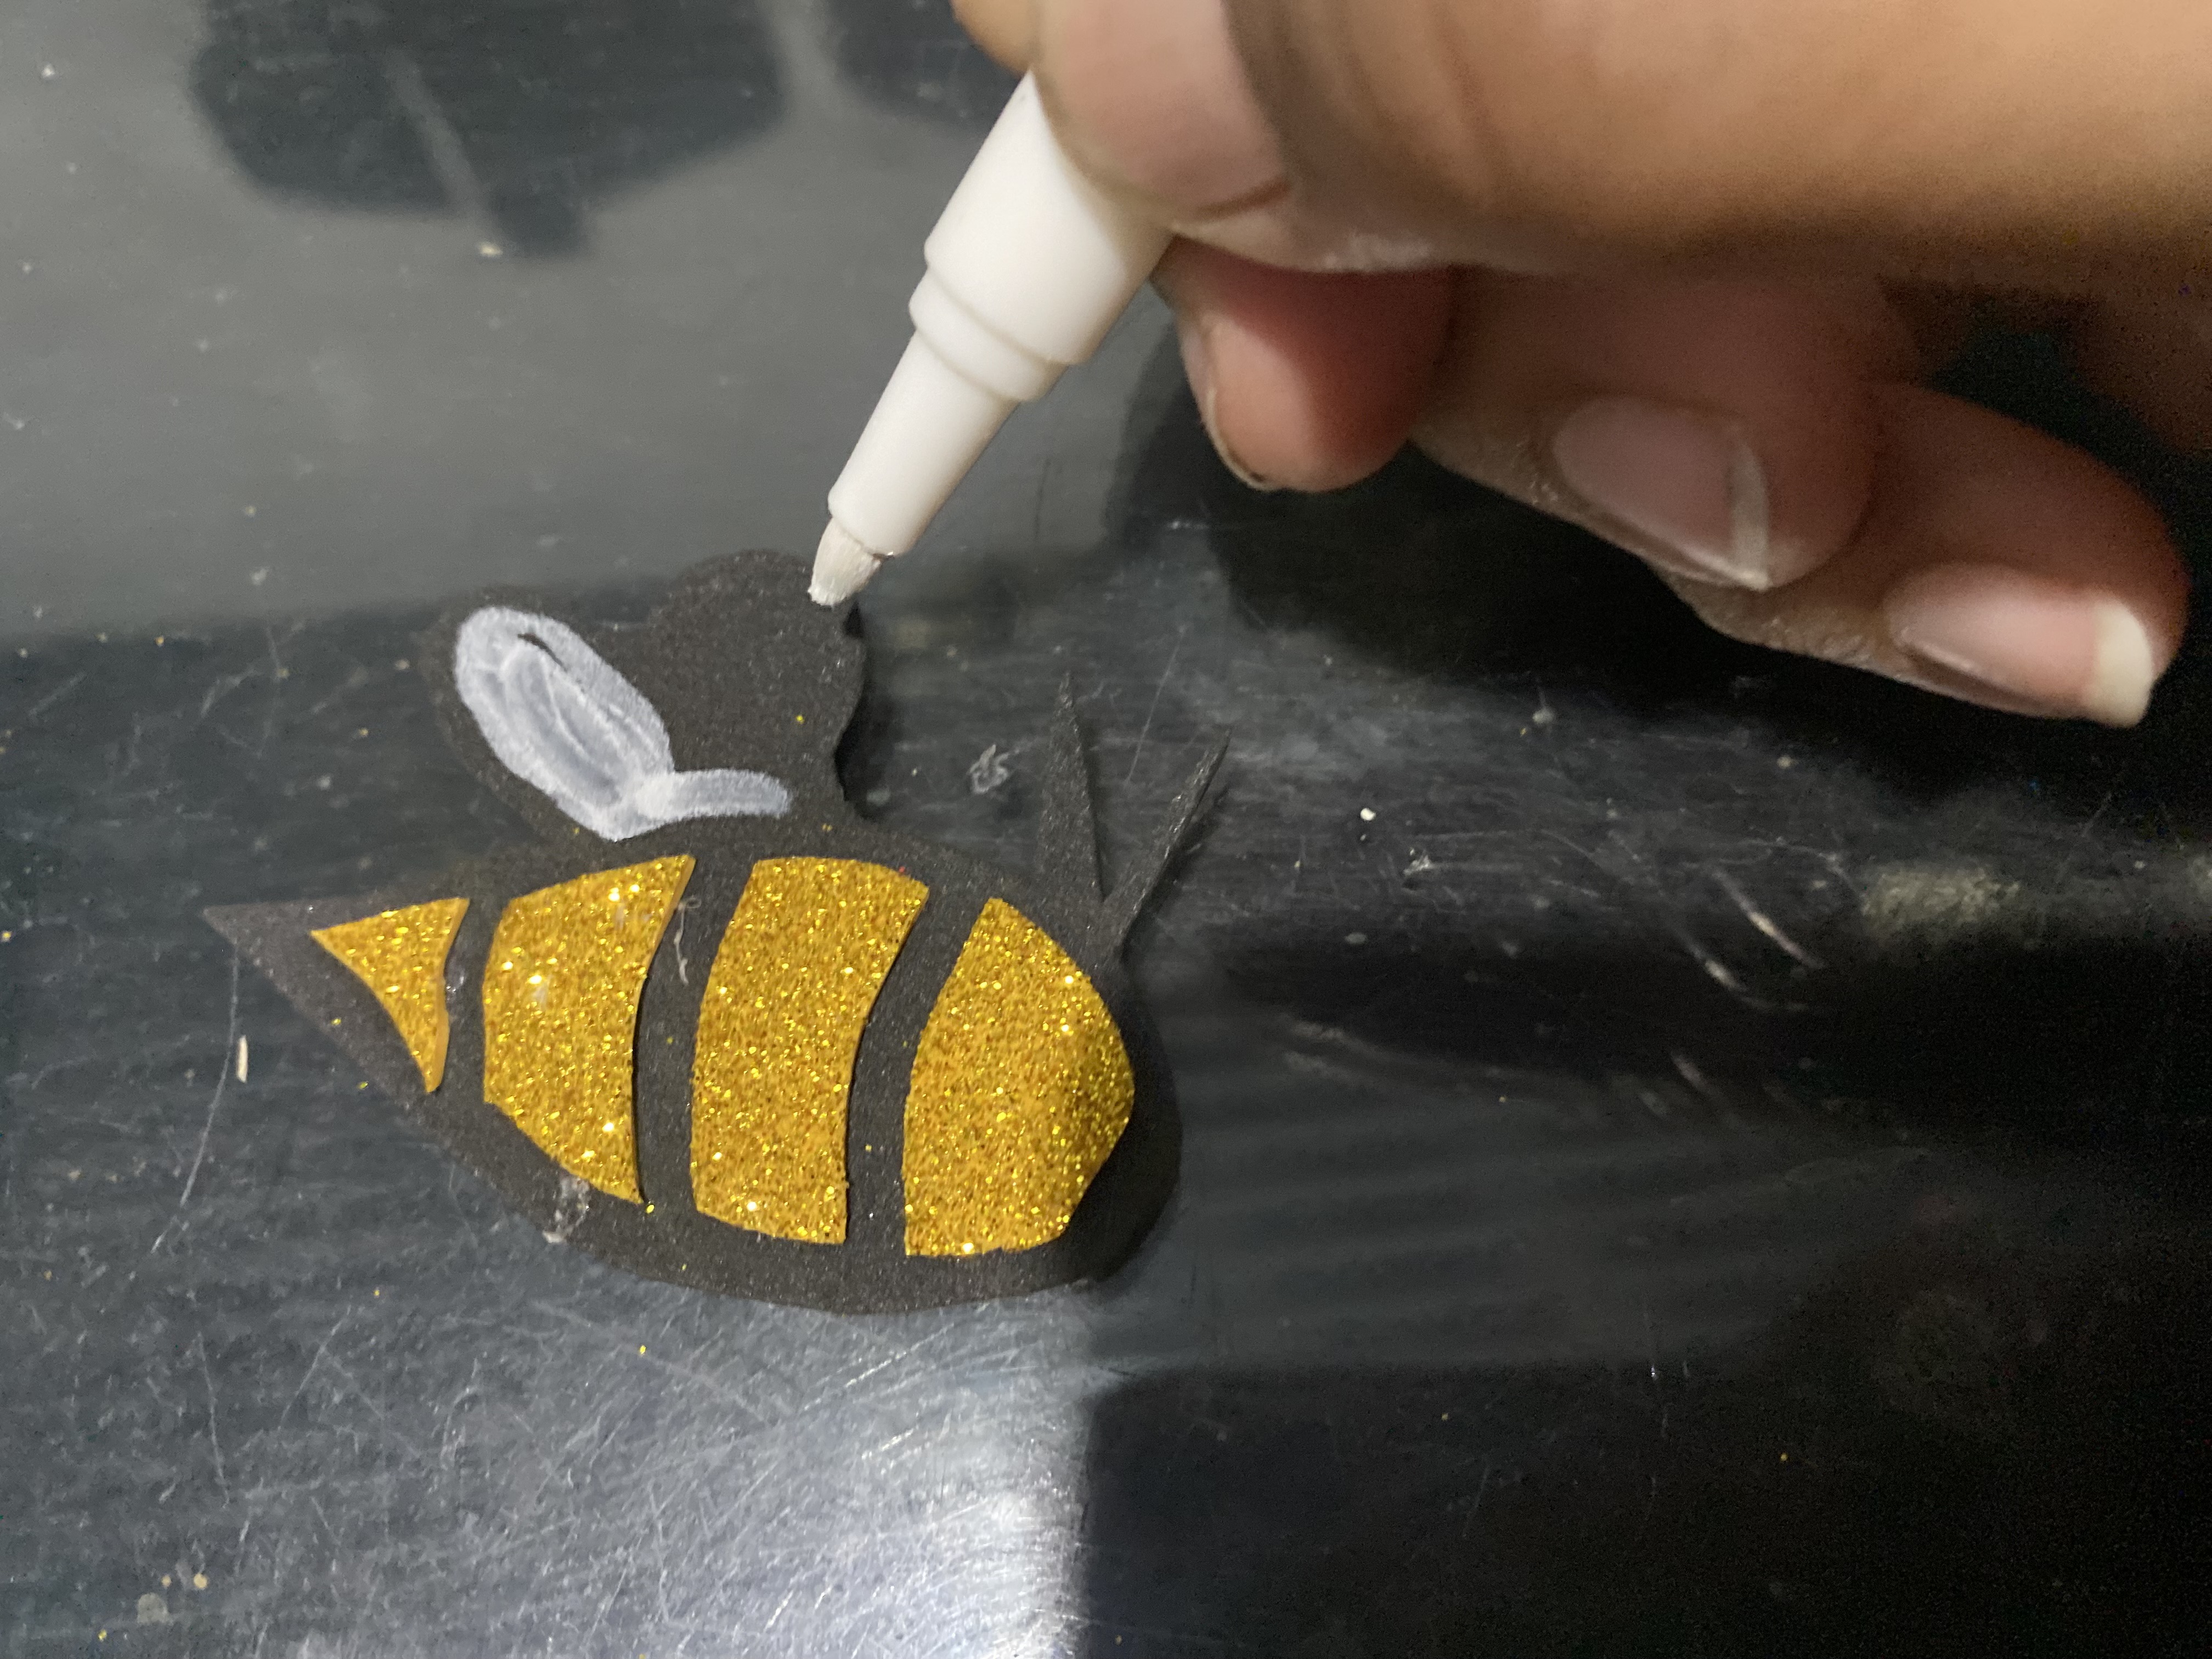
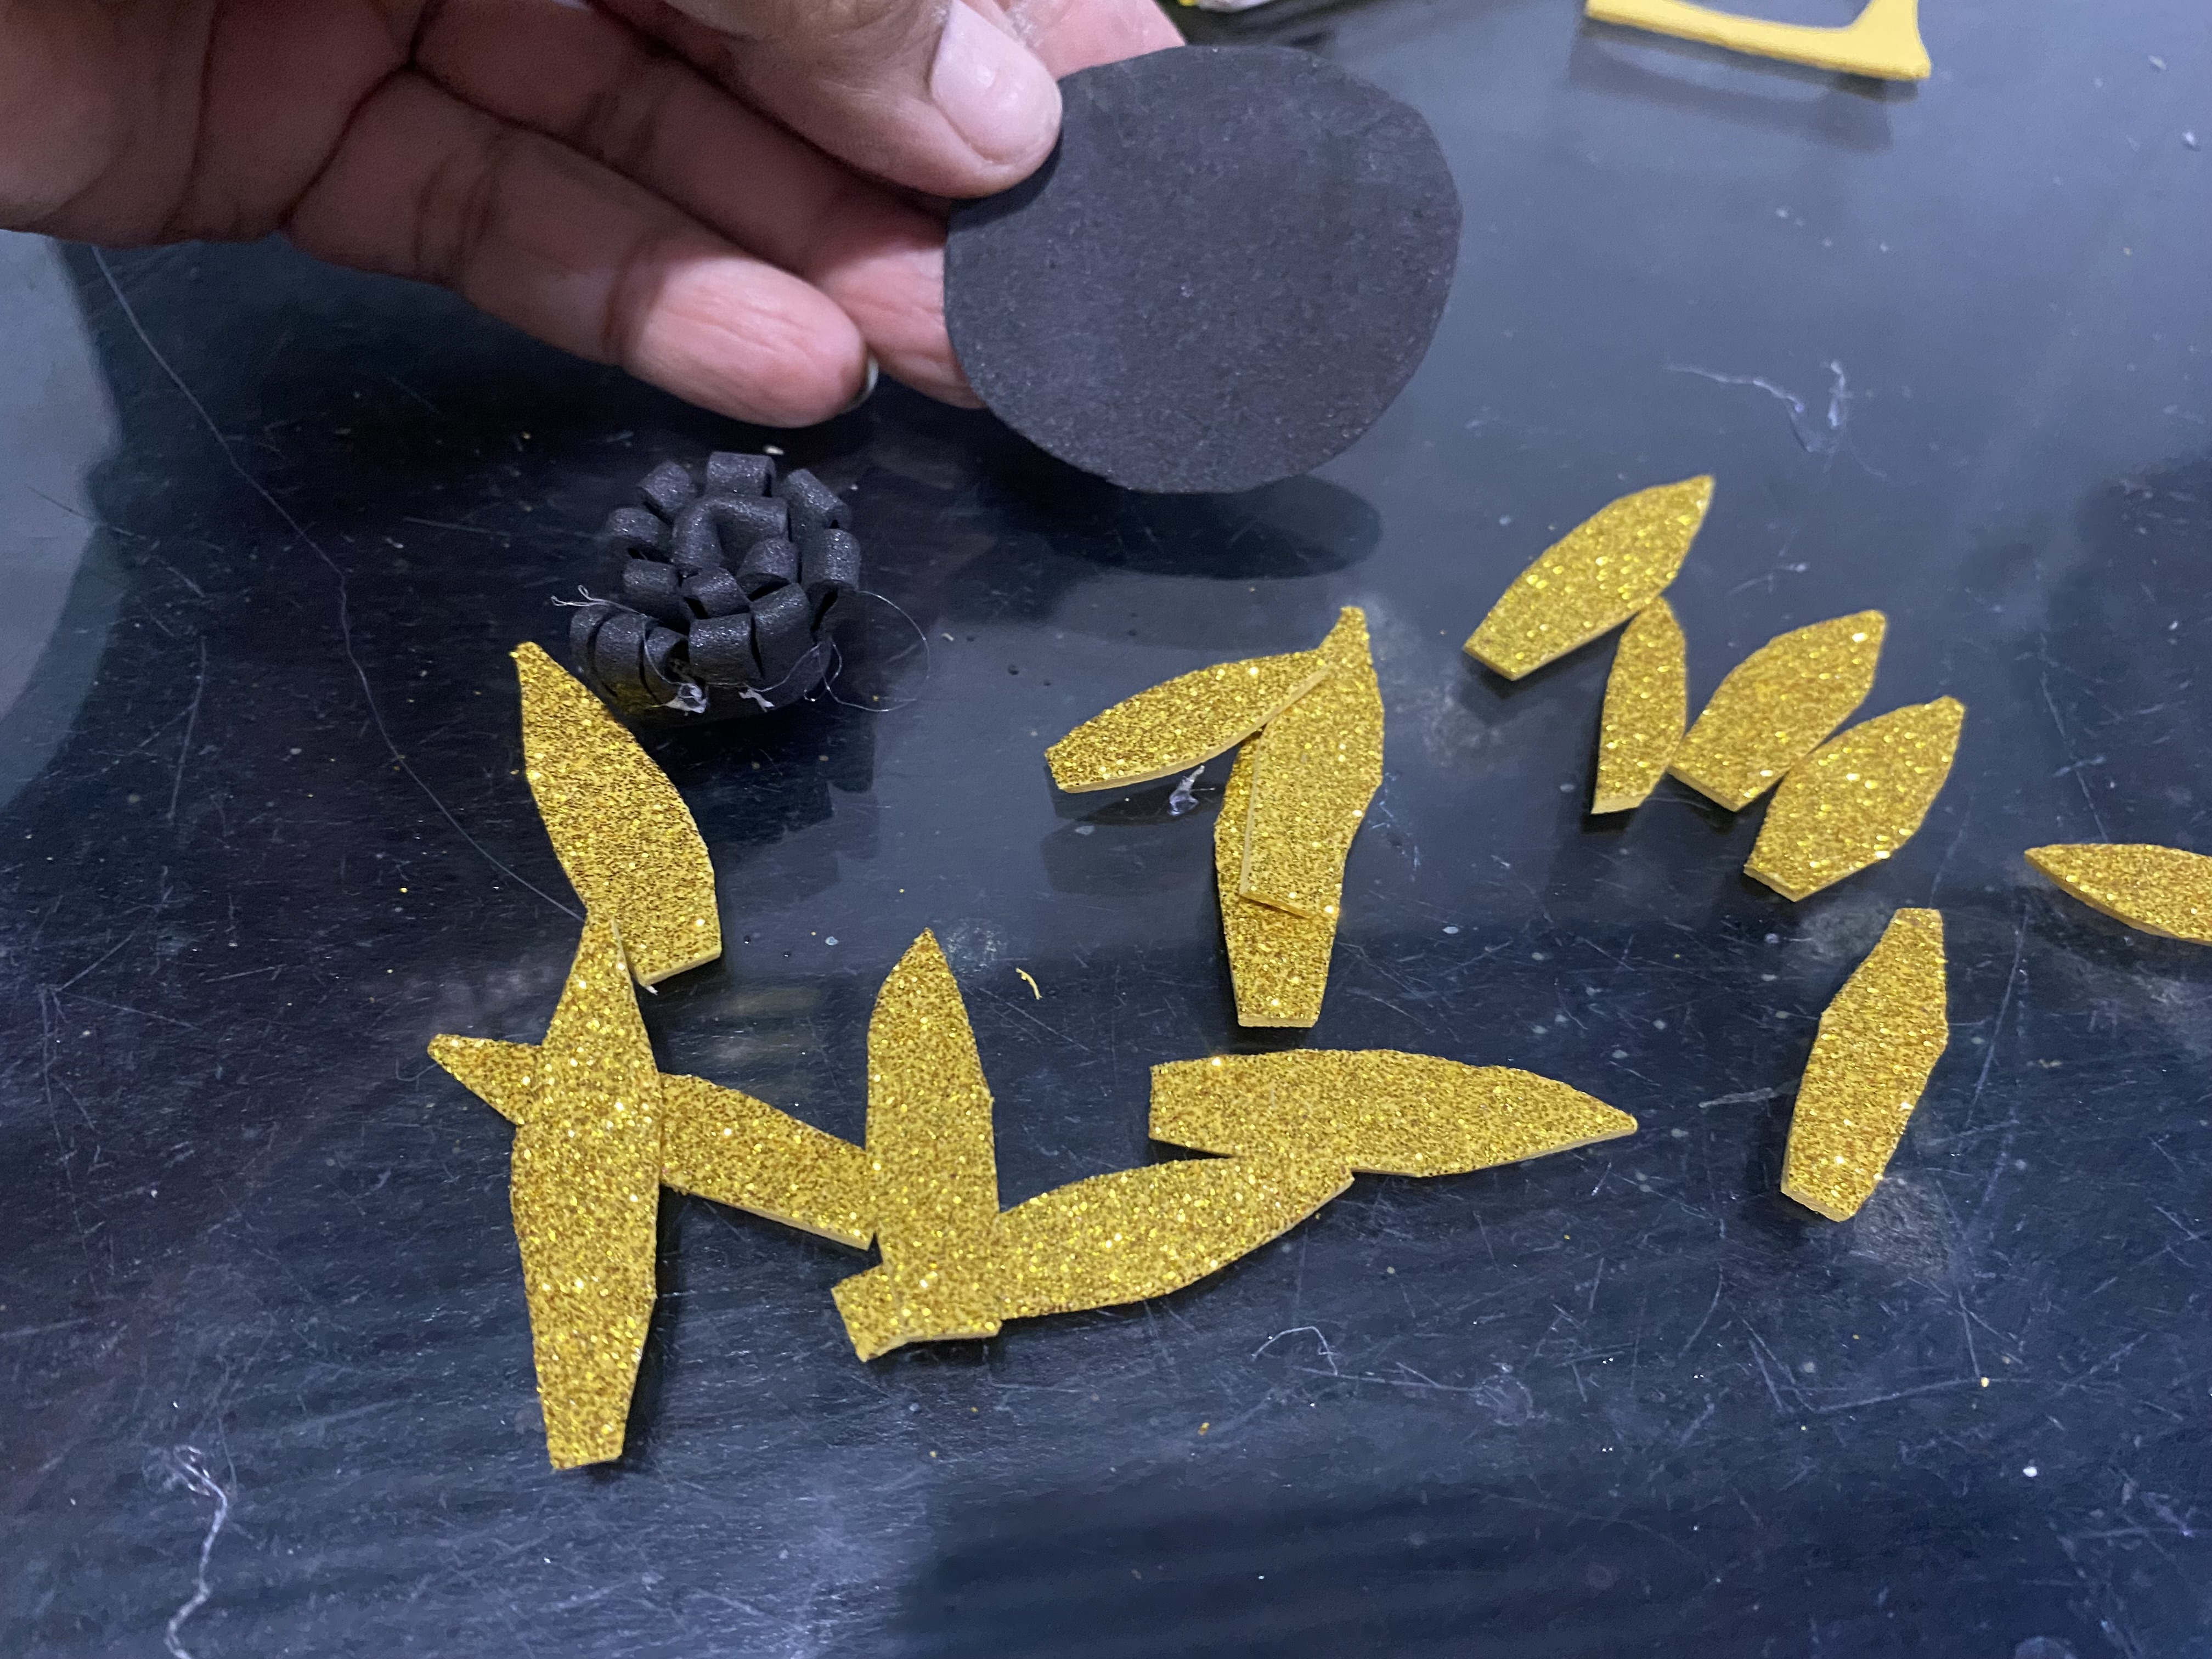
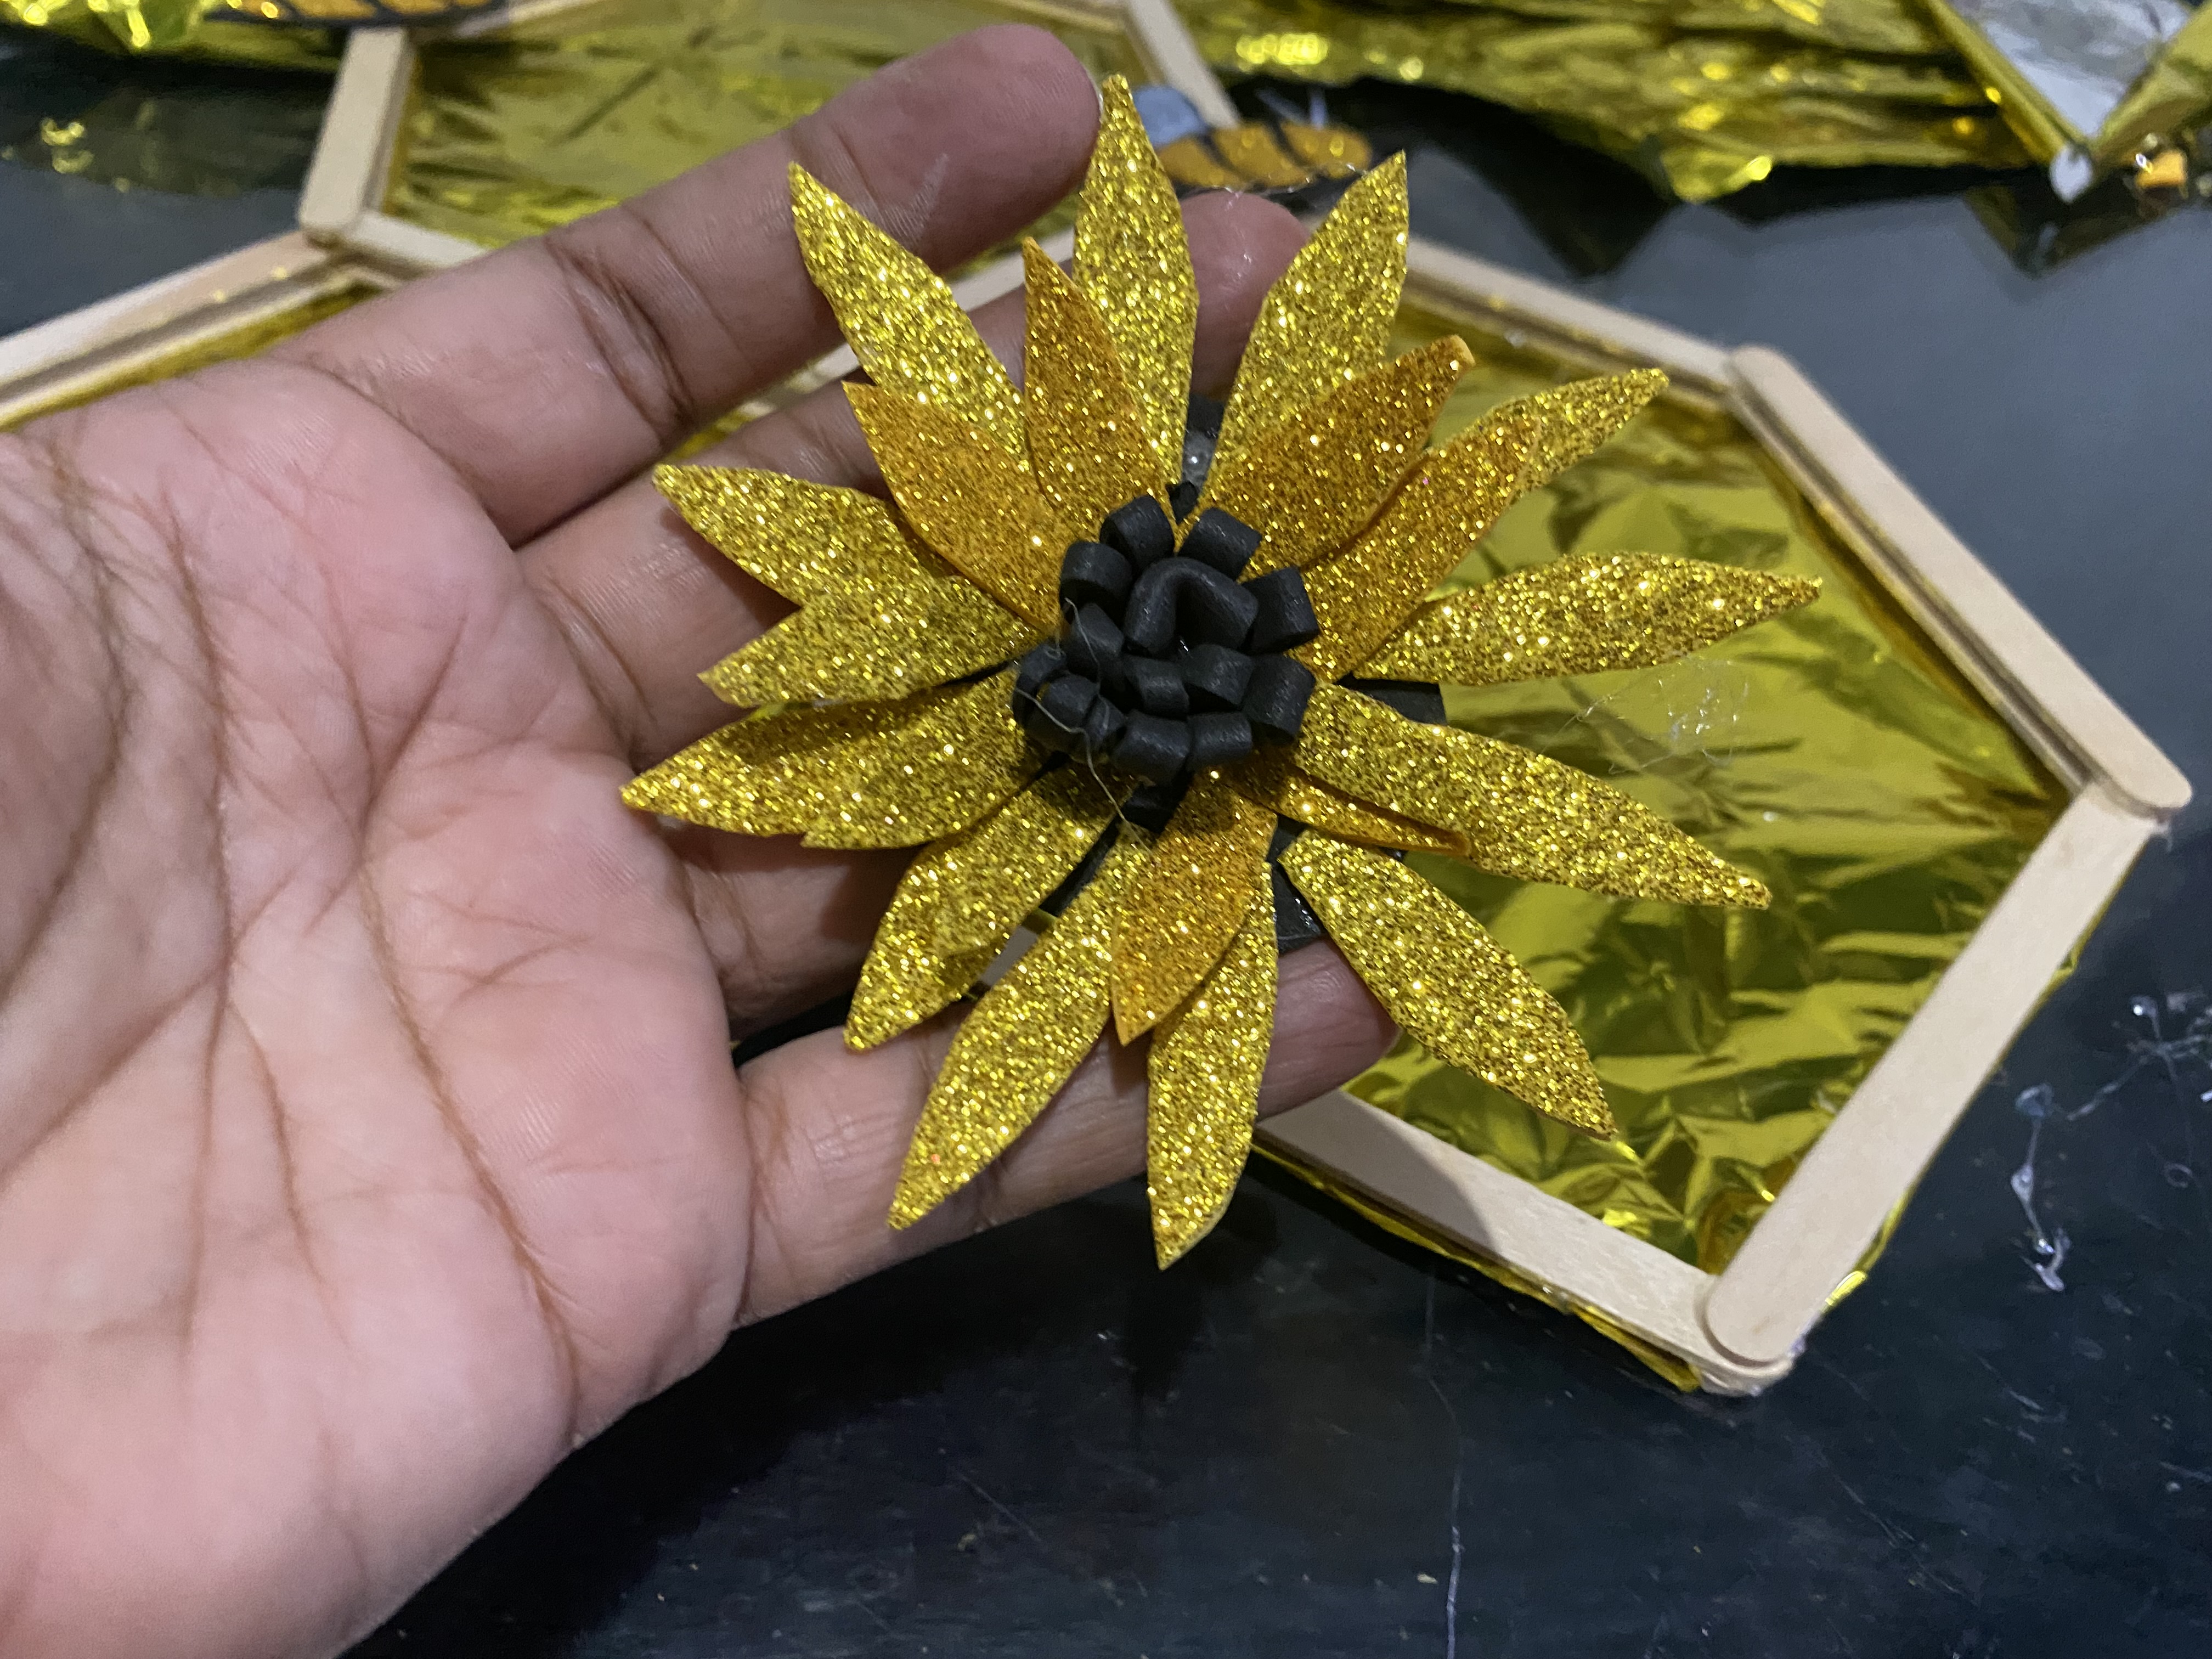
We almost have it ready, now we are going to make a nice decoration, I will make some bees and a nice flower, for the bees we are going to give it the shape of a drop in yellow Fami, then we cut it in a semi circle in several pieces, then we glue leaving a small space on black Fami, we cut it along the edge and we can make the shape of the wings then we paint them with a marker or white paint, I also made a nice flower like a daisy 🌼
Ya casi lo tenemos listo, ahora vamos a hacerle una linda decoración, le haré unas abejas y una linda flor, para las abejas vamos a darle la forma como de una gota en Fami amarillo, luego cortamos en semi círculo en varios piezas, luego pegamos dejando un pequeño espacio sobre Fami negro, recortamos por la orilla y le podemos hacer la figura de las alas luego las pintamos con marcador o pintura blanca, también le hice una linda flor como especie de una margarita 🌼
 |  |
|---|---|
 |  |
| --- | --- |
 |  |
STEP 5
PASO 5
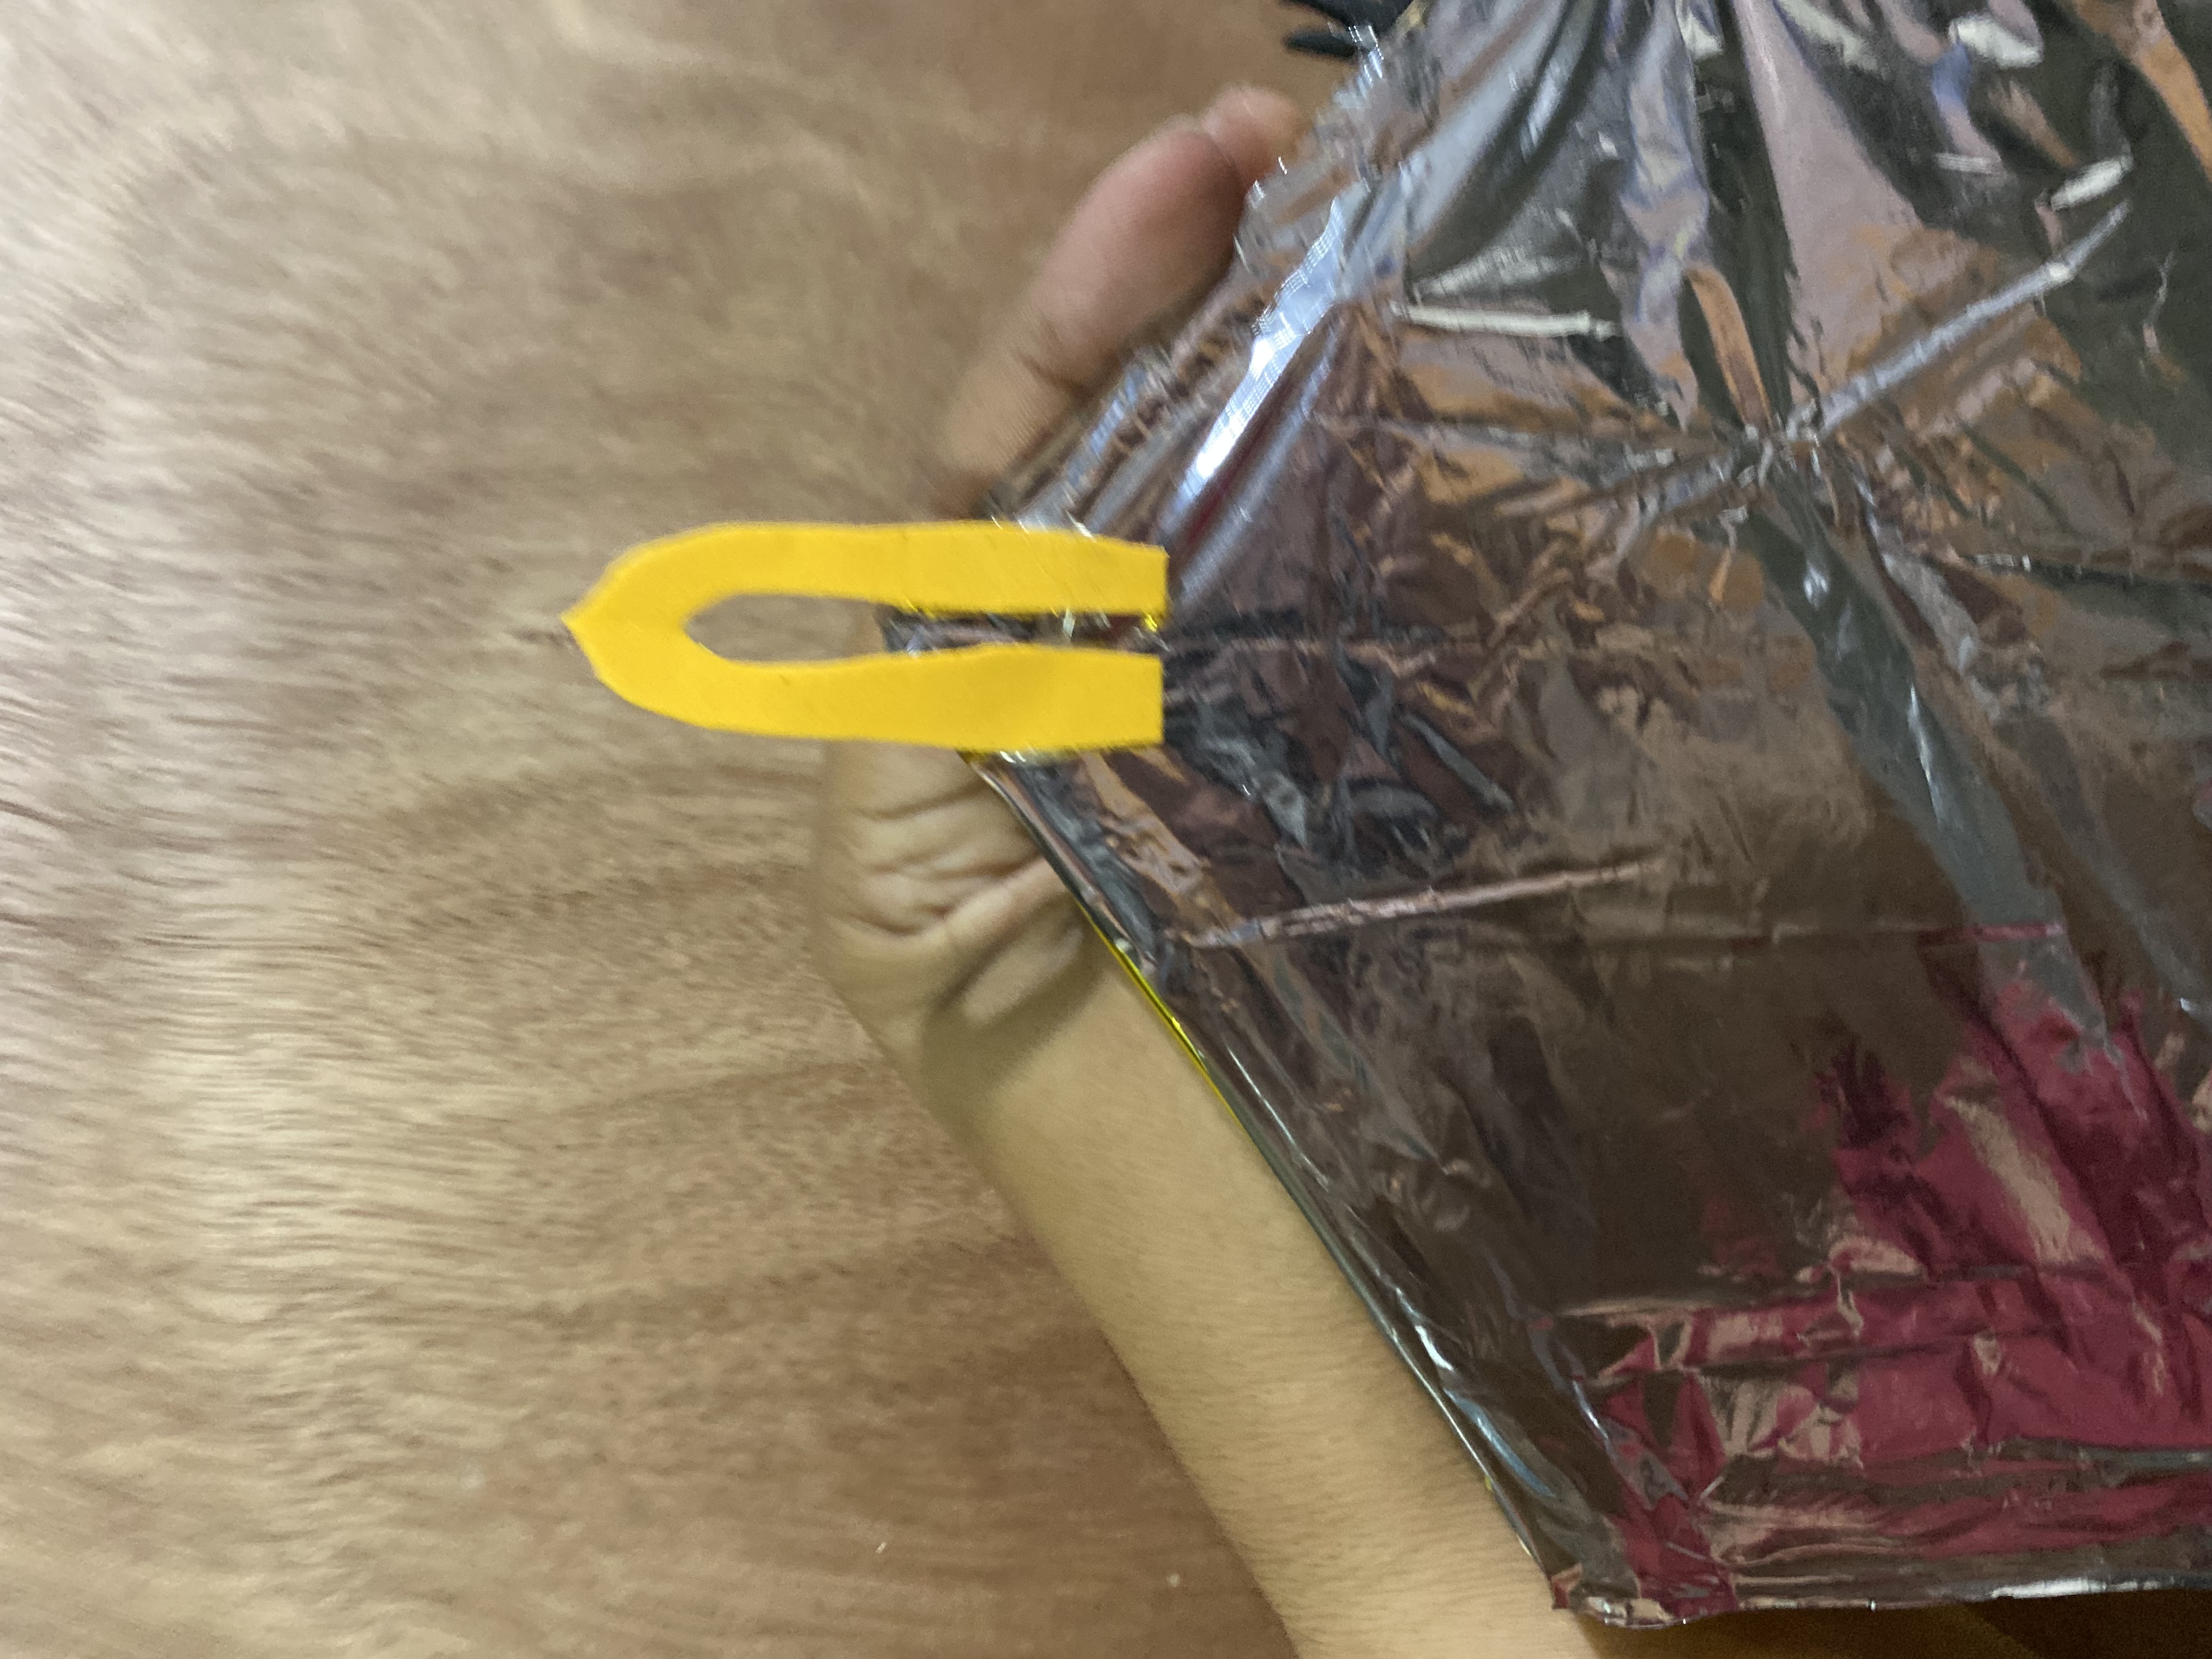
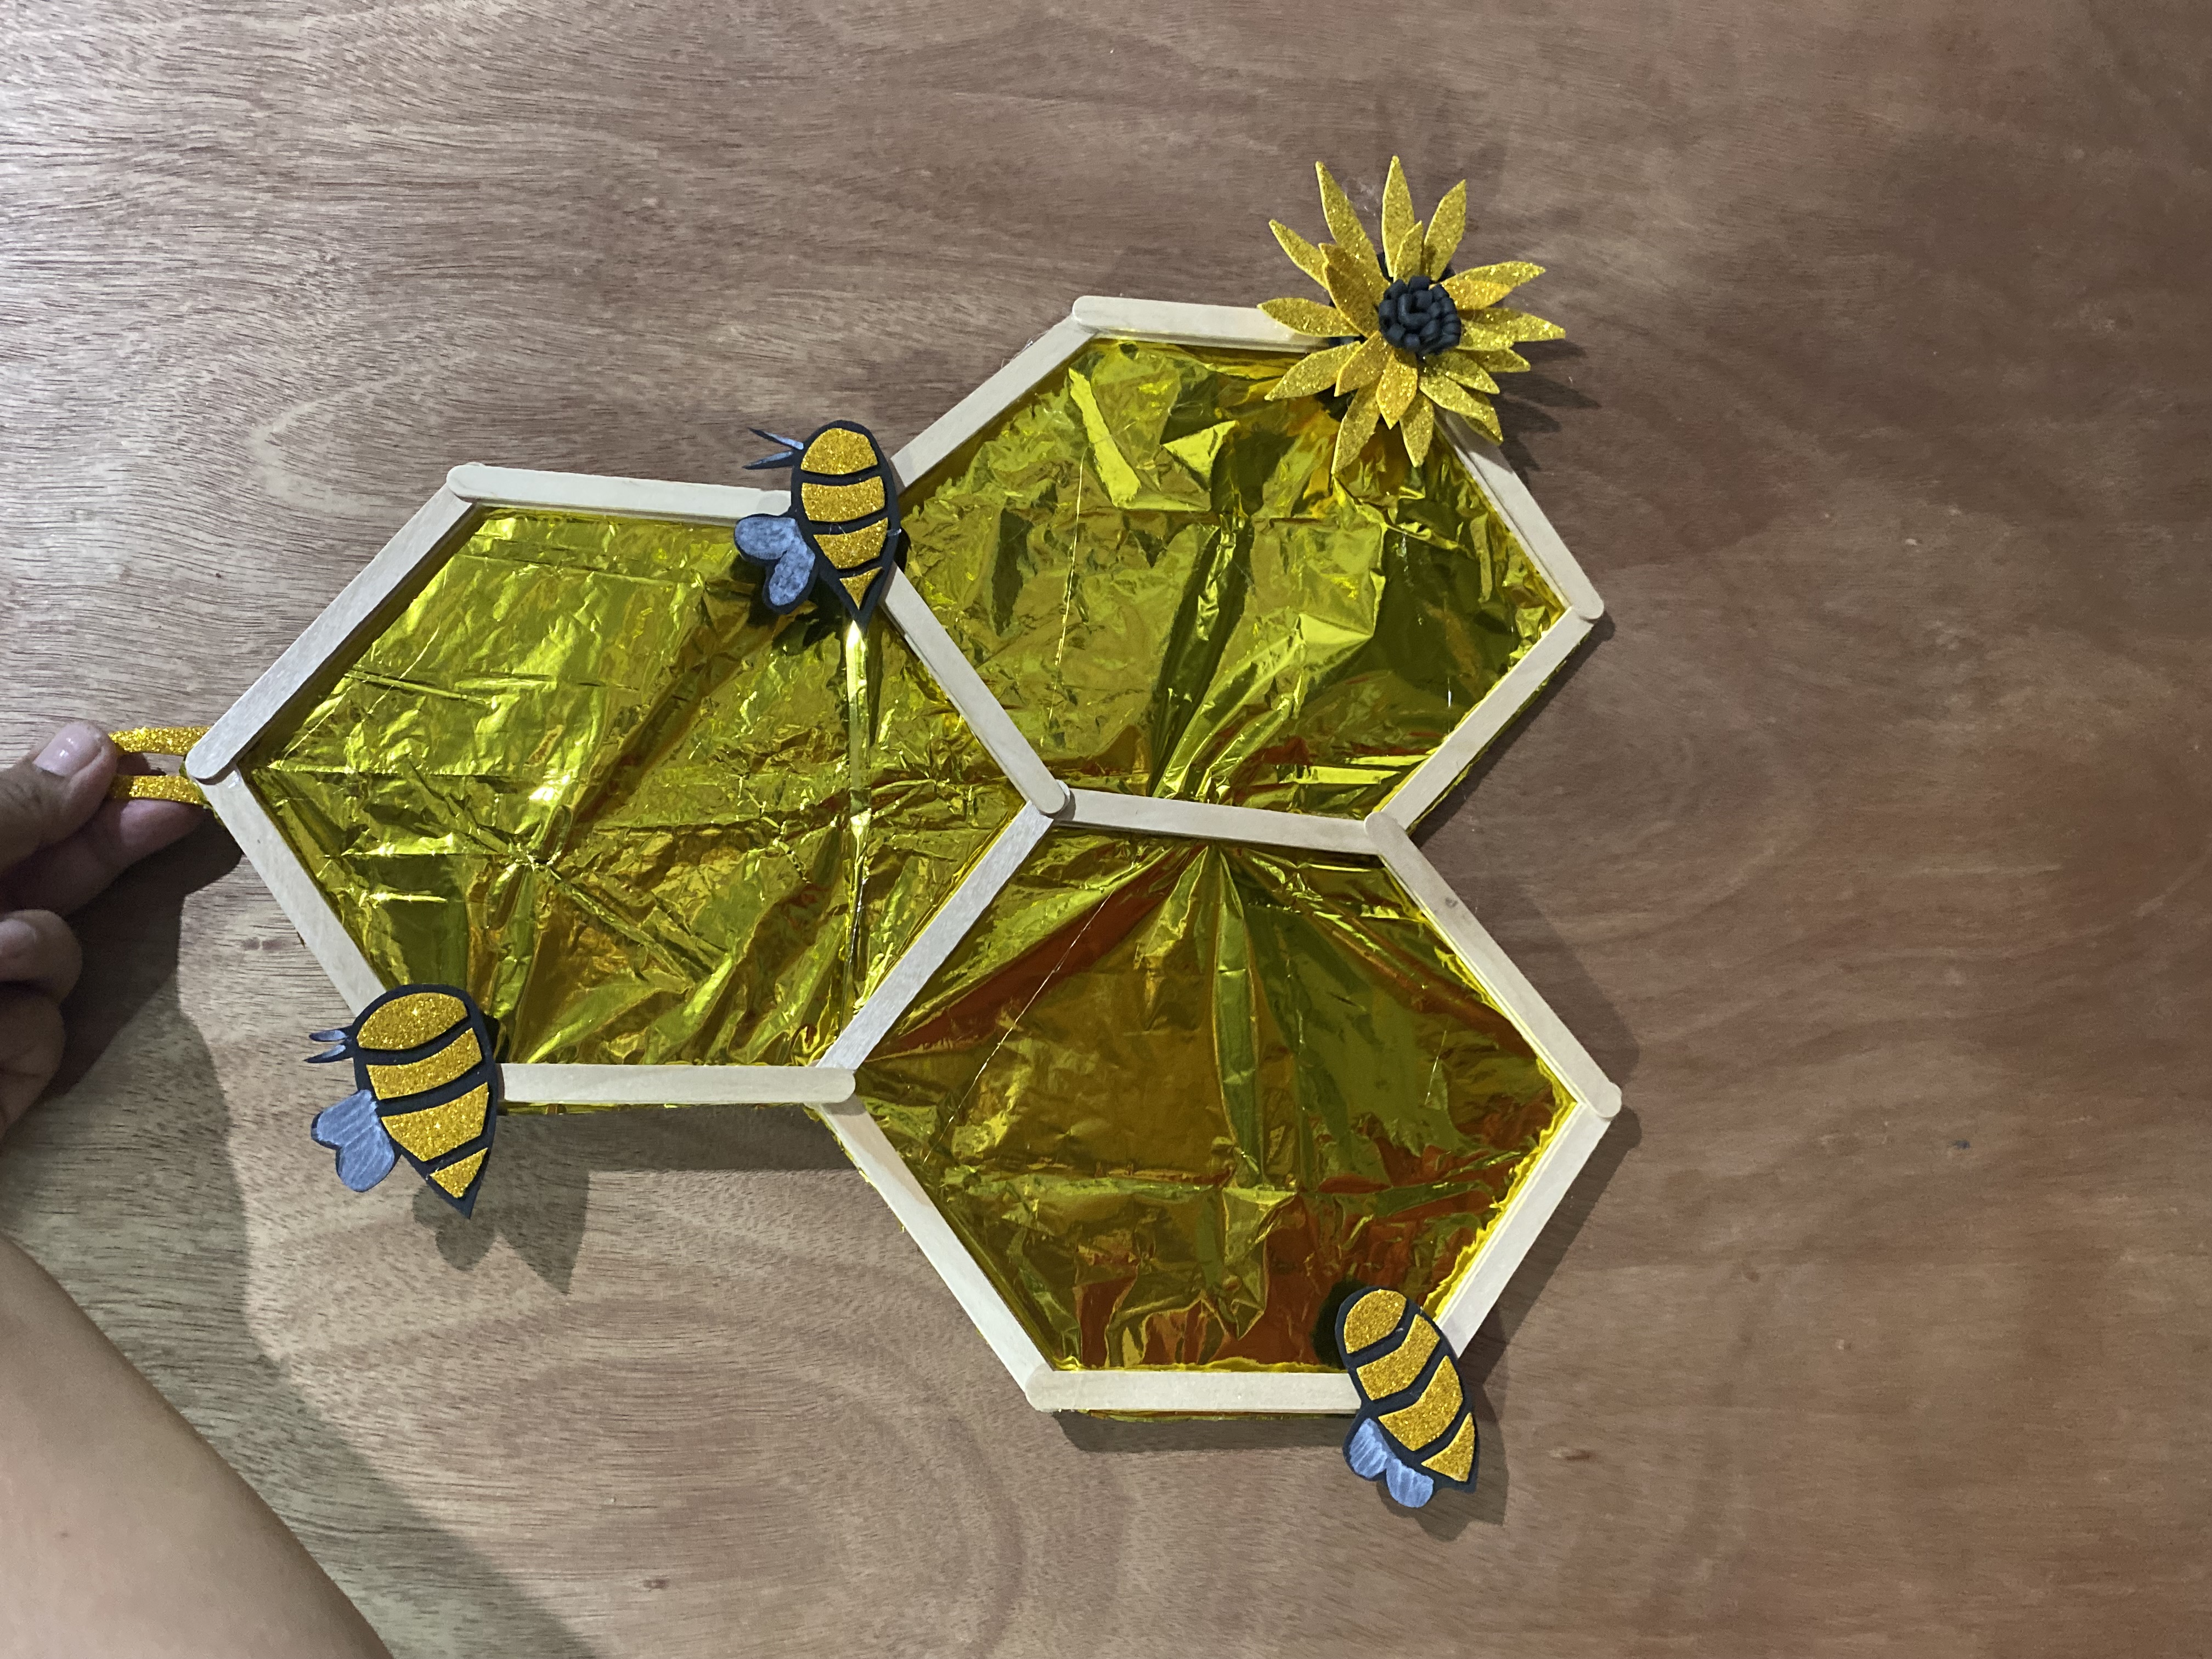
Now, to finish, we are going to glue the bees and the flower to our photo frame. If you are going to use it to hang, we can place a small ring on the back made with Foami. Then we can place the photos we want, we can fix them with tape, and so we have this cute photo frame in the shape of a bee hive ready. I hope you like it 😊🐝🌼❤️
Ahora sí, para finalizar vamos a pegar las abejas y la flor a nuestro porta retrato, si lo vas a utilizar para colgar le podemos colocar una pequeña argolla en la parte de atrás echa con Foami, luego podemos colocar las fotos que deseemos, podemos fijar con tirro, y así ya tenemos listo este lindo porta retrato con forma de colmena de abejas, espero les guste 😊🐝🌼❤️
 |  |
|---|---|
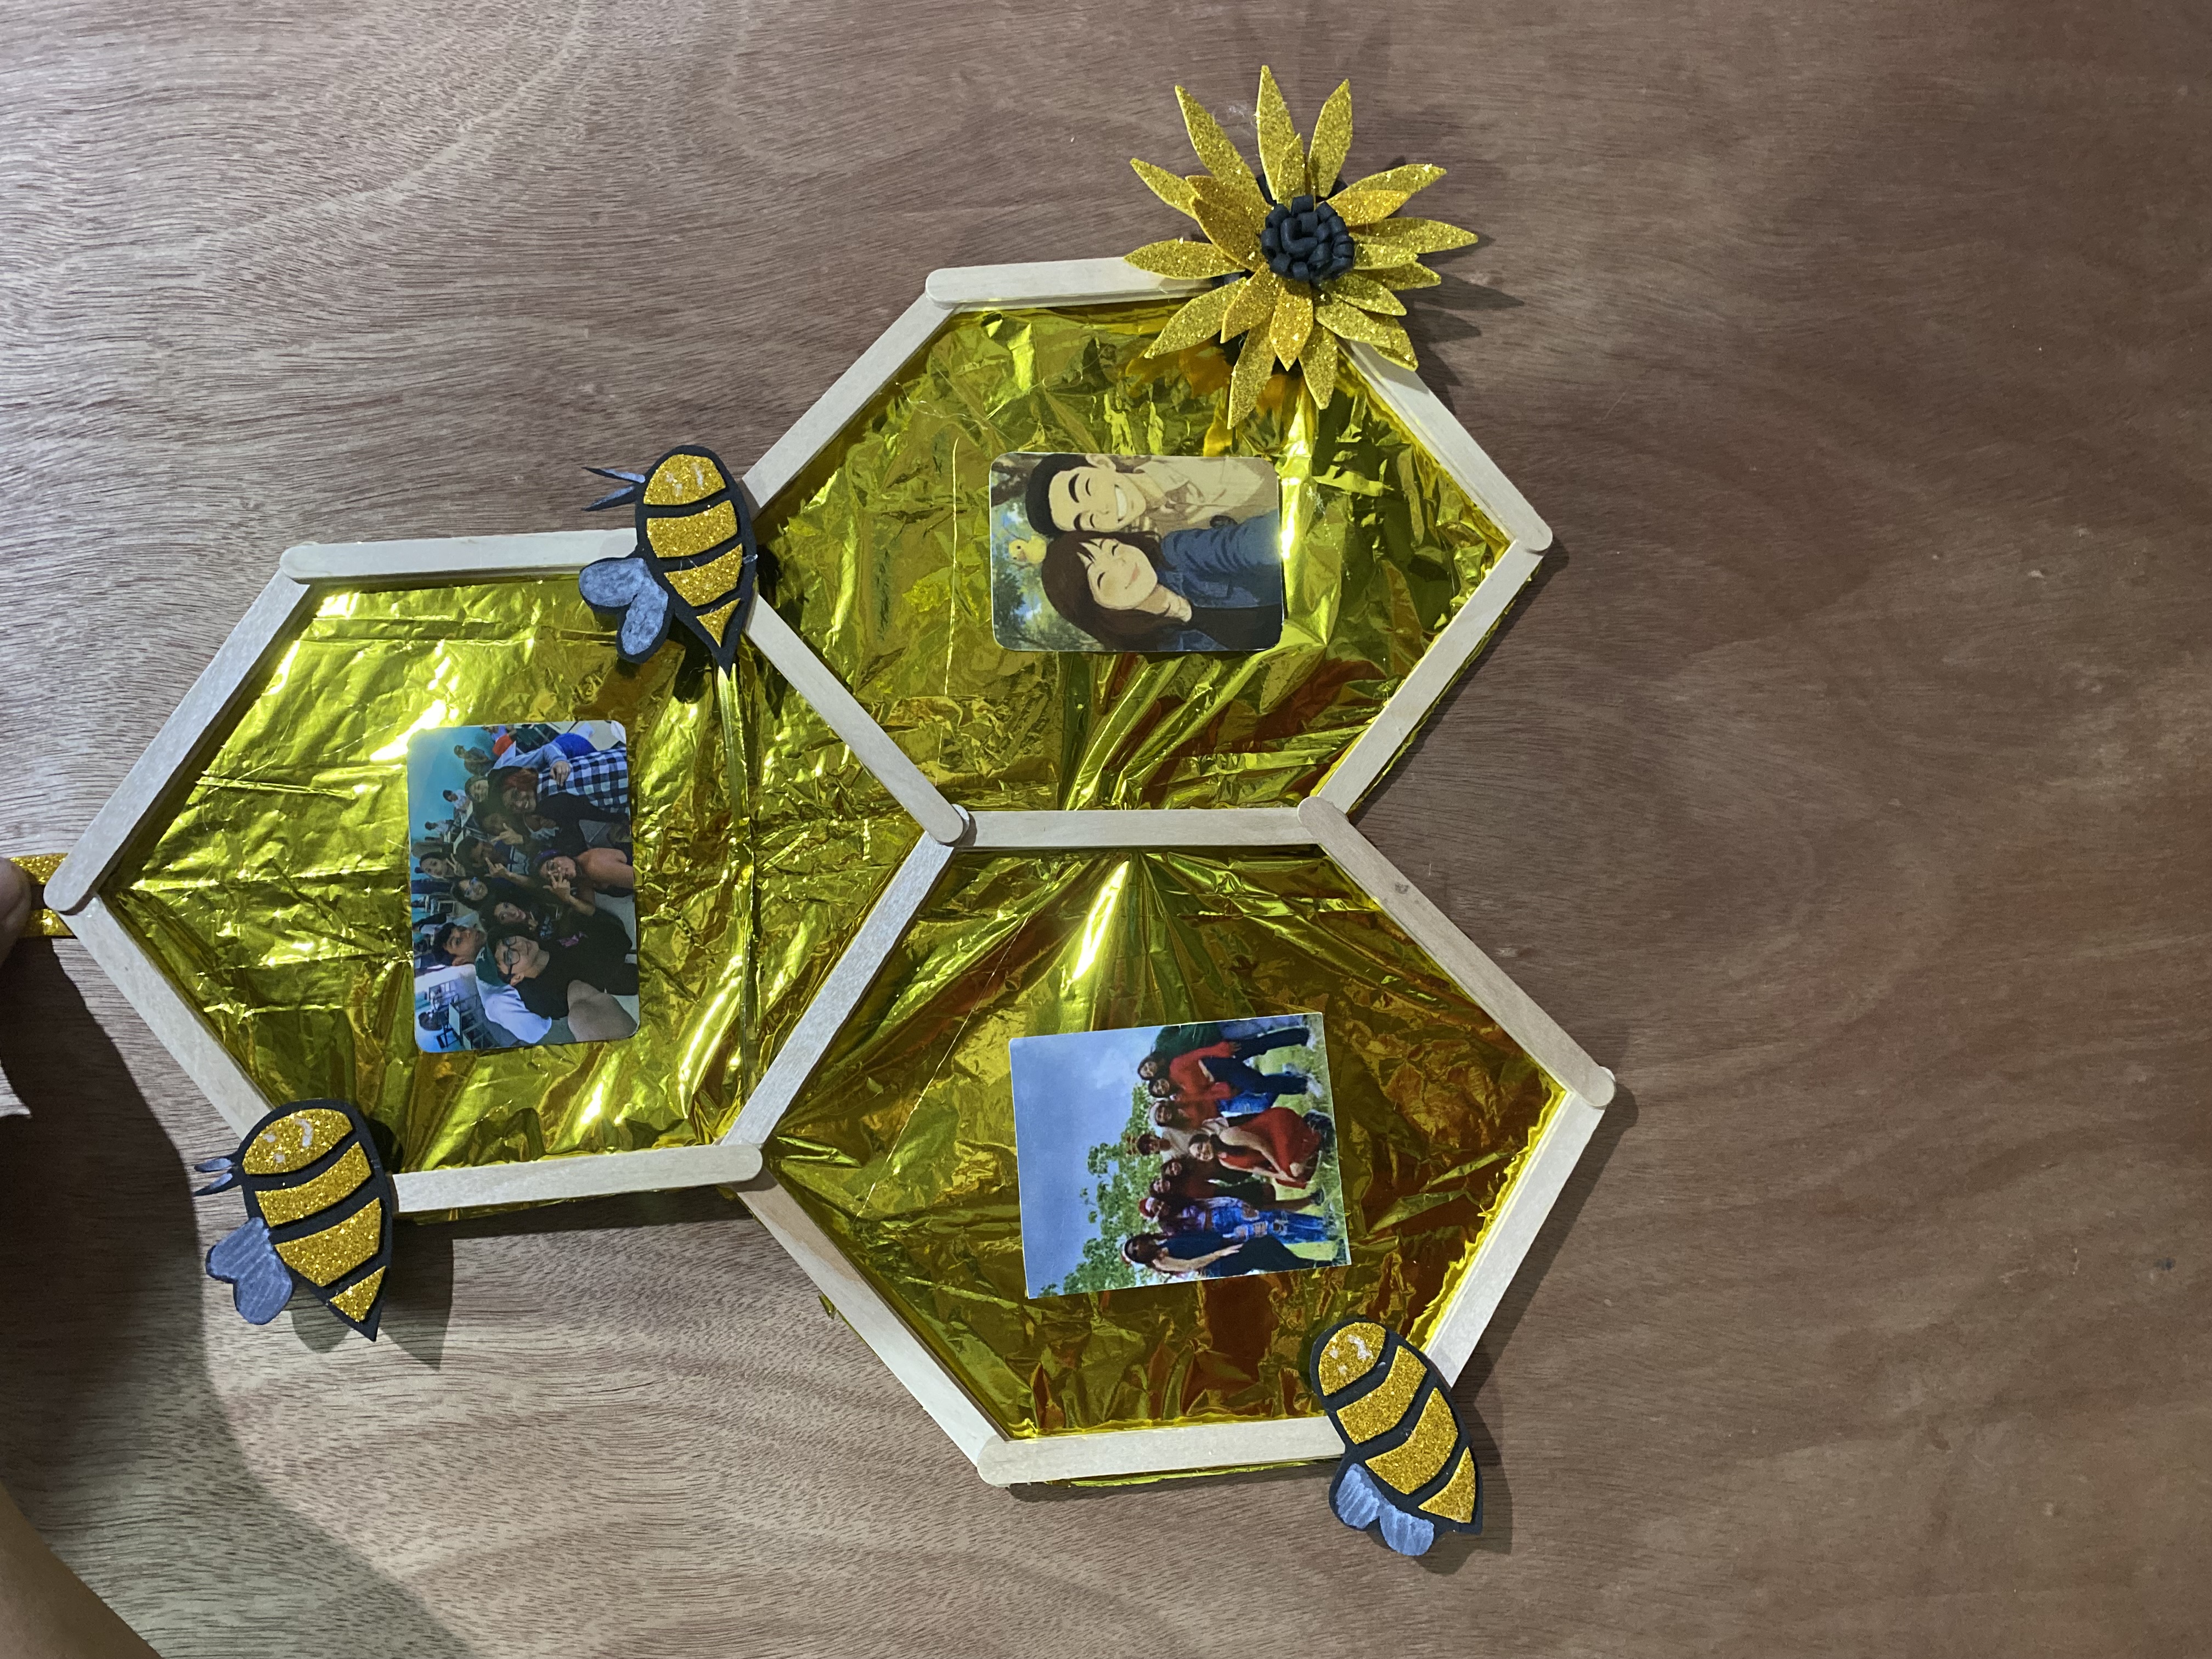 | 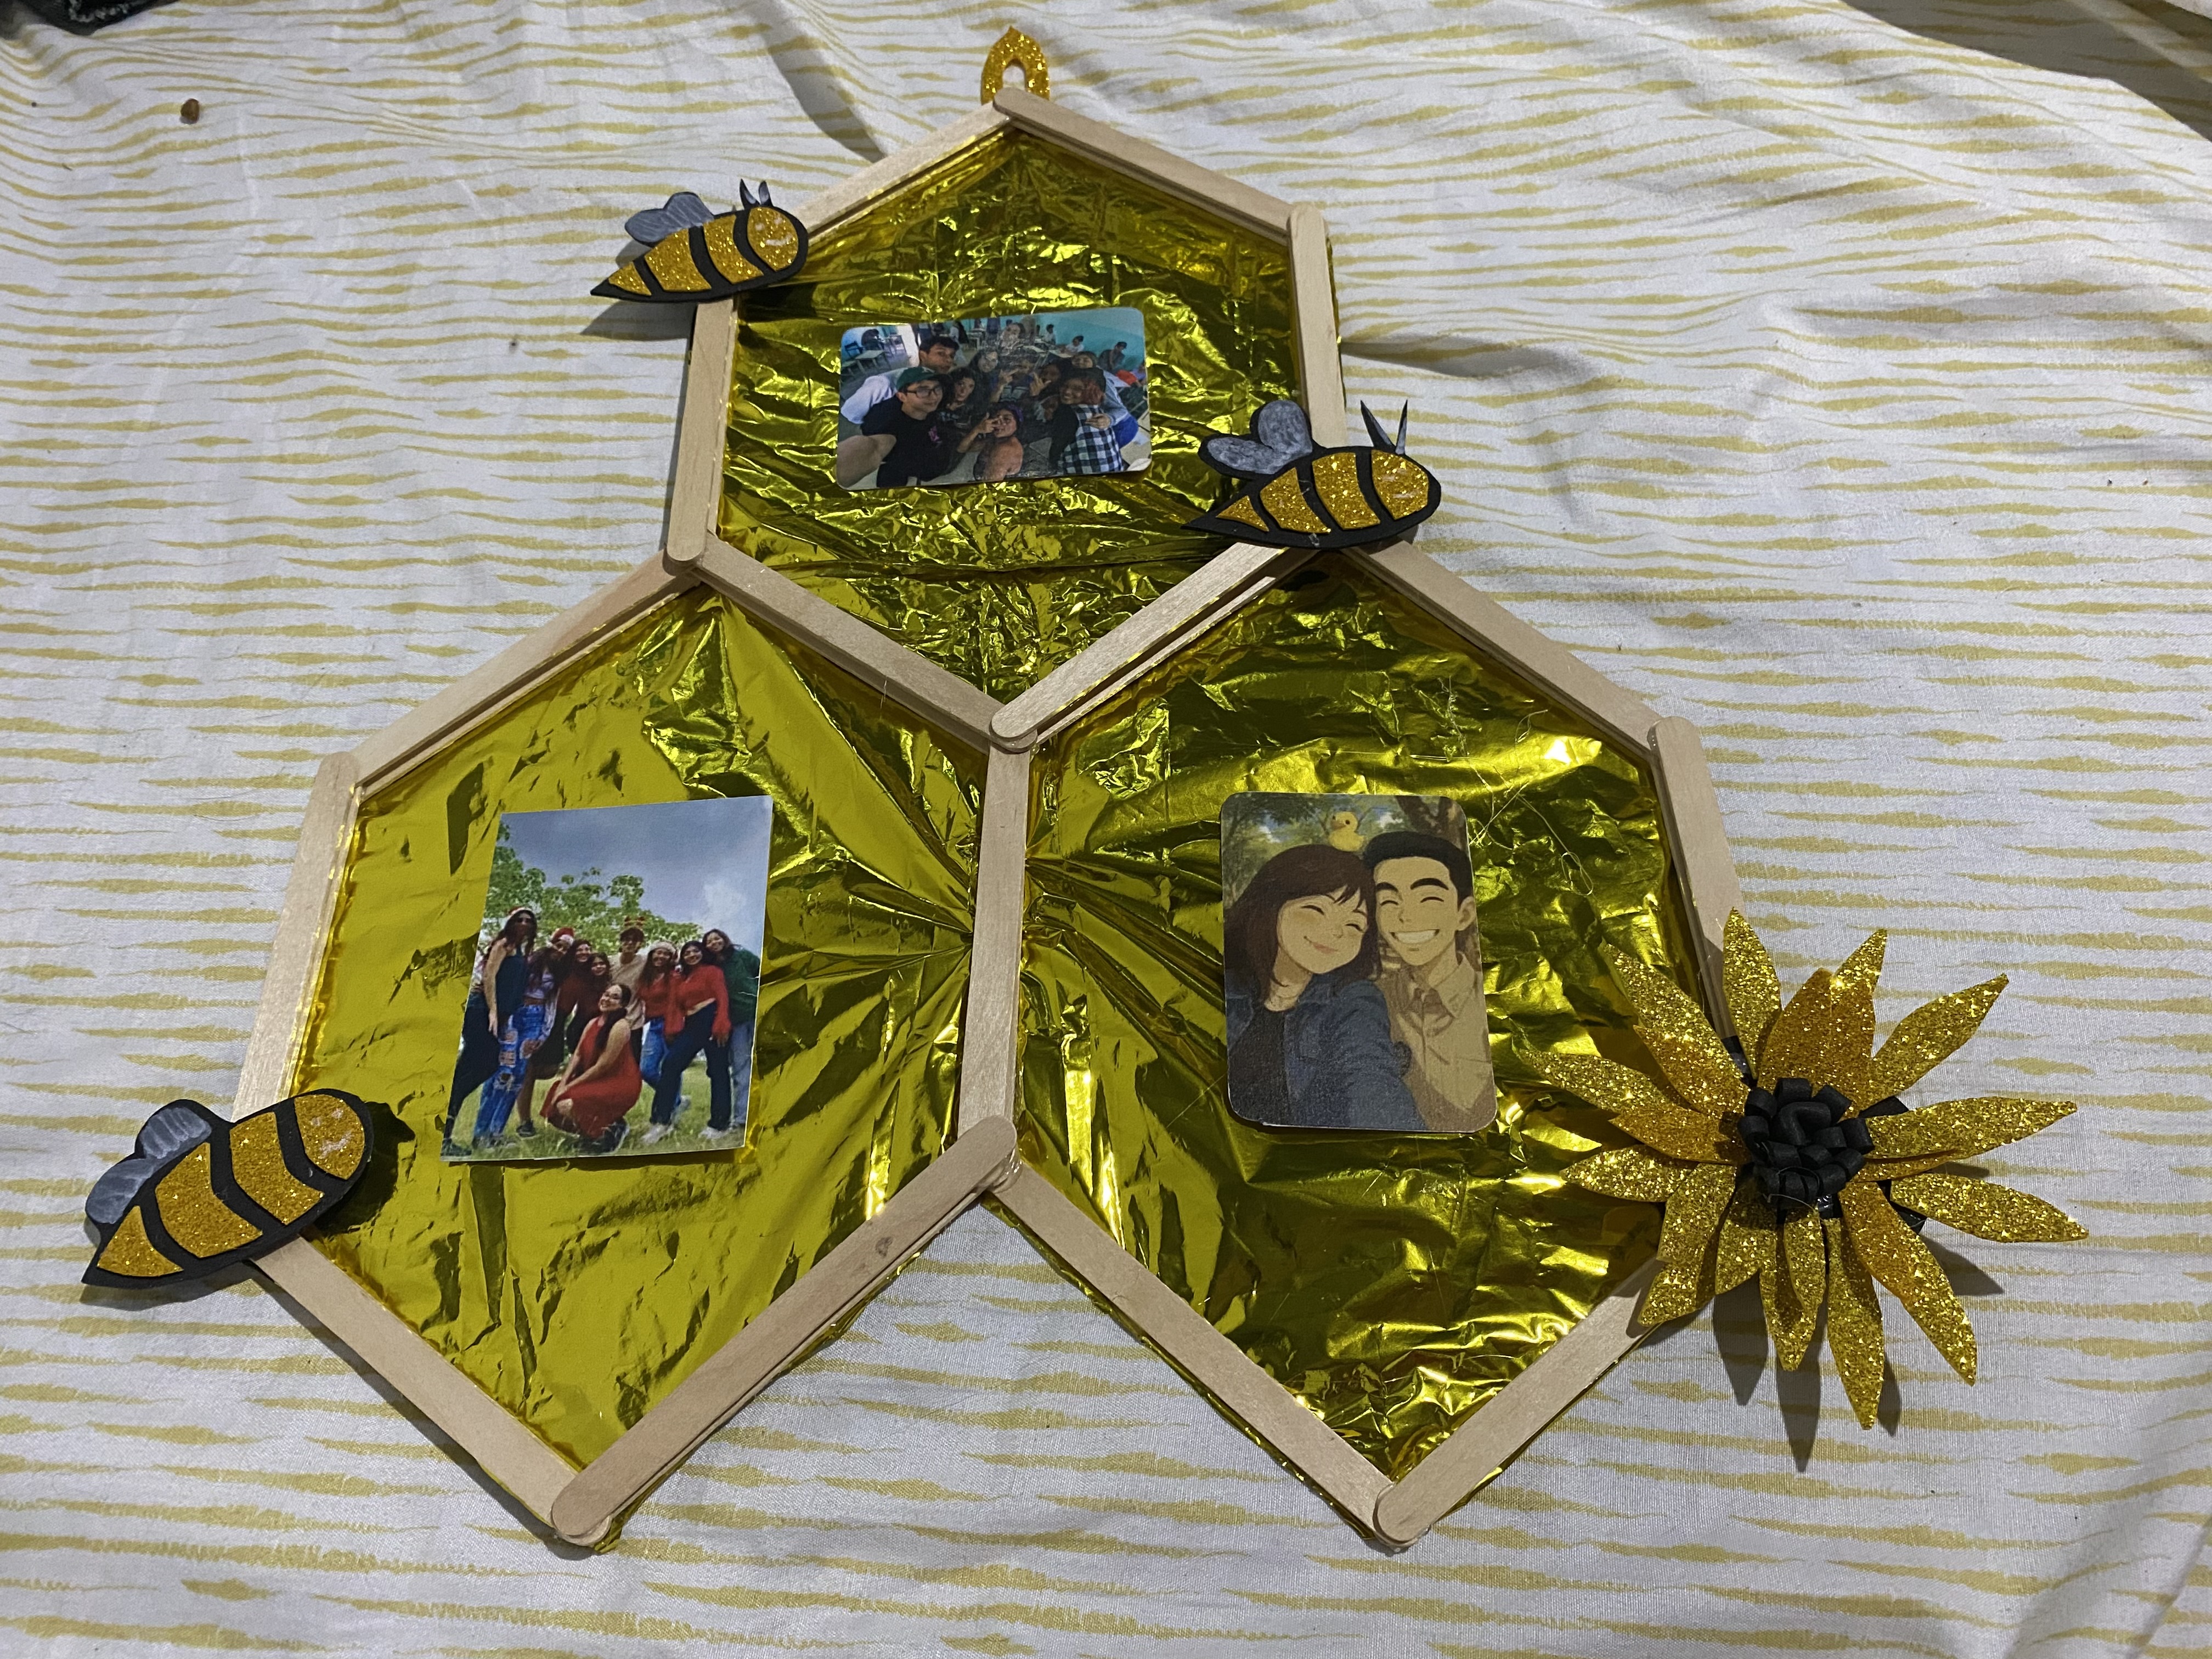 |
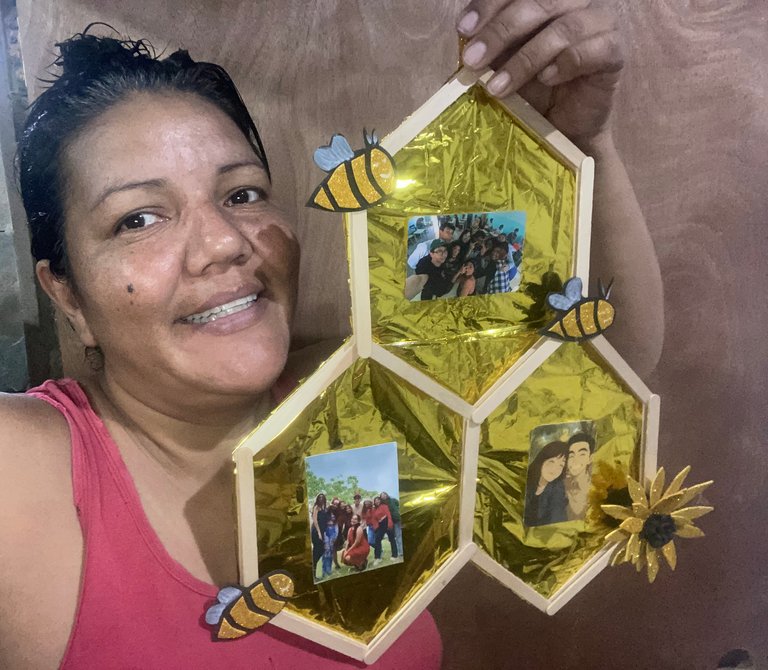
I loved the result of this beautiful picture frame, making decorations motivated by bees is something beautiful, that's all for today, in advance I am very grateful that you have visited my publication, until another opportunity 😊❤️
Me encantó el resultado de este lindo portarretrato, hacer Decoraciones motivado con las abejas es algo hermoso, es todo por hoy de antemano estoy muy agradecida de qué hayan visitado a mi Publicación, hasta otra oportunidad 😊❤️

las fotos aquí compartidas son de mi propiedad tomadas con mi teléfono iPhone 11, la edición fue hecha en Canva, para la traducción del inglés utilice el traductor de Google
¿ᴺᵉᶜᵉˢᶦᵗᵃˢ ᴴᴮᴰ? ᵀᵉ ˡᵒ ᵖʳᵉˢᵗᵃᵐᵒˢ ᶜᵒⁿ @ruta.loans
Wow this is incredible
You did a great job
Thank you 😊
Te quedó muy bonito el portaretrato, una colmena de abejitas familiar 💕
!discovery 25
Cierto amiga, gracias 😊
This post was shared and voted inside the discord by the curators team of discovery-it
Join our Community and follow our Curation Trail
Discovery-it is also a Witness, vote for us here
Delegate to us for passive income. Check our 80% fee-back Program
Thank you 😊
Very nice work this beehive converted into a picture frame Ideal for keeping at home or as a nice gift. Good turnout. Good luck...
selected by @dayadam
It's true, my friend, for a gift it's something nice and special, thanks for commenting, greetings 😊
Creativity knows no bounds, great and splendid work 👍 @marlynmont
Thank you very much 😊
que lindo, muy creativo y bien para decorar
How cute, very creative and good to decorate
Gracias ☺️
I love this
Well explain with steps
Thank you 😊