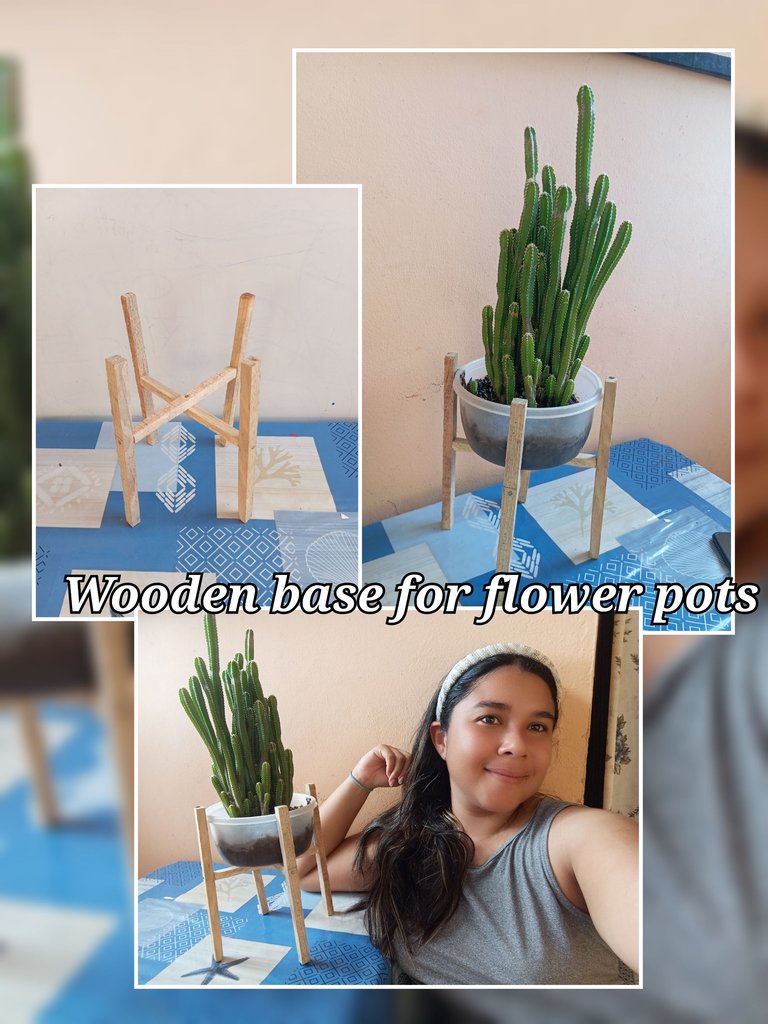
Contest of the month: Flower pot made from recycled wood
Good evening, my fellow readers and content creators. Tonight, I would like to take part in the new contest of the month (native products). Like everyone else, I thought it was an excellent topic. For this occasion, as a lover of cacti and nature, I made a small planter, with the idea that it could be used in an office, business, or small space to bring it to life with this creation.
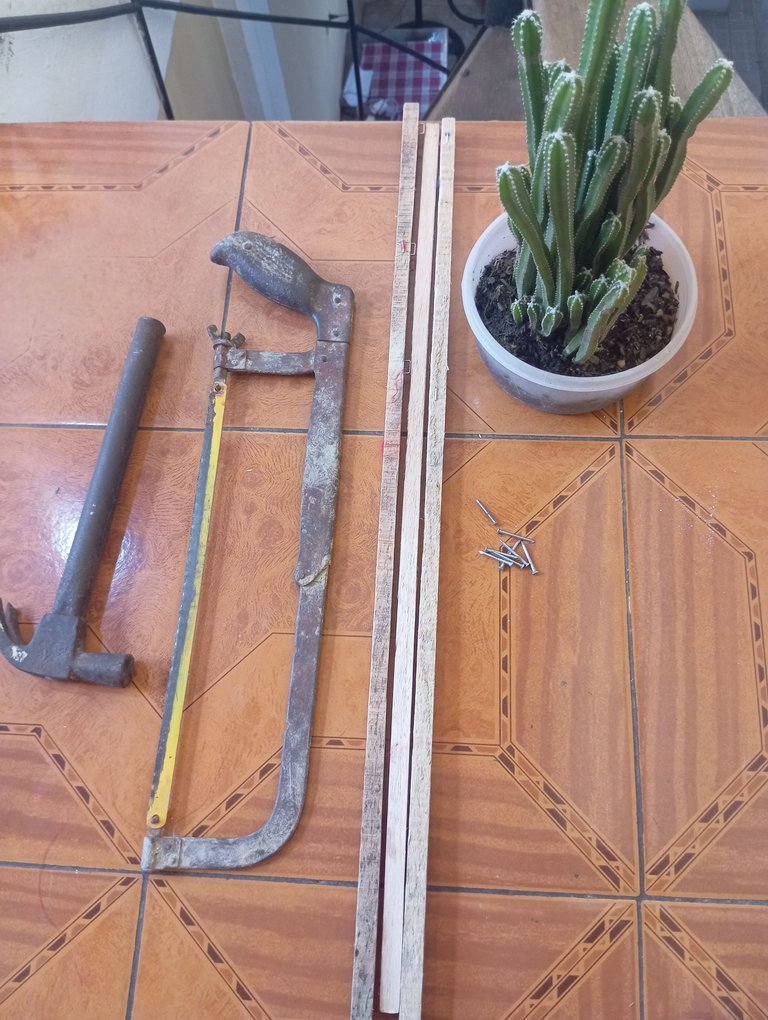
Materials I used:
-Wooden boards
-Nails
-Hammer
-Handsaw
Here are the steps to follow to make our planter:
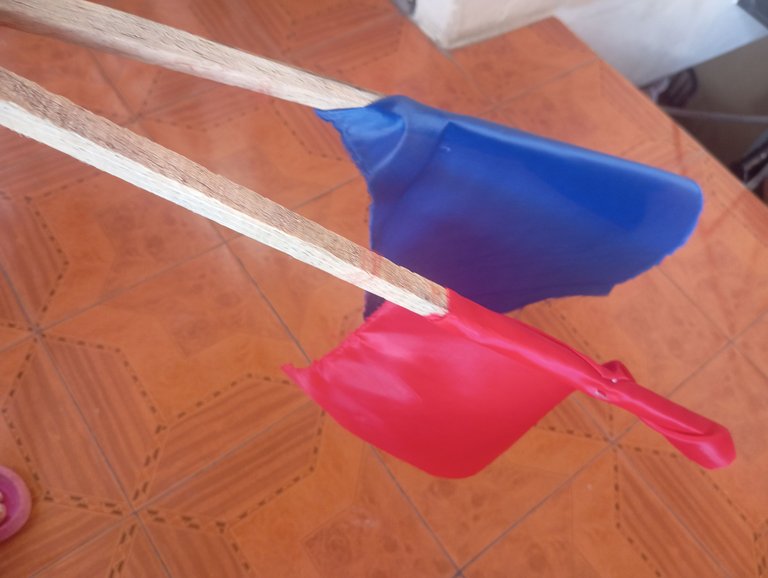
Yesterday there was a political march, and most of the people were carrying flags made of small boards. Some were throwing them away, and when I saw them, I thought they would be an excellent resource, so I decided to use them to make my planter. That's why I collected them and reused them.
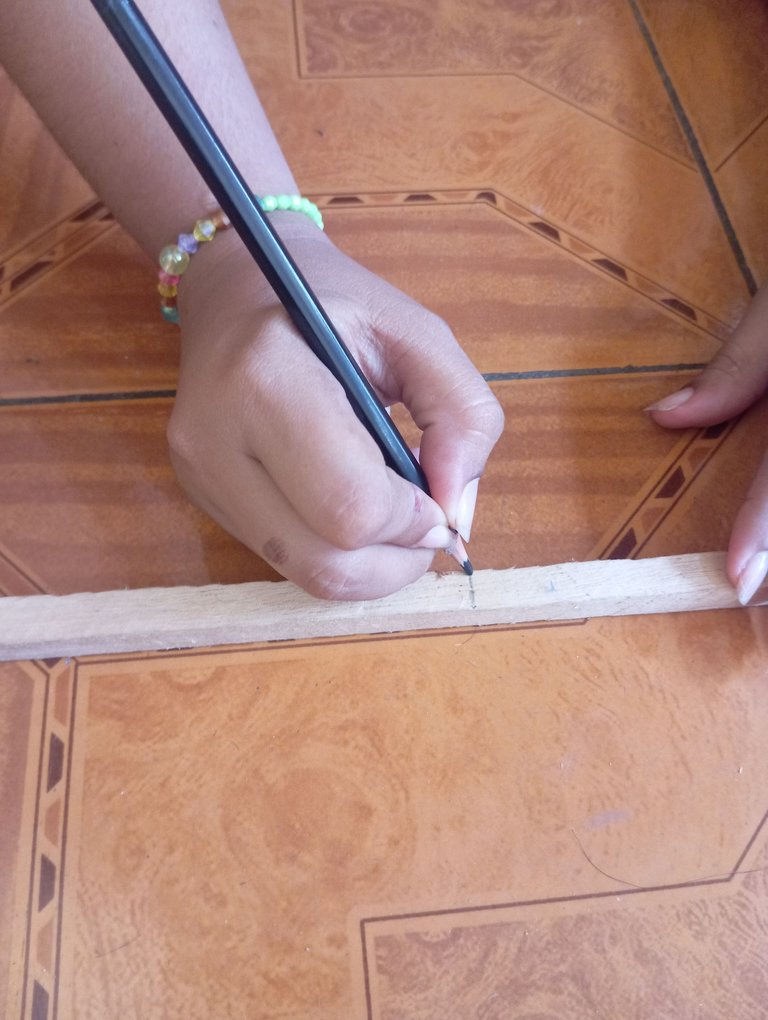
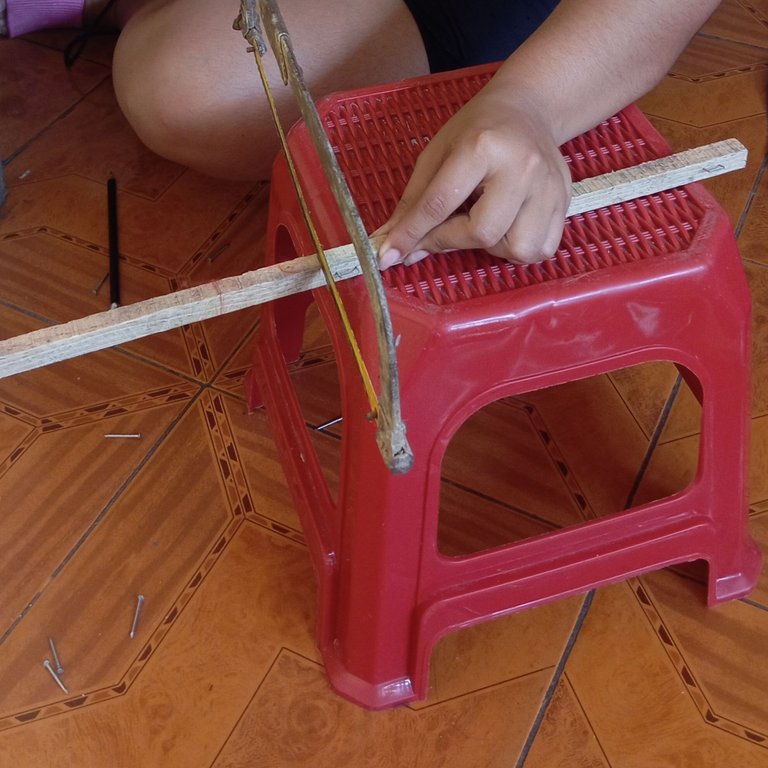
First step: To start, I took my boards and marked them to identify the length I wanted so I would know where to cut the board. I worked with 30 centimeters in length.
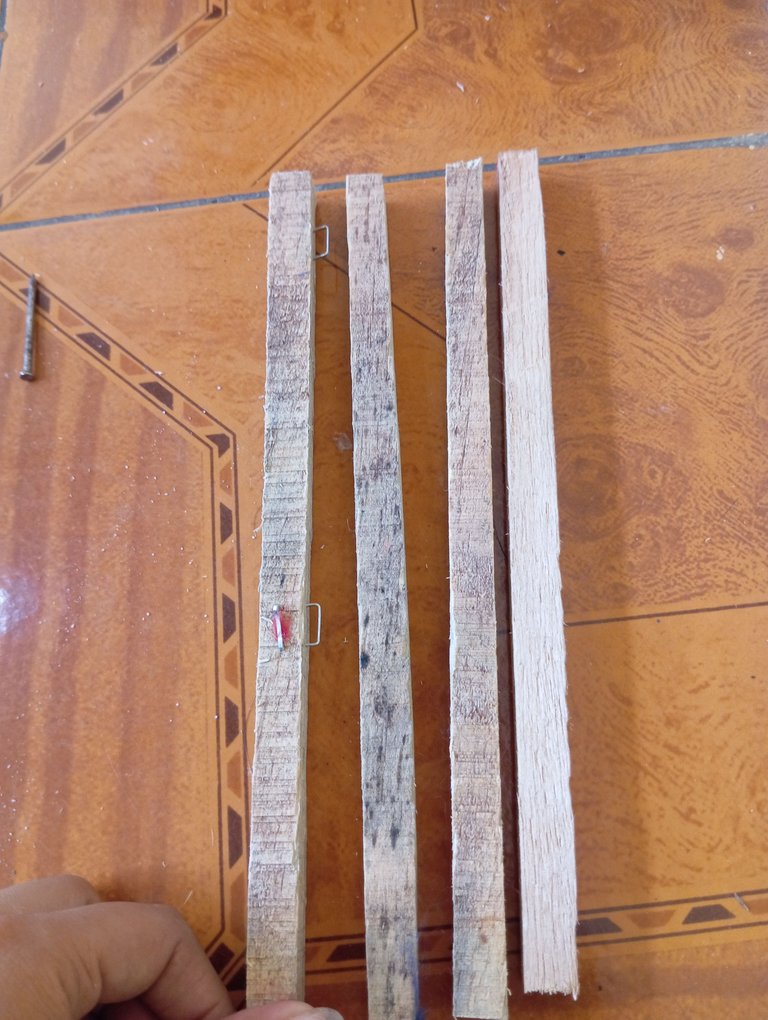
Second step: Once I marked the four boards, I took a saw and cut them to the measurement I marked in the previous step. I ended up with four pieces of the same size.
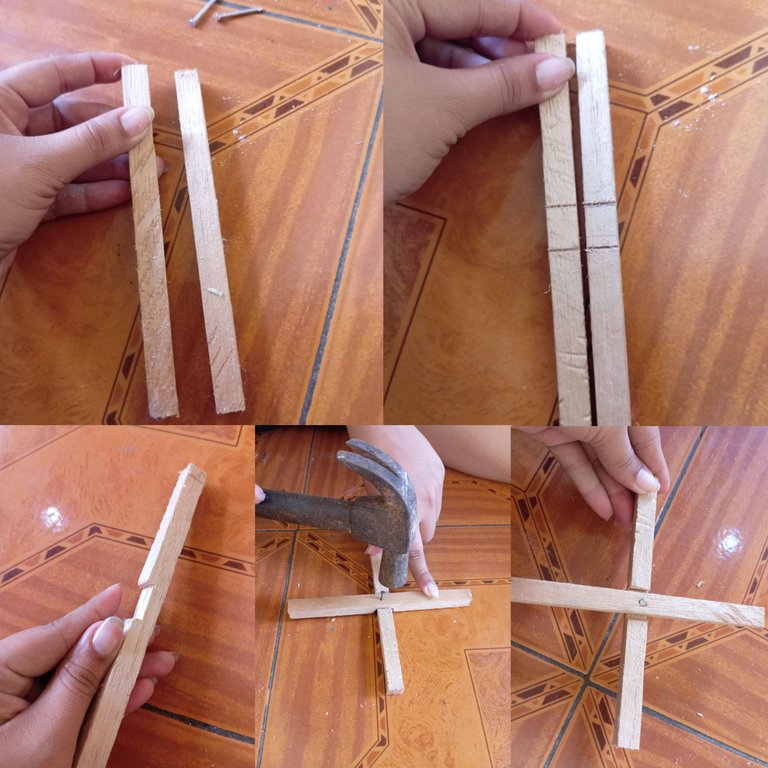
Third step: Next, we are going to make the base of our planter. We started by cutting two 15-centimeter boards, since the plant is a little wide. In the center of the two boards, I marked a small square where I am going to cut halfway through without going through to the other side of the board. This way, I can nail them so that both are inserted, forming the desired piece. Once I cut the center of the boards, I continue inserting a nail in the center, forming a figure similar to a cross or, if we look at it from another angle, an X.
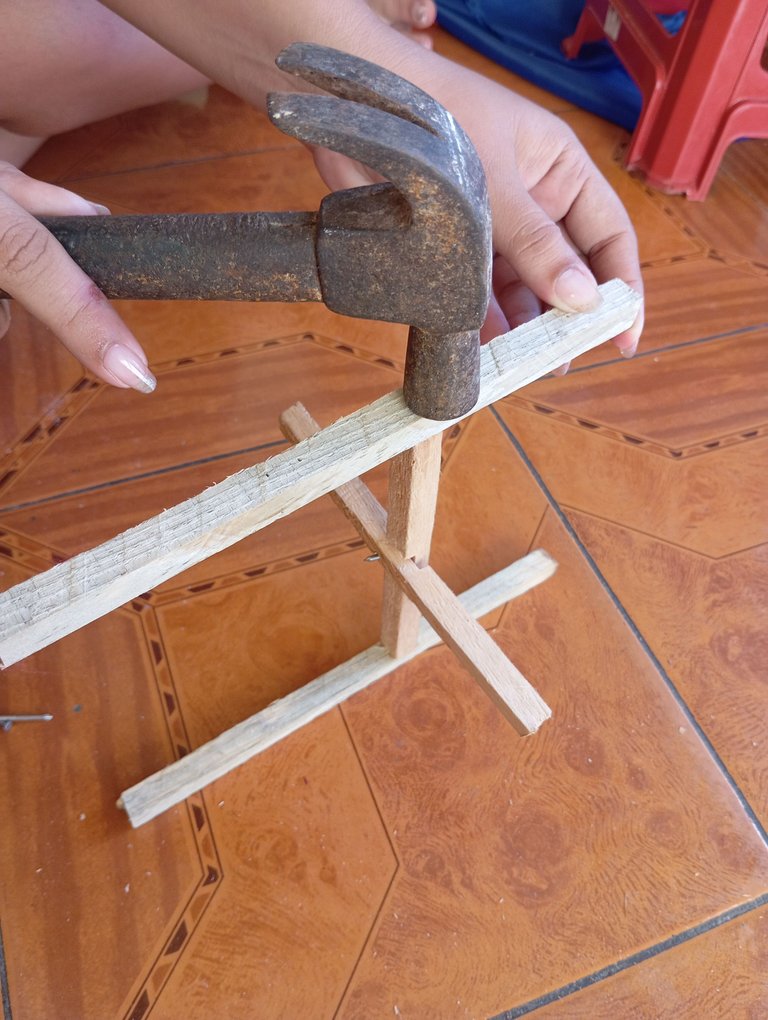
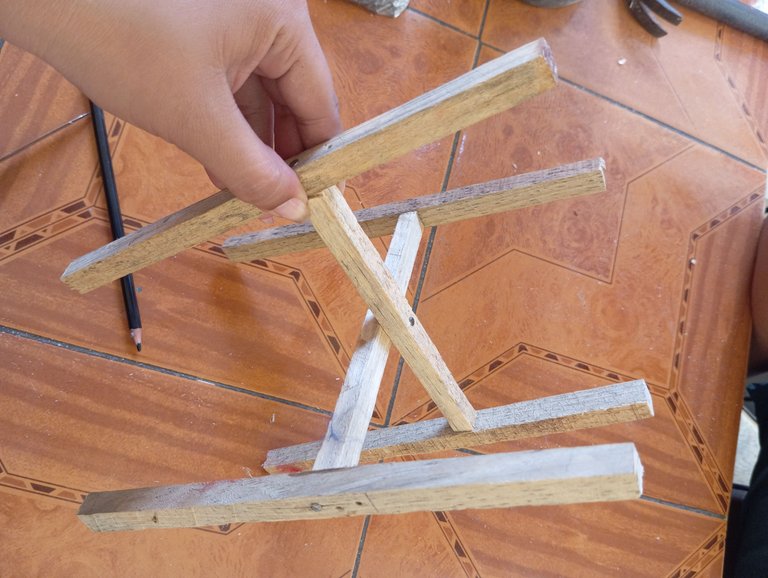
Fourth step: Next, in our fourth step, we will continue with the base of the planter and begin to nail the boards that we cut in the first step. We will start by placing the first two at the ends of our X- or cross-shaped base. As you can see, it is important to measure where the base will be placed before nailing, whether from the center or from the end. In my case, I placed it a little above the center.
Step 5: In our fifth and final step, as you can see, we place the last two boards that were missing to form our planter so that it can be held together with the four pieces.
Final result: this is how I made my beautiful and simple planter with reused boards. I hope you like it and can make it at home. Before continuing, I would like to invite my friends @yagelybr and @josdelmin to take part in this new contest and tell us about their experiences with natural resources.
Credits: I took the photos with my Redmi 12 and translated the texts with the Deepl translator. Have a good night, friends.

Wow, how cute, I like it a lot, I want to do it.
I hope you are encouraged to do it, my friend, and show us how it turned out.
Wow this is really beautiful. I will love to give it a try.
Simple and easy friend, I hope to see your result
WOW! It is so nice and beautiful. It is very useful. What you made, that's awesome. Great work! Thank you!
selected by @rezoanulvibes
Thank you for appreciating my work, have a nice day.
excelente resultado, quedo genial!
excellent result, it looks great!
Gracias amiga