Sorpresa “al horno” [Esp - Eng]

Feliz día, chicos 👋🏽. Ya se acerca el fin de semana y tenía un tiempo deseando compartirles una receta para los que, como yo, son amantes de los tubérculos y los rellenos con mucho sabor "al horno".
Y aunque generalmente en casa lo preparo con carne, esta vez quise hacer algo diferente para acompañarlo con una bebida que anteriormente les había compartido. Así que empecemos con los ingredientes que vamos a necesitar:
Para el relleno "guisado":
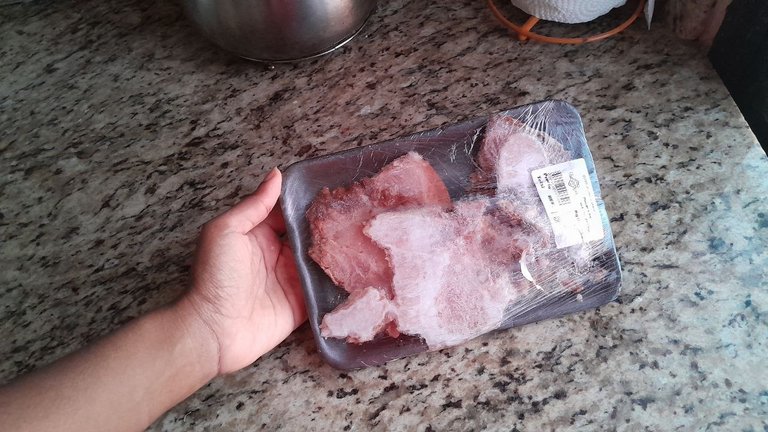
Dos chuletas ahumadas y grandes 🥩
1 cuadrada y media de manteca de cerdo
2 cabezas de ajo
1/2 cebolla mediana 🧅
2 cucharadas de pimentón
2 ají dulces
1 tomate mediano 🍅
1/4 de cucharadita de pimienta
1 cucharadita de cúrcuma
1 cucharadita de orégano
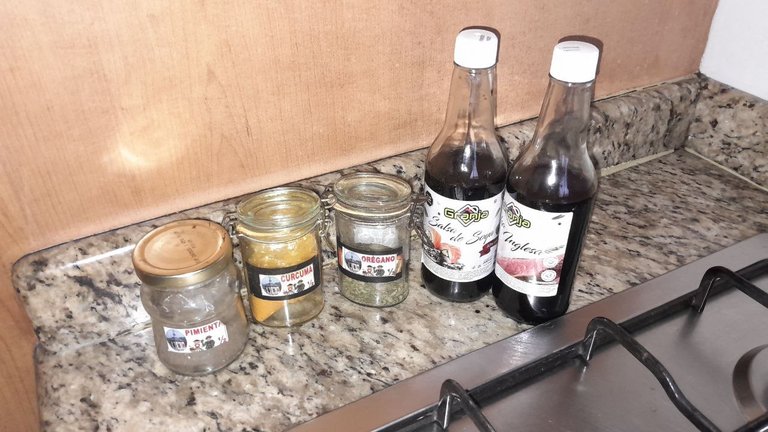
1/2 cucharada de salsa inglesa
1/2 cucharada de salsa de soja
 |  |  |
|---|
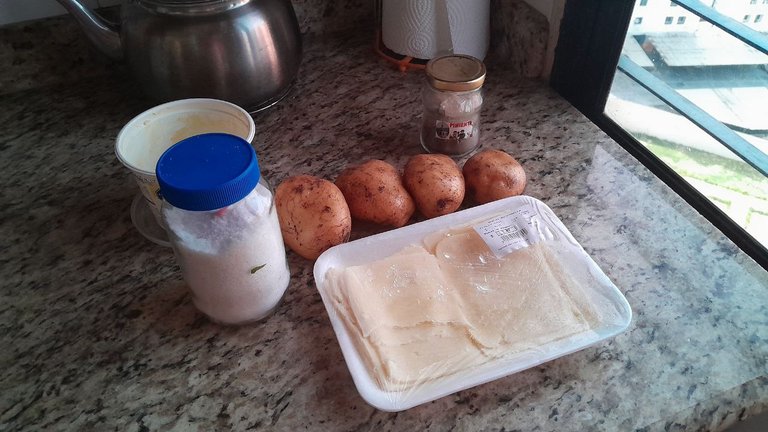
Para el relleno de papa:
4 papas medianas 🥔
600 ml de agua
10 gr de margarina
1 cucharadita de sal 🧂
Para decorar el pastel:
6 rebanadas que queso mozzarella
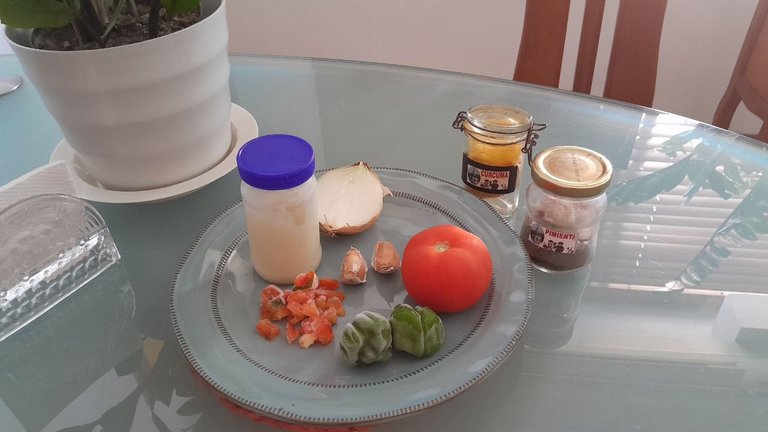
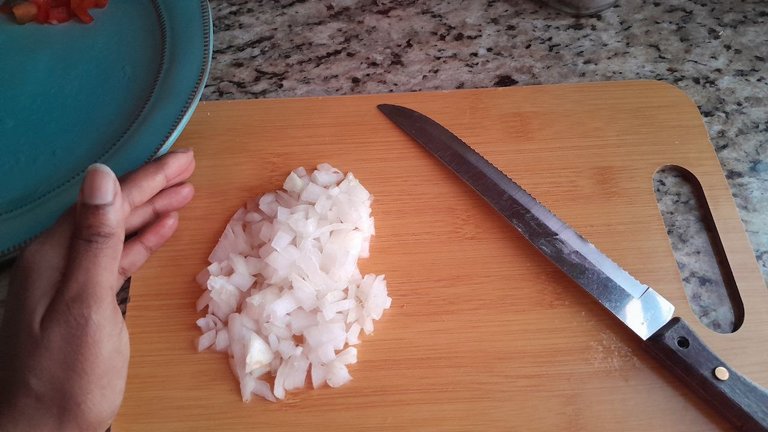
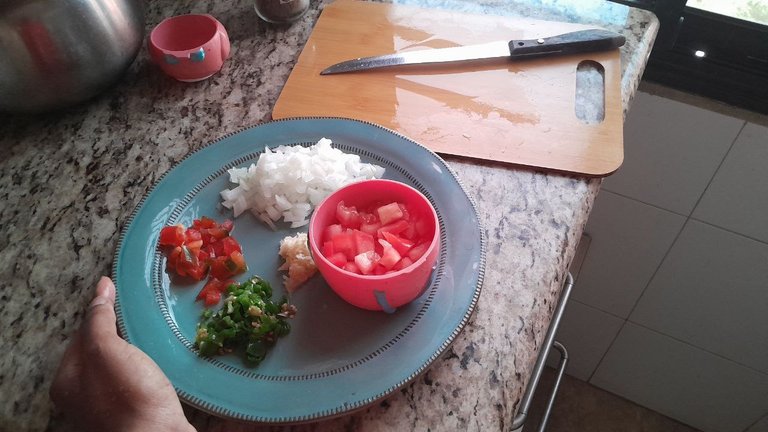
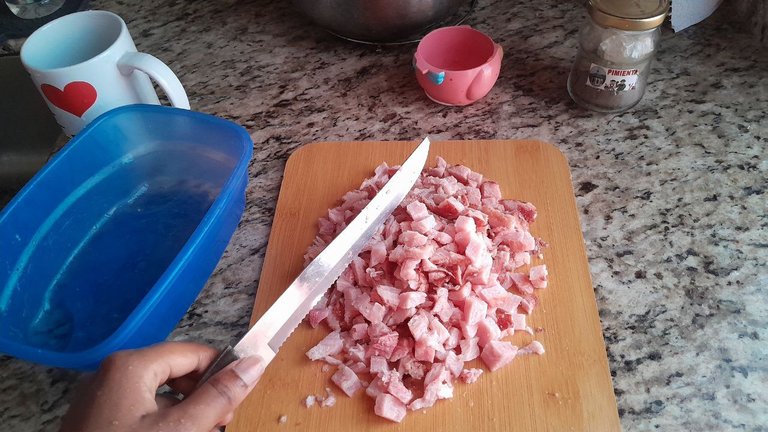
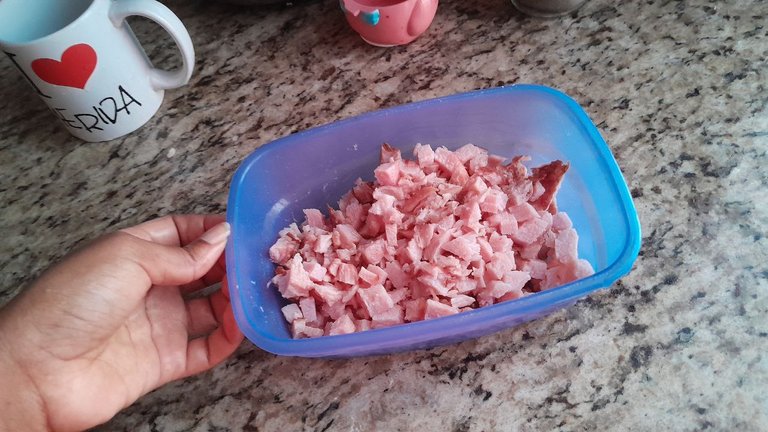
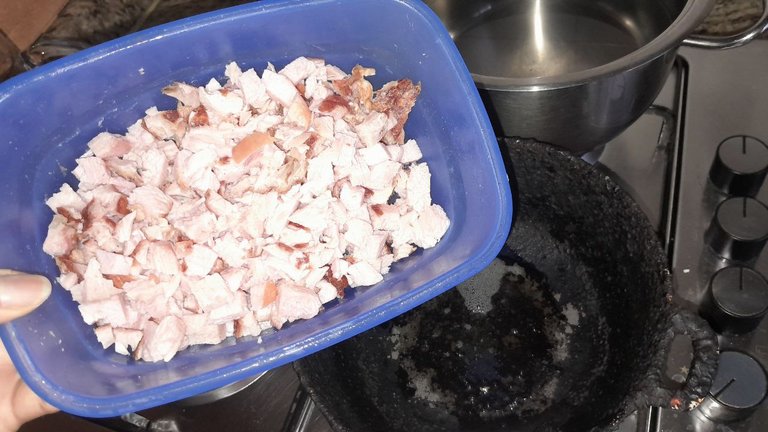
Yo empecé preparando la chuleta guisada. Primero la piqué en cuadros medianos y la reservé en un recipiente. Luego picamos todos los ingredientes para acompañarla y guisarla con: la cebolla, los ajíes, el pimentón y el tomate (este último lo reservamos aparte). También rallamos el ajo (para mí es mejor de esta forma porque picado quedan trozos muy grandes y en la boca no se siente bien encontrarse esos trozos 🙈).
 |  |  |  |
|---|
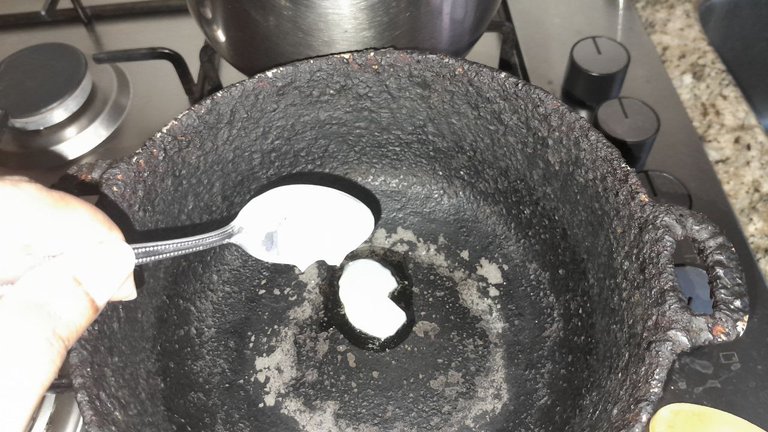
Ahora calentamos un sartén (aproximadamente de 2 a 3 minutos), para agregarle la cucharada y media raza de manteca de cochino.
 |  |  |
|---|
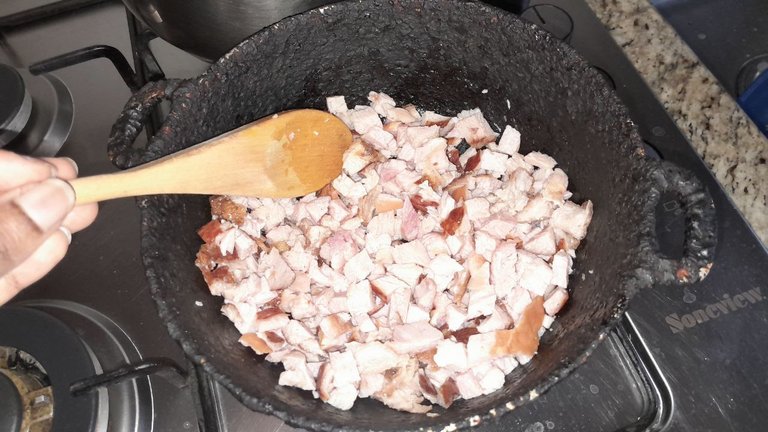
Agregamos la chuleta y la mezclamos con la manteca, para dejarla cocinar de cuatro a cinco minutos a fuego medio.

Yo al principio la empecé a cocinar en esta ollita, peeero, por la cantidad, me di cuenta de que mejor se cocina en una sartén más grande (así que la cambié por este sartén que tenía más grande).
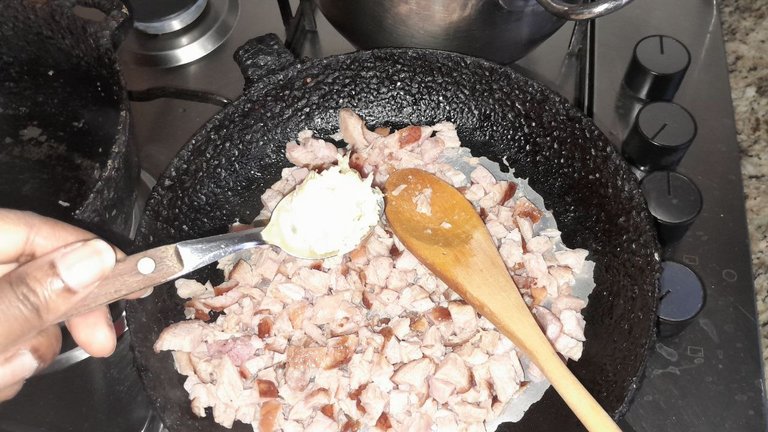
Una vez pasado el tiempo, agregamos el ajo e inmediatamente la cebolla, para dejarla cocinar a fuego medio por cinco minutos más.
 |  |  |
|---|
Después agregamos el pimentón y el ají a fuego medio, pero esta vez por 1 min.
Ya solo nos queda agregarle "los ingredientes semifinales" 🤩:

La cucharadita de orégano (yo te recomiendo triturarla en tus manos para que se desprenda más esta especie y le dé más aroma a la chuleta), la cucharadita de cúrcuma y 1/4 de cucharadita de pimienta.
Ahora agregamos el tomate que previamente habíamos picado y lo dejamos cocinar por 5 minutos más.
Para finalizar, agregando las salsas (inglesa y de soja). 😋
Una vez que todo está bien mezclado, bajamos la chuleta del fuego y la tapamos (asegúrate de que no sea una tapa que te queme porque no tiene protección al agarrarla arriba), para así reservarla en el mismo sartén, hasta que vayamos a usarla. 🥩
Una vez lista, nos ponemos a preparar "el envoltorio" 🎁
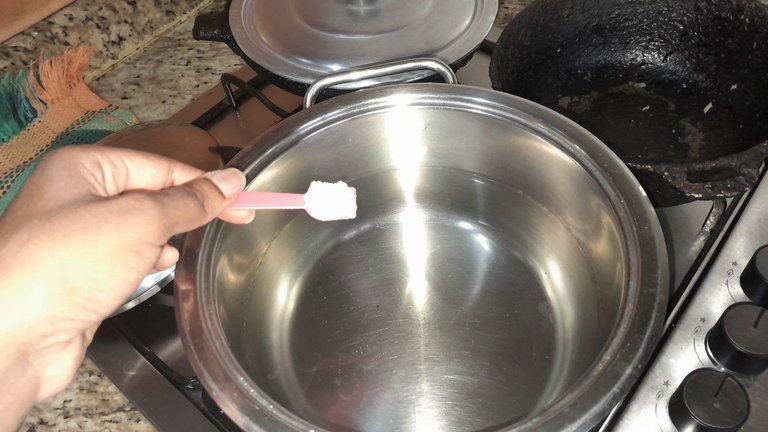
Primero calentamos el agua en una olla (recuérdate de también agregarle la sal) hasta que veamos que está hirviendo.
 |  |
|---|
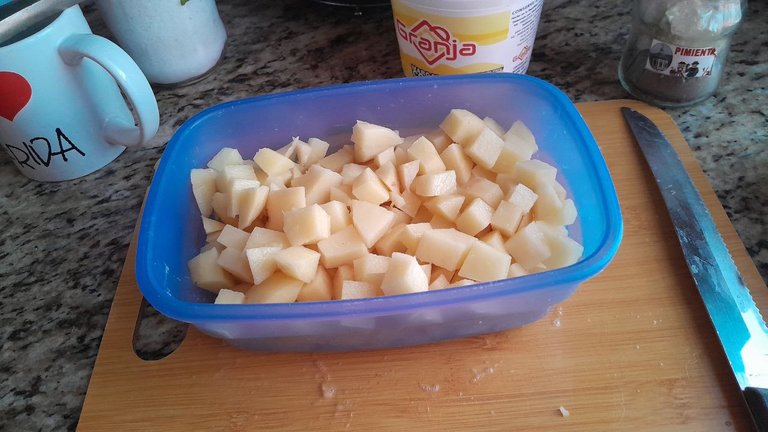
Mientras el agua se calienta, lavamos y pelamos las papas (asegúrate de quitarle cualquier parte que no esté buena). Luego, la reservamos en un recipiente.
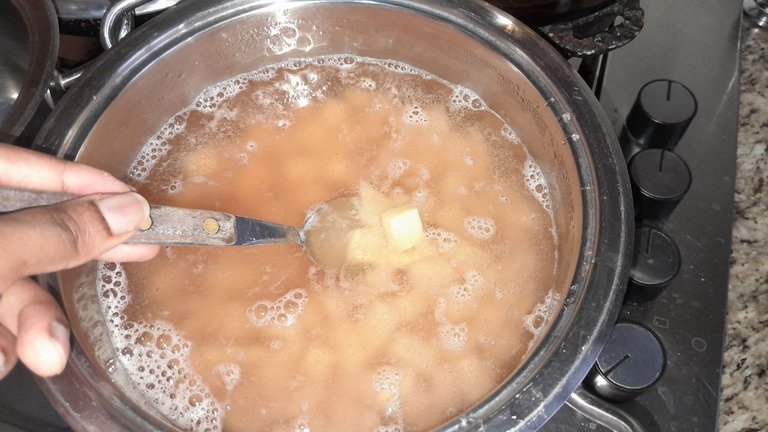
Una vez el agua está lista, agregamos las papas y mezclamos bien, para dejarlas cocinar a fuego bajo por aproximadamente 45 min a 1 hora (pero también este tiempo depende de tu cocina, así que mantente muy atento).
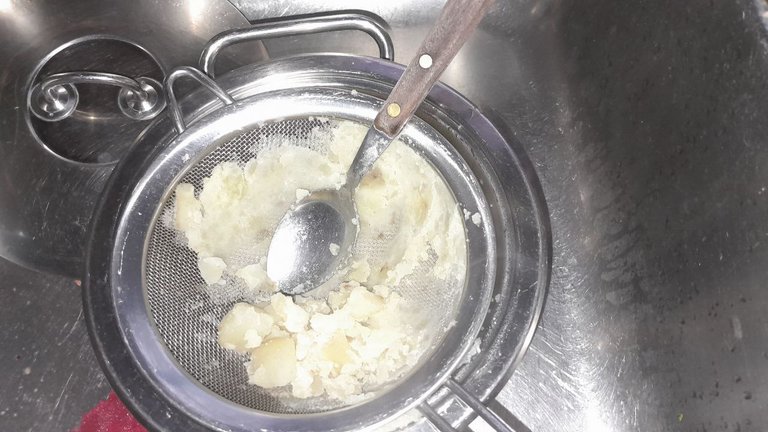
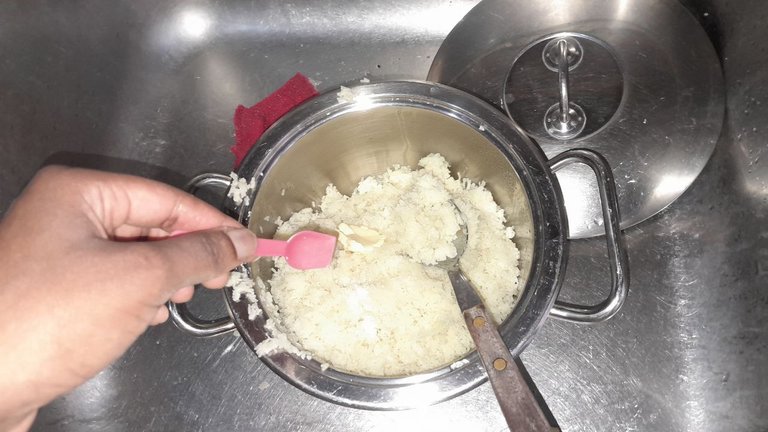
En este punto es importante que nuestras papas estén lo más blanditas posible (pero tampoco deben de deshacerse del agua), para poder triturarlas al pasarlas por un colador (me encanta esta técnica porque así te aseguras de que el puré quede sin ninguna dureza).
Una vez estén bien blandas, colamos las papas para luego verterlas en un recipiente. Desde allí iremos triturándolas (en este punto también puse a calentar el horno a 180° C).
 |  |  |
|---|
Luego, agregamos la margarina y la cucharadita de sal para mezclar bien y dejar reposar el puré por cinco minutos.
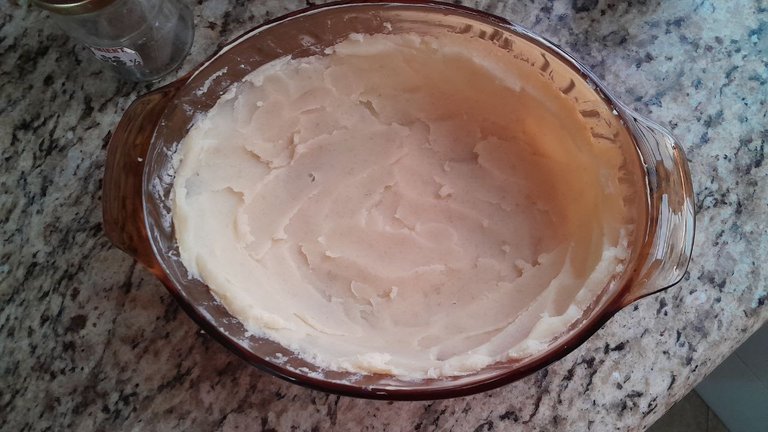
Y mientras este se enfría, yo me puse a cubrir de margarina el recipiente donde prepararé mi pastel. 😍
 |  |  |
|---|
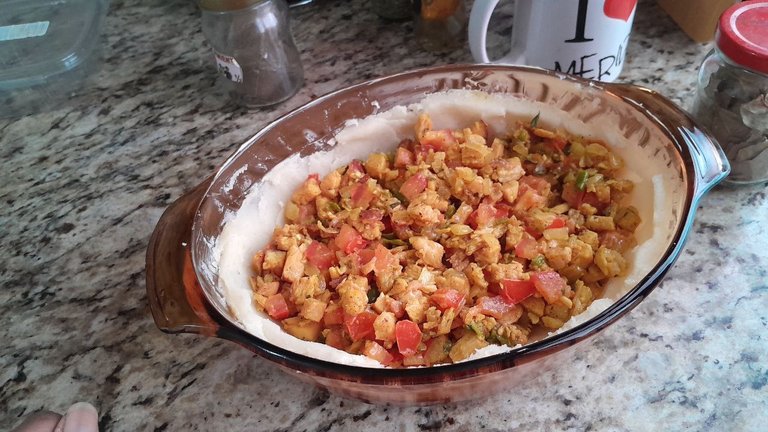
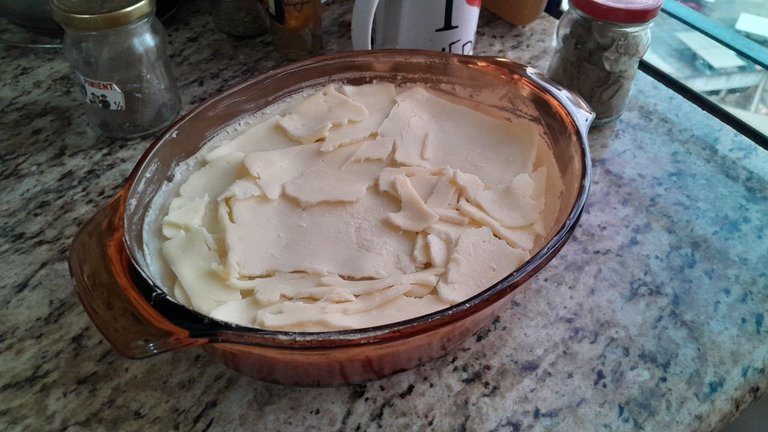
Una vez listo, empiezo cubriéndolo con una capa de puré relativamente gruesa (porque la idea es que nuestro relleno quede en el medio). Luego agrego toda la chuleta guisada, para así cubrirla con otra capa de puré (me encanta lo bello que quedó jaj).
Y así "casi queda" nuestro pastel de papa... solo nos falta decorarlo con un ingrediente que le dará color y cremosidad:
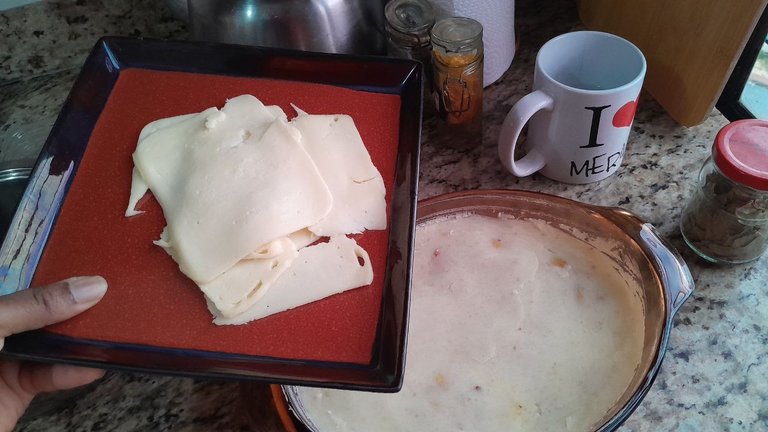
Las rebanadas de queso mozzarella. 🤤
 |  |  |
|---|
Yo las coloqué picadas en trozos con mi mano (pero también puedes hacerlo con las rebanadas completas).
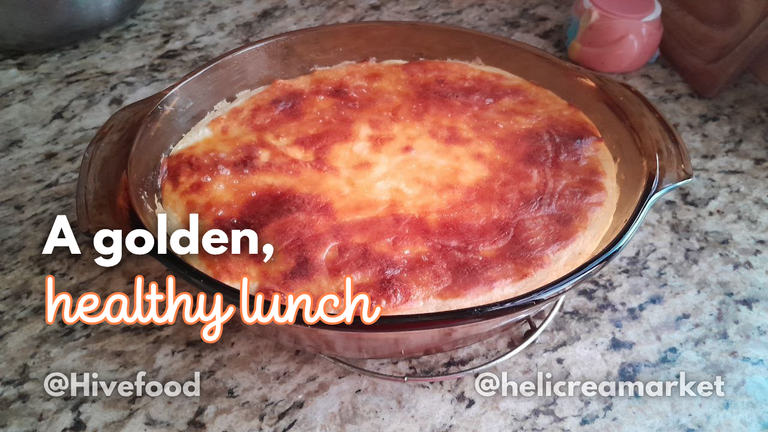
Y así casi casi queda nuestro pastel. Solo tenemos que llevarlo al horno por aproximadamente 15 minutos (en nuestro horno previamente calentado), o hasta que veas que el queso se dore completamente. 🙌

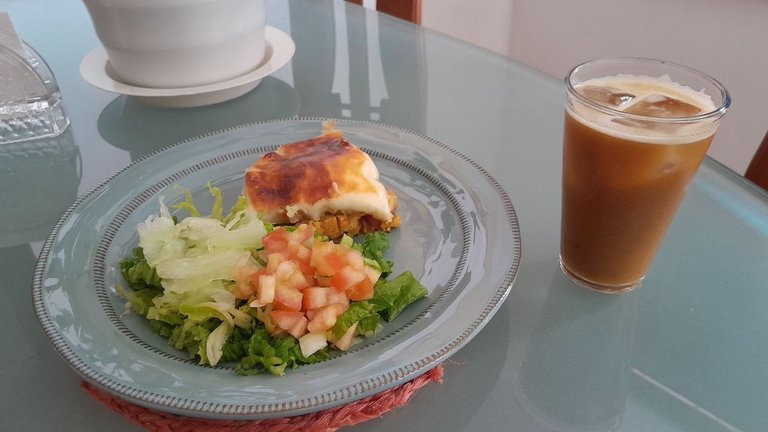
Sacamos nuestro pastel y lo dejamos reposar por aproximadamente veinte a treinta minutos.
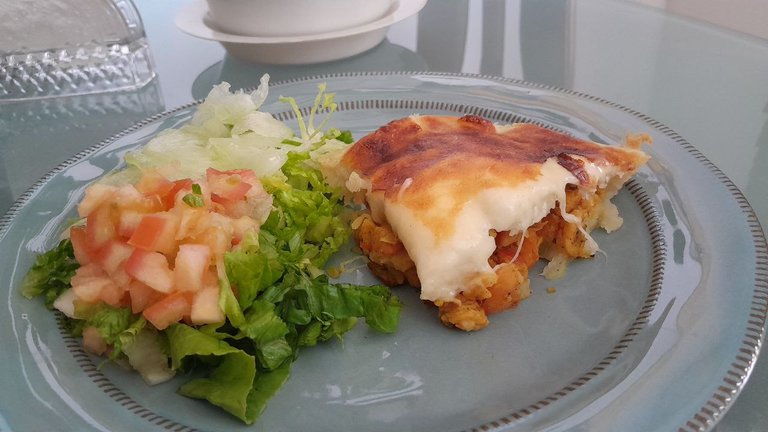
Para así servirlo con una rica ensalada de tomate 🍅, lechuga y pepino e igualmente acompañarlo con la bebida que prefieras (yo me hice un jugo bien especiado).
 |  |
|---|
Me encanta esta receta porque es deliciosamente rica, tiene un toque cremoso y lo mejor de todo es una forma muy ligera de almorzar (y estoy segura de que también les va a gustar chicos). Una excelente opción si estamos buscando comer saludable, pero sin renunciar al sabor.✨
XO,
- Fotos tomadas por mí.
- Diseños realizados en Canva (versión gratuita).
Tipografía:
League Spartan
• TT Milks Script - Traducción realizada con GPT (versión gratuita).

Happy day, guys 👋🏽! The weekend is almost here, and I’ve been wanting to share this recipe for a while—especially for those who, like me, love root vegetables and flavorful oven-baked fillings.
And although I usually make this at home with meat, this time I wanted to switch it up a bit so it could pair well with a drink I shared with you before. So let’s start with the ingredients we’ll need:
For the "stewed" filling:
•2 large smoked pork chops 🥩
•1 ½ squares of pork lard
•2 heads of garlic
•½ medium onion 🧅
•2 tablespoons of bell pepper
•2 sweet peppers
•1 medium tomato 🍅
•¼ teaspoon of black pepper
•1 teaspoon of turmeric
•1 teaspoon of oregano
•½ tablespoon of Worcestershire sauce
•½ tablespoon of soy sauce
| | |
|---|
For the mashed potato layer:
•4 medium potatoes 🥔
•600 ml of water
•10 g of margarine
•1 teaspoon of salt 🧂
To top the casserole:
•6 slices of mozzarella cheese
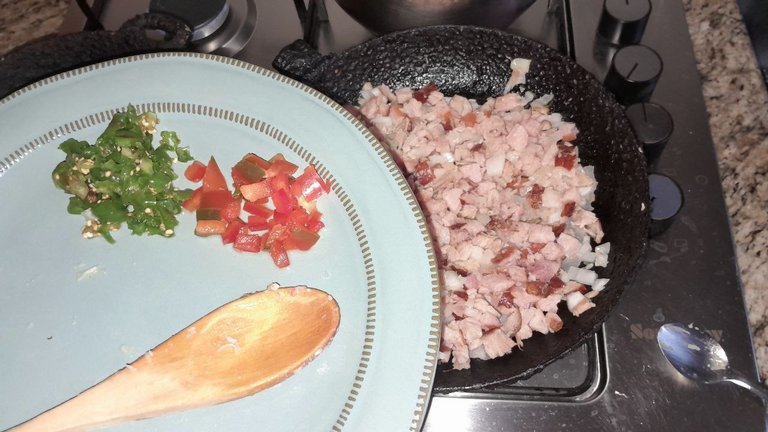
I started by preparing the stewed pork chops. First, I chopped them into medium cubes and set them aside in a bowl. Then, we chop all the ingredients that go in the stew: onion, sweet peppers, bell pepper, and tomato (set the tomato aside separately). I also grated the garlic (I prefer it this way because when it’s chopped, the pieces are too big and not pleasant to bite into 🙈).
| | | |
|---|
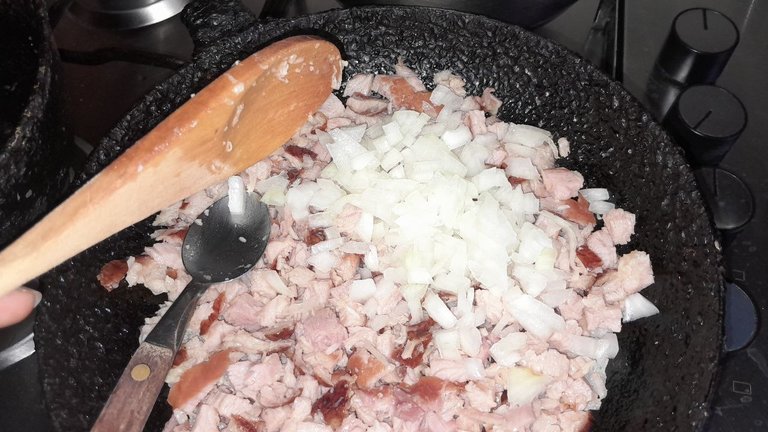
Next, heat a pan (for about 2–3 minutes), then add the 1 ½ squares of pork lard.
| | |
|---|
Add the pork chop pieces and stir them with the lard, letting them cook for 4–5 minutes over medium heat.
I started off cooking it in a small pot, buuut due to the amount, I realized it cooks better in a bigger pan (so I switched to a larger skillet).
After that time, add the garlic, and right after, the onion. Let it cook for another 5 minutes over medium heat.
| | |
|---|
Then add the bell pepper and sweet peppers—this time only for 1 minute over medium heat.
Now we just have to add the “semi-final ingredients” 🤩:
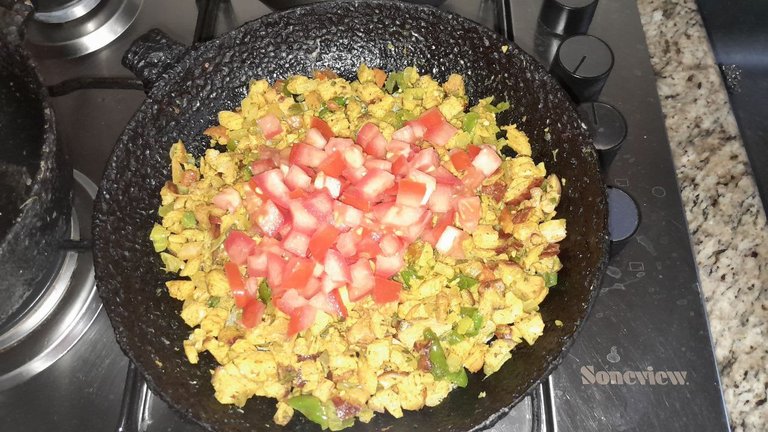
Add the teaspoon of oregano (I recommend crushing it in your hands so it releases more of its flavor and aroma), the turmeric, and the ¼ teaspoon of black pepper.
Now add the chopped tomato we set aside and let it cook for 5 more minutes.
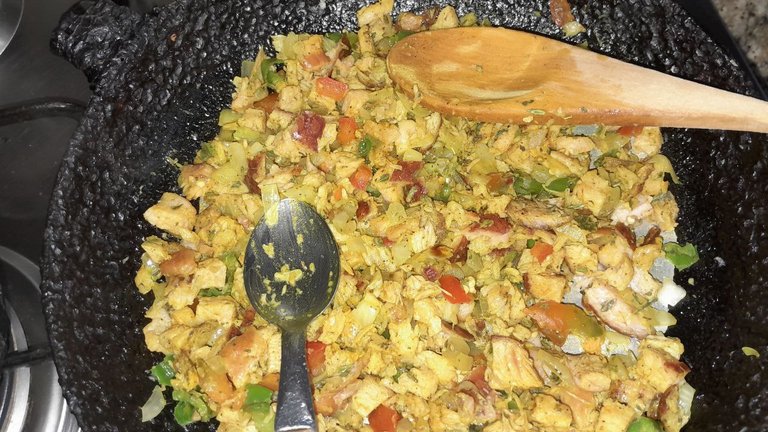
Finally, add the Worcestershire and soy sauces. 😋
Once everything is well mixed, remove the pork from the heat and cover it (make sure the lid won’t burn your hand if it doesn’t have a handle cover). Leave it covered in the same skillet until we’re ready to use it. 🥩
Now that that’s ready, let’s get to work on the “wrap” 🎁
Start by heating the water in a pot (remember to add the salt too) until it comes to a boil.
| |
|---|
While it heats, wash and peel the potatoes (make sure to cut out any bad spots). Then set them aside in a bowl.
Once the water is boiling, add the potatoes and stir, letting them cook on low heat for about 45 minutes to 1 hour (though this may vary depending on your stove, so keep an eye on it).
At this point, the potatoes should be as soft as possible (but not falling apart in the water), so we can mash them by pressing them through a strainer (I love this method because it ensures your mash is silky smooth with no lumps).
Once the potatoes are soft, drain them and transfer them to a bowl. From there, start mashing them (I also preheated the oven to 180°C / 350°F at this point).
| | |
|---|
Then add the margarine and the teaspoon of salt, mixing well and letting the mash rest for five minutes.
While that cools, I greased the dish I’d be using for my casserole with margarine. 😍
| | |
|---|
Once that’s done, I began layering it with a relatively thick layer of mashed potatoes (the idea is for the filling to go in the middle). Then I added all the stewed pork and topped it with another layer of mashed potatoes (it looked so beautiful, I loved it haha).
And just like that, our potato casserole is almost ready… we just need to top it with one last ingredient that adds color and creaminess:
Mozzarella slices. 🤤
| | |
|---|
I tore them up by hand into chunks (but you can use whole slices if you prefer).
And now our casserole is nearly finished. All that’s left is to pop it in the oven for about 15 minutes (in our preheated oven), or until the cheese is golden and bubbly. 🙌
Take it out and let it rest for about 20 to 30 minutes.
Then serve it up with a fresh tomato 🍅, lettuce, and cucumber salad, and pair it with your drink of choice (I made a nice, spiced juice).
| |
|---|
I love this recipe because it’s so rich and creamy, and best of all—it’s a light lunch option (I’m sure you guys will love it too). A perfect choice for when we want to eat healthy without sacrificing flavor.✨
XO,
- Photos taken by me.
- Designs made in Canva (free version).
Typography:
League Spartan
TT Milks Script - Translation made with GPT (free version).

View or trade
LOHtokens.@helicreamarket, You have received 1.0000 LOH for posting to Ladies of Hive.
We believe that you should be rewarded for the time and effort spent in creating articles. The goal is to encourage token holders to accumulate and hodl LOH tokens over a long period of time.
@tipu curate
Upvoted 👌 (Mana: 24/64) Liquid rewards.
Thank you very much @mrspointm :D
You received an upvote ecency
Thank you very much 💜
Oye, que además de no dudar de que quedó rica la comida, además quedó bonita. La presentación es espectacular.
Un abrazo @helicreamarket.
Gracias @enraizar 💗. Quería presentarla lo mejor posible porque es muy rica y facil de hacer 🙌🏽
Te veo muy centrada en la comida... Me sorprendes. Te deseo un gran fin de semana. 🤗
Que maravilla de receta, gracias por tanto detalle. Había extrañado tus post. Un saludo
Muchas gracias Iris 💗. Está receta es tanto sabrosa como económica 🤩
Si es muy práctica. Gracias
Gracias por compartir tu receta, es fácil de realizar y los ingredientes se consiguen, que bueno que tiene la ración de proteínas, vegetales, carbohidratos, se encuentra equilibrada.
Graciass🙌🏽. Si es muy completa Mariale y sencilla. Eso es lo mejor 💗. Sobre todo para cuando estamos buscando economizar la comida.
That looks yummy!
Yes 🤩. It is and also very light for lunch 💗
!LADY
View or trade
LOHtokens.@hive-124452, you successfully shared 0.1000 LOH with @helicreamarket and you earned 0.1000 LOH as tips. (19/50 calls)
Use !LADY command to share LOH! More details available in this post.
Que rico y bonito almuerzo 😍😋
Muchas gracias 💗 si es super fácil y económico de hacer ☺️